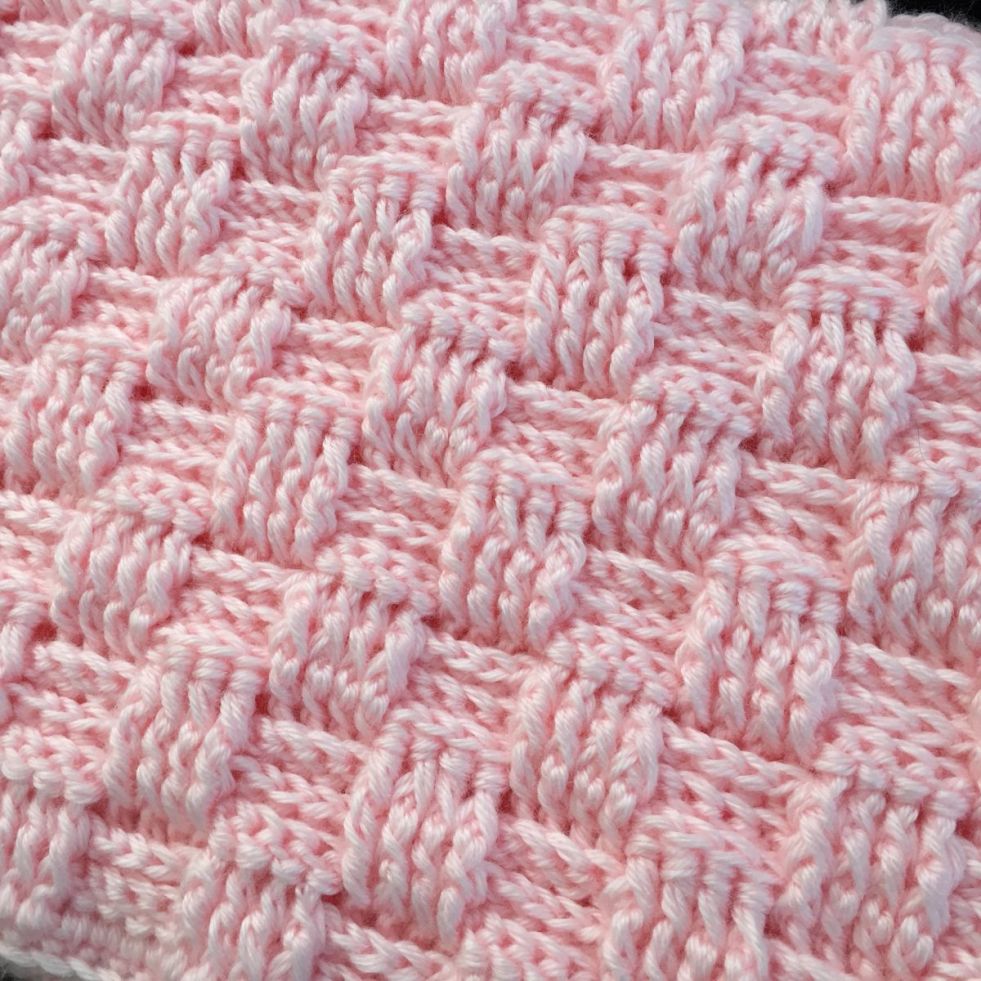
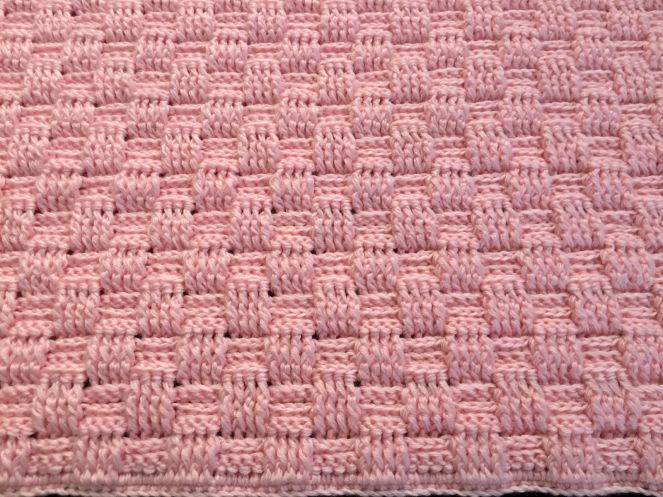
A very popular pattern that makes a wonderful weighted blanket for those cool evenings.
The traditional basketweave pattern uses a combination of Front and Back Post Double Crochets to create a textured, heavy fabric that resembles a woven basket. Both sides will look the same.
Skill Level
Confident beginner/Intermediate
Stitches Used (US Crochet Terminology)
CH (chain stitch)
SL ST (slip stitch)
SC (single crochet)
HDC (half double crochet)
DC (double crochet)
FPDC (front post double crochet)
BPDC (back post double crochet)
Stitches Used (UK/AUS Crochet Terminology)
CH (chain stitch)
SL ST (slip stitch)
SC (double crochet)
HTR (half treble crochet)
TR (treble crochet)
FPtr or RtrF (front post treble crochet/raised treble front)
BPtr or RtrB (back post treble crochet/raised treble back)
Yarn weight and hook recommendation
DK/8 ply or above with 3.5 – 5 mm hook
Gauge:
10 cm = 20 stitches, 10 rows (approximately, if using 8 ply/DK yarn)
Special Stitches:
FPDC (Front Post Double Crochet) is just a normal double crochet stitch, except you wrap your hook around the vertical body (post) of the stitch from the row below instead of working into the top “V” loops.
How to do it in 4 simple steps:
1. Yarn over your hook. 2. Insert your hook from the front, going right-to-left around the back of the stitch’s post and back out to the front (the post will wrap around your hook). 3. Yarn over and pull up a loop (you have 3 loops on your hook). 4. Finish like a normal double crochet: yarn over and pull through 2 loops, then yarn over and pull through the last 2 loops.
BPDC (Back Post Double Crochet) is a standard double crochet stitch, but instead of working into the top loops, you wrap your hook around the vertical body (post) of the stitch below from the back of your work.
How to do it in 4 simple steps:
1. Yarn over your hook. 2. Insert your hook from the back, going right-to-left around the front of the stitch’s post and back out to the back (the post will be pushed behind your hook). 3. Yarn over and pull up a loop (you have 3 loops on your hook). 4. Finish like a normal double crochet: yarn over and pull through 2 loops, then yarn over and pull through the last 2 loops.
Pattern Instructions
Start with chaining multiples of 8 + 4 (the 4 CH needed for the first turn in your work). For example: (10 X 8) + 4 = 84 CH or (14 X 8) + 4 = 116 CH or (20 X 8) + 4 = 164 CH.
R1: Skip the first 3 CH, work a DC each into all the remaining chains of the foundation.
R2: Turn with CH 2 *work a FPDC each around the next 4 DCs of R1, a BPDC each around the next 4 DCs of R1*, repeat from * to * until you reach the end, work a HDC into the last stitch of the previous row.
R3: Same as R2.
R4: Turn with CH 2 to stand as your first HDC of this row, *work a BPDC each around the next 4 Dcs, a FPDC each around the next 4 DCs*, repeat from * to * until you reach the end, work a HDC into the last stitch of the previous row.
R5: Same as Row 4.
Repeat rows 2 to 5 until you reach the desired height/length.
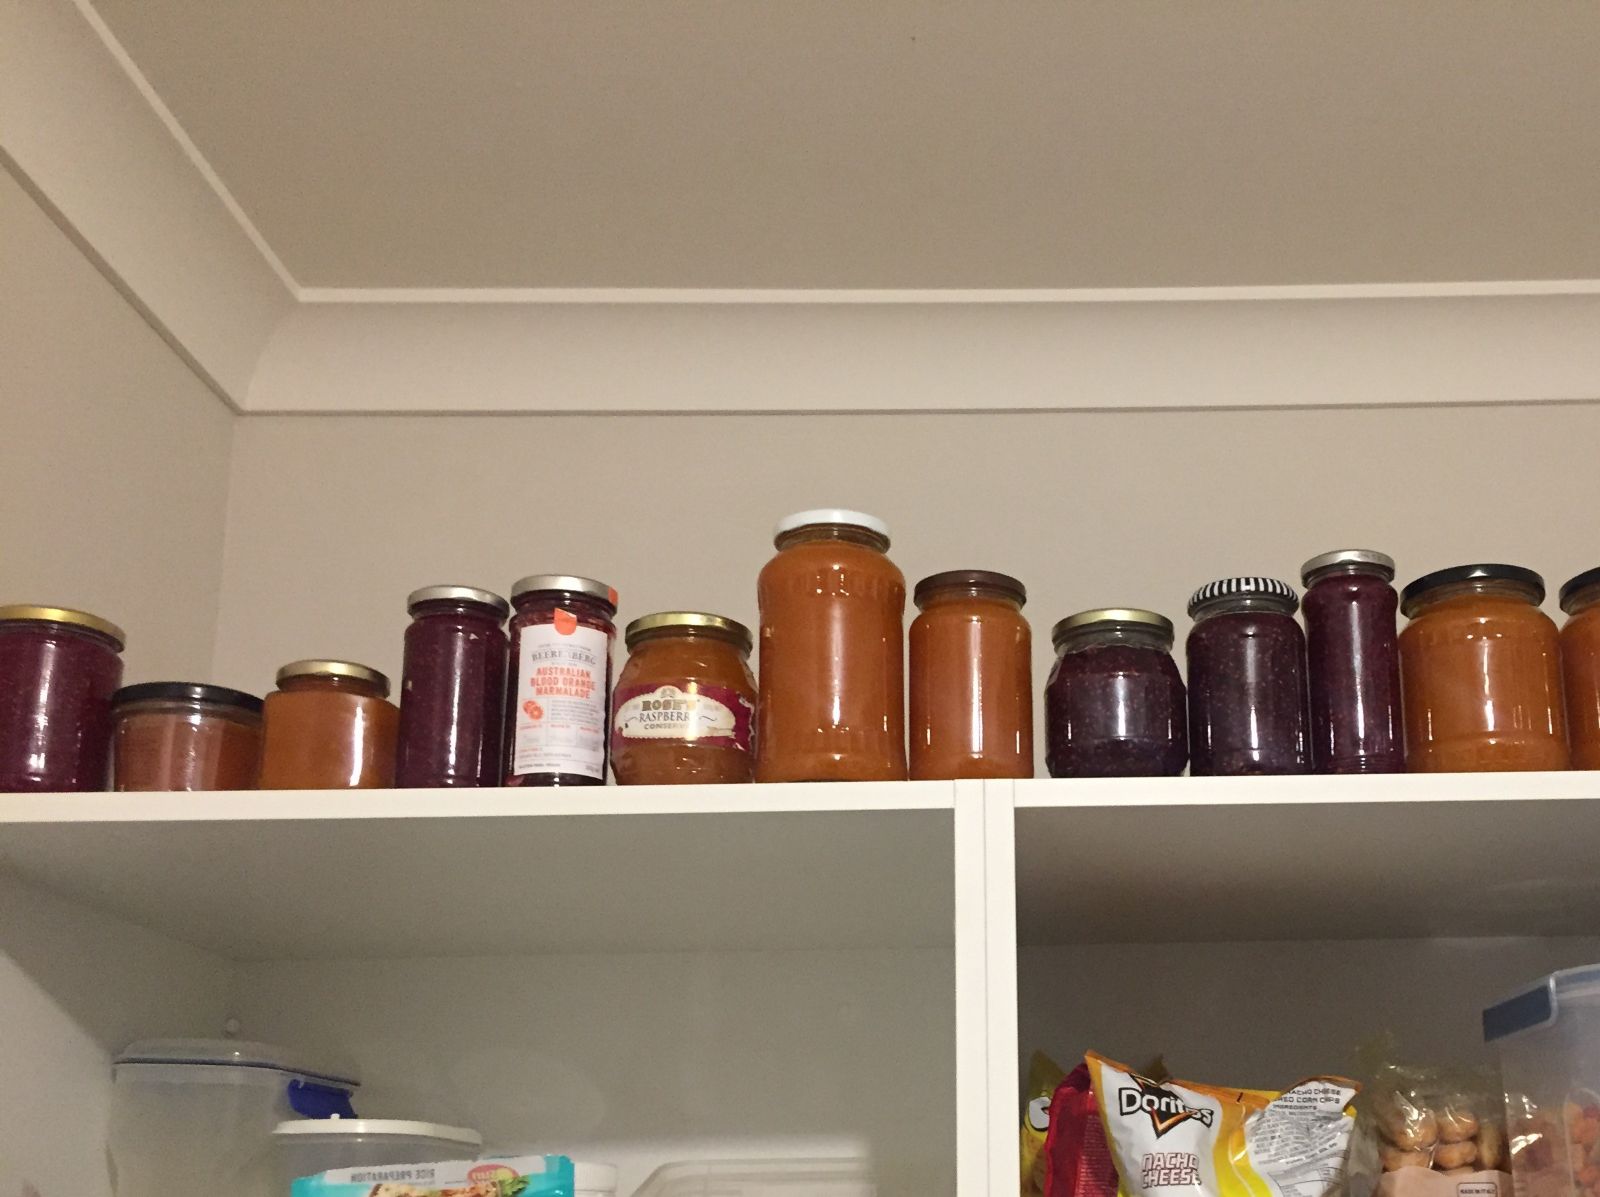
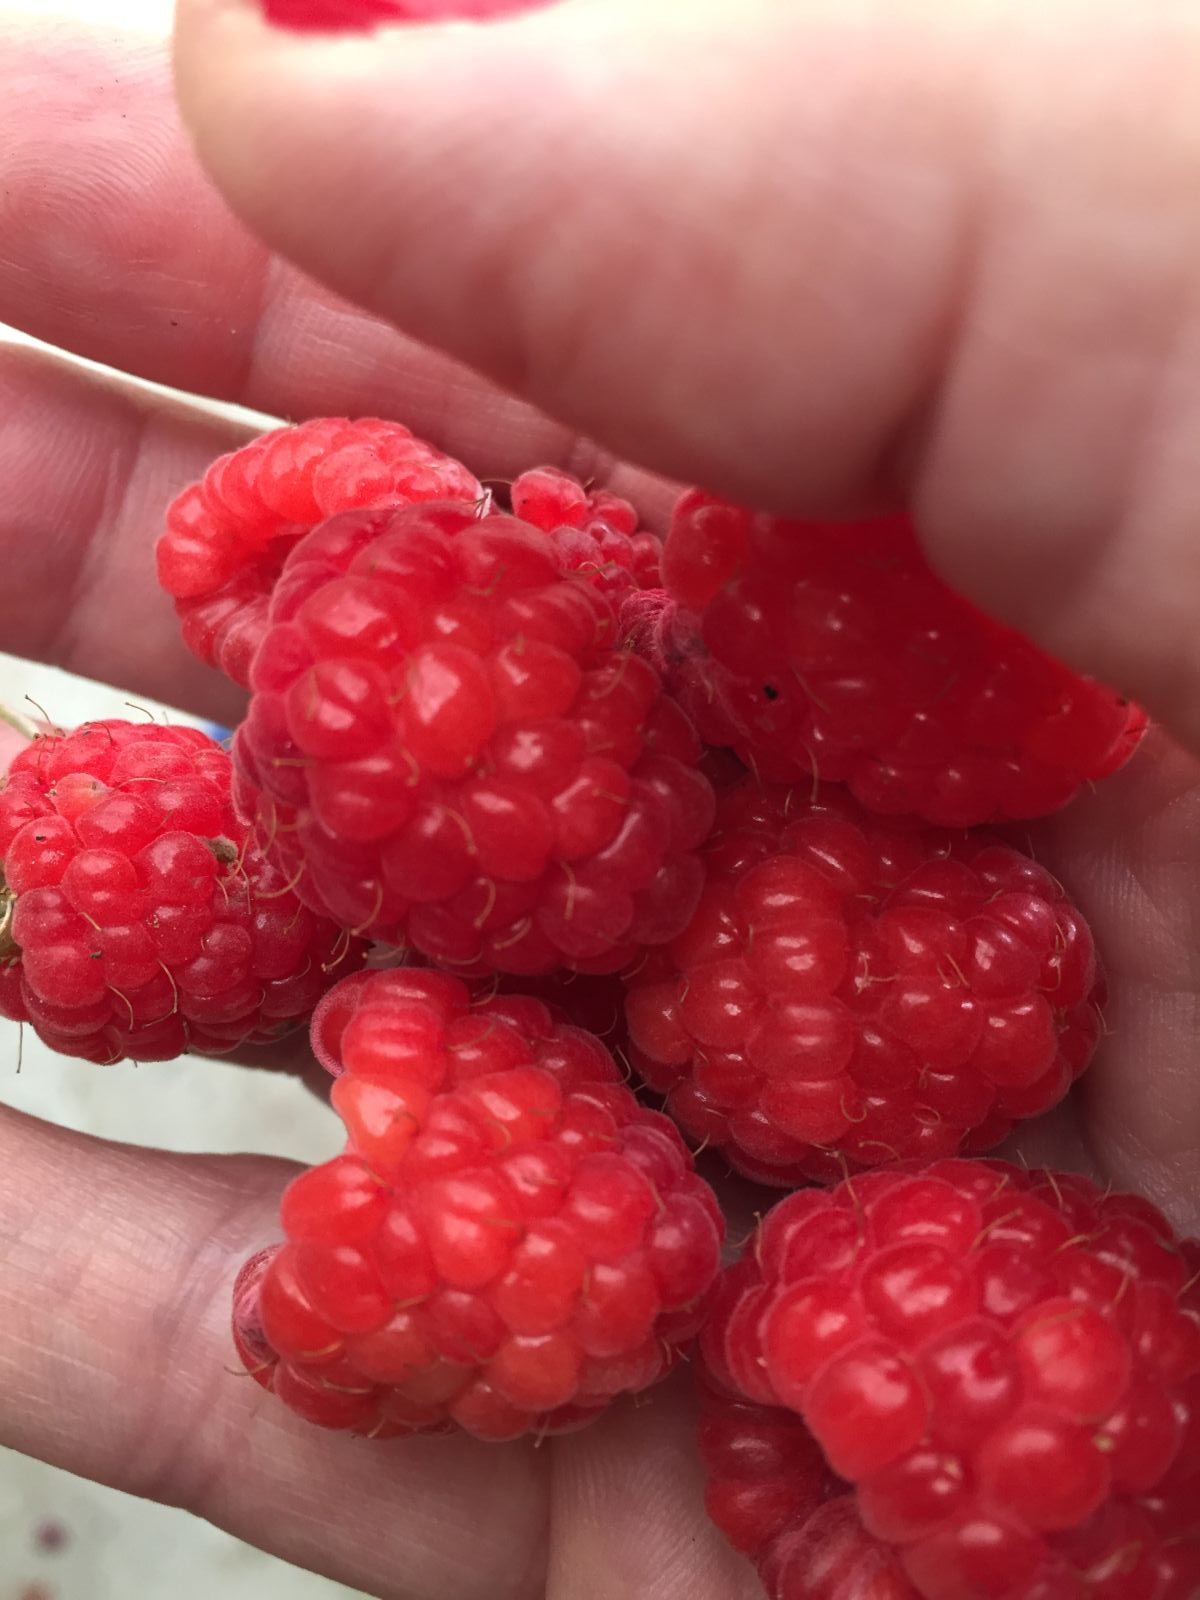
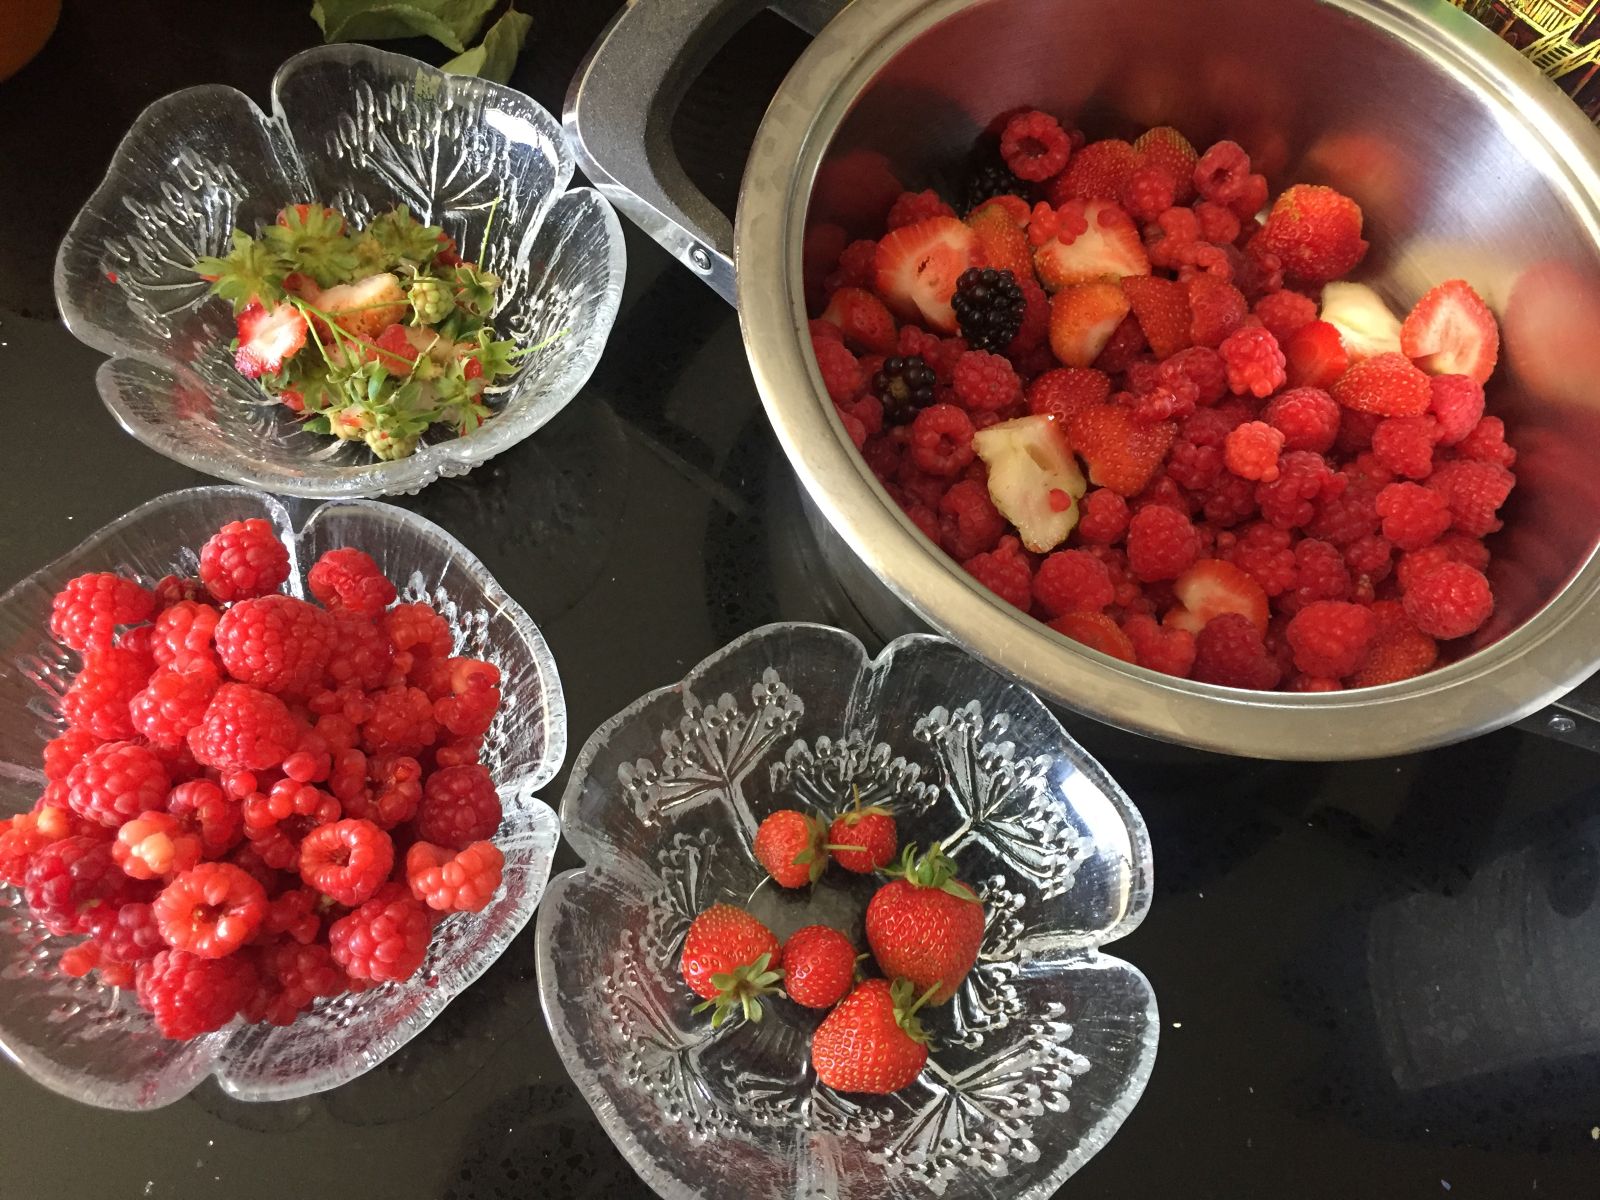
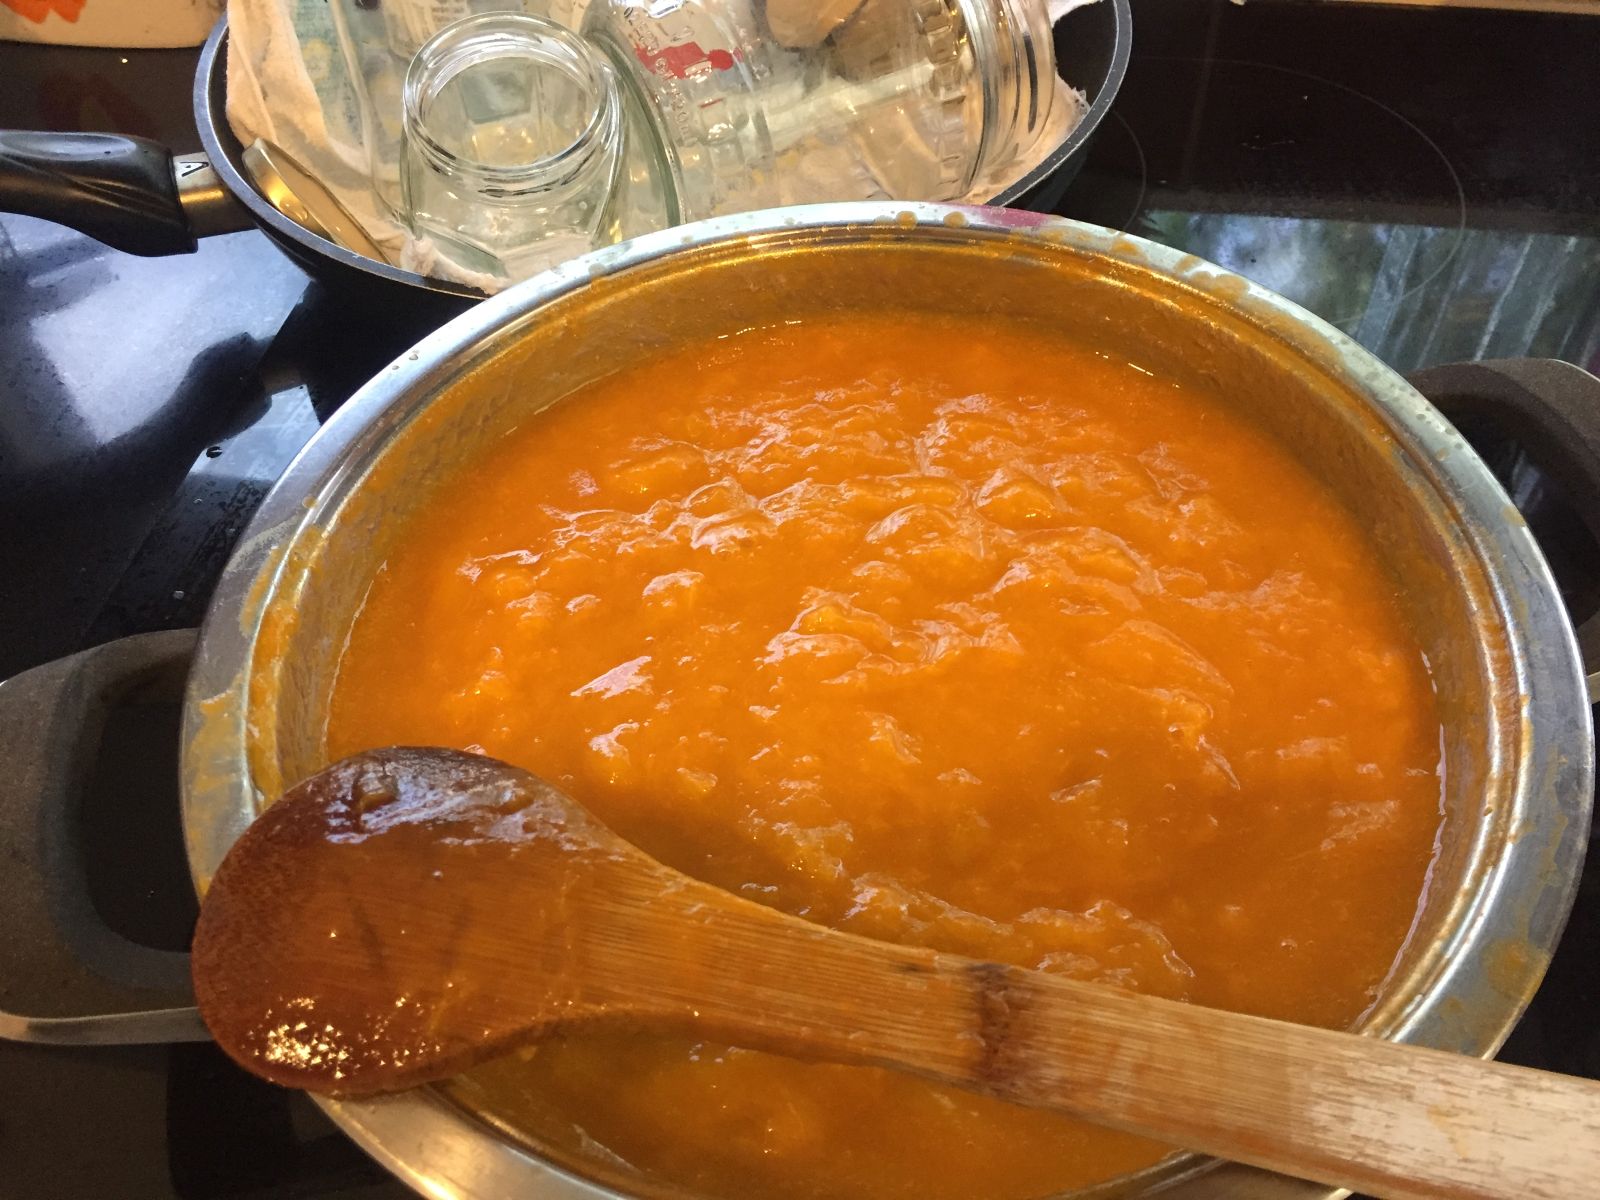
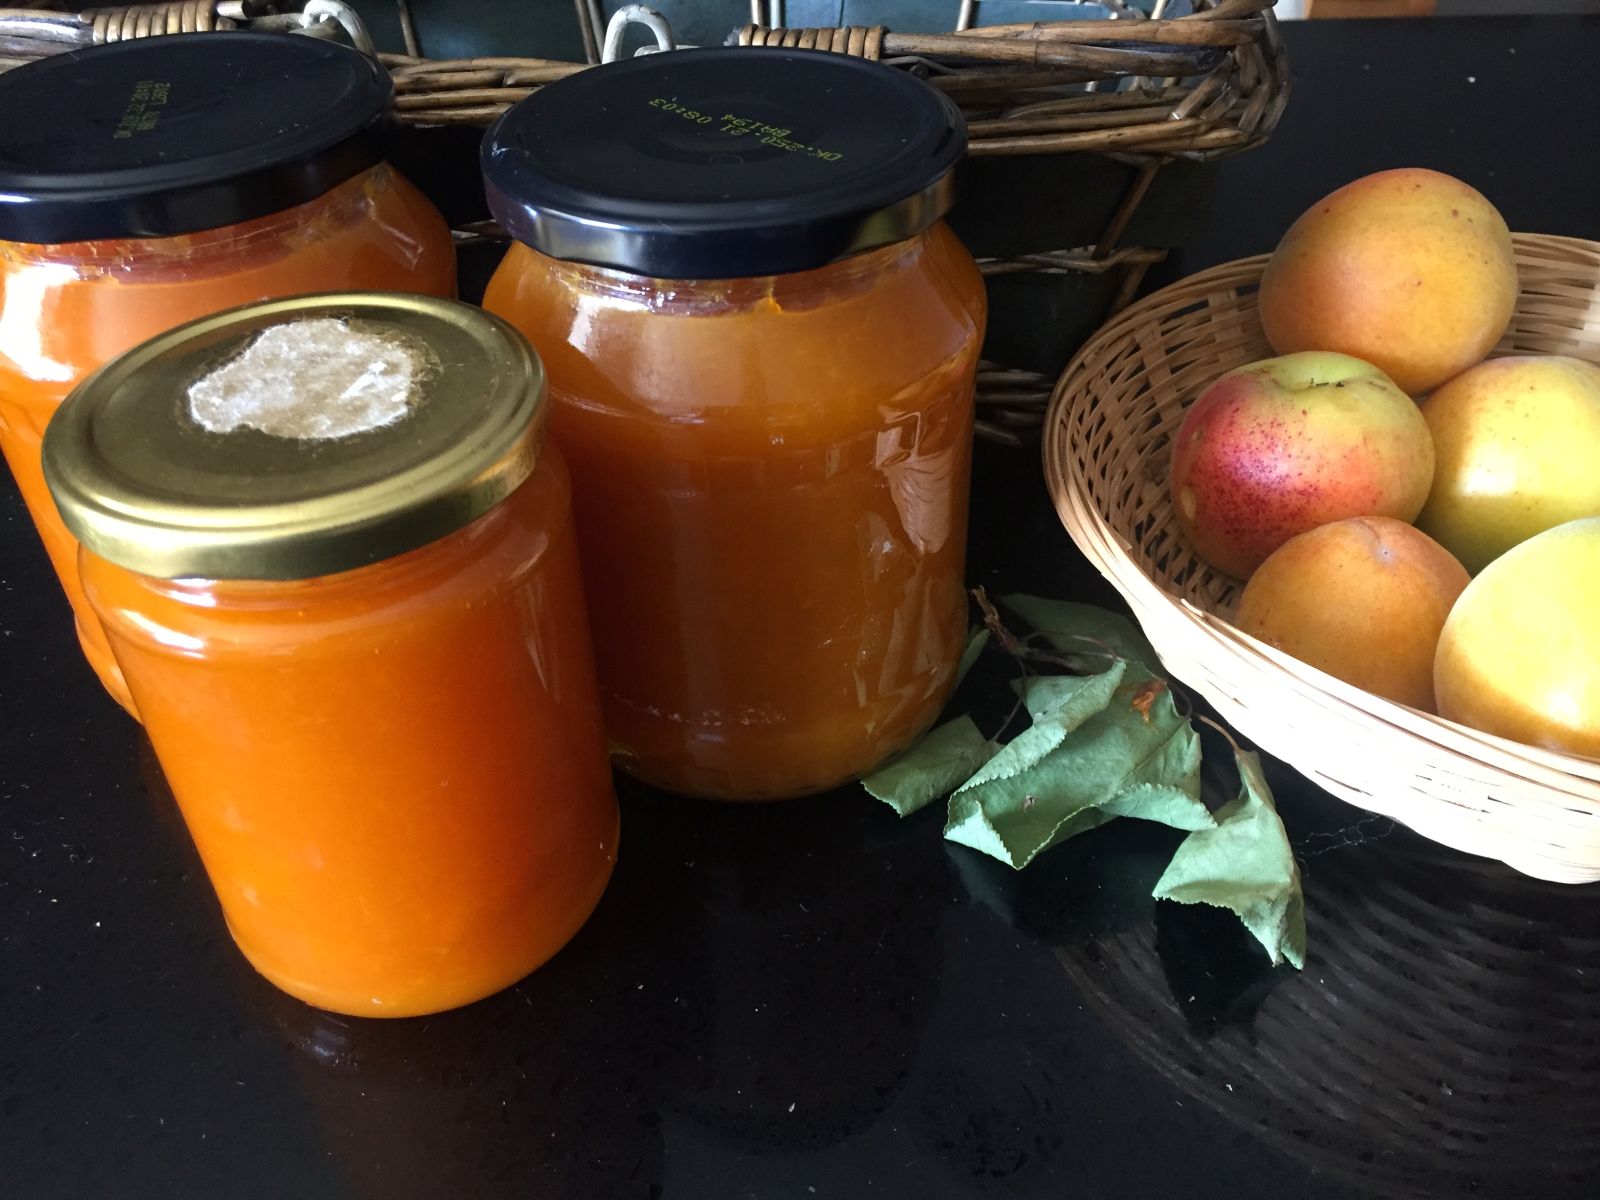
While my family says we don’t need any more jam in the pantry, I hate to waste a good crop of strawberries or raspberries if we have more than we can eat fresh. Once safely in jars, they give me a feeling of abundance and the chance to give people surprise treats, either as a jar of summer sweetness or baked into delicious tarts or pastries.
Ingredients
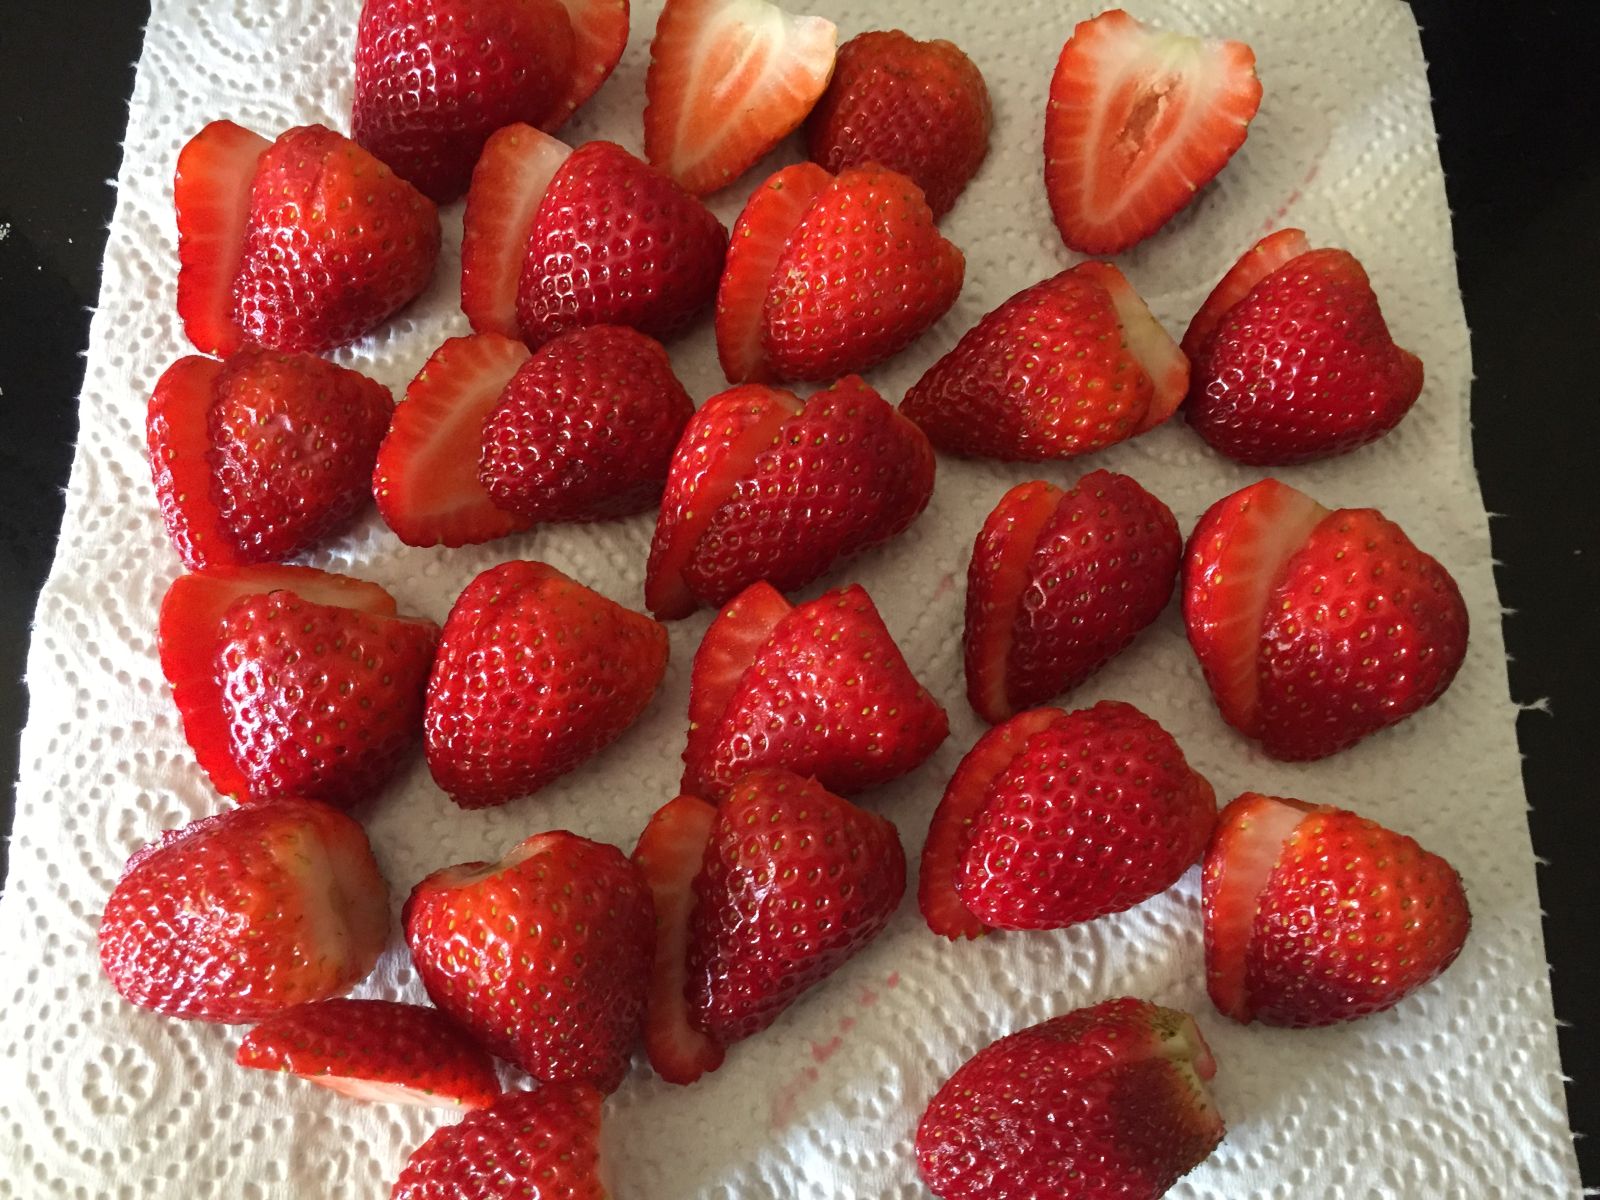
750 grams strawberries, hulled, sliced (or other fruit prepared accordingly).
1/3 cup lemon juice
650 g white sugar
Method
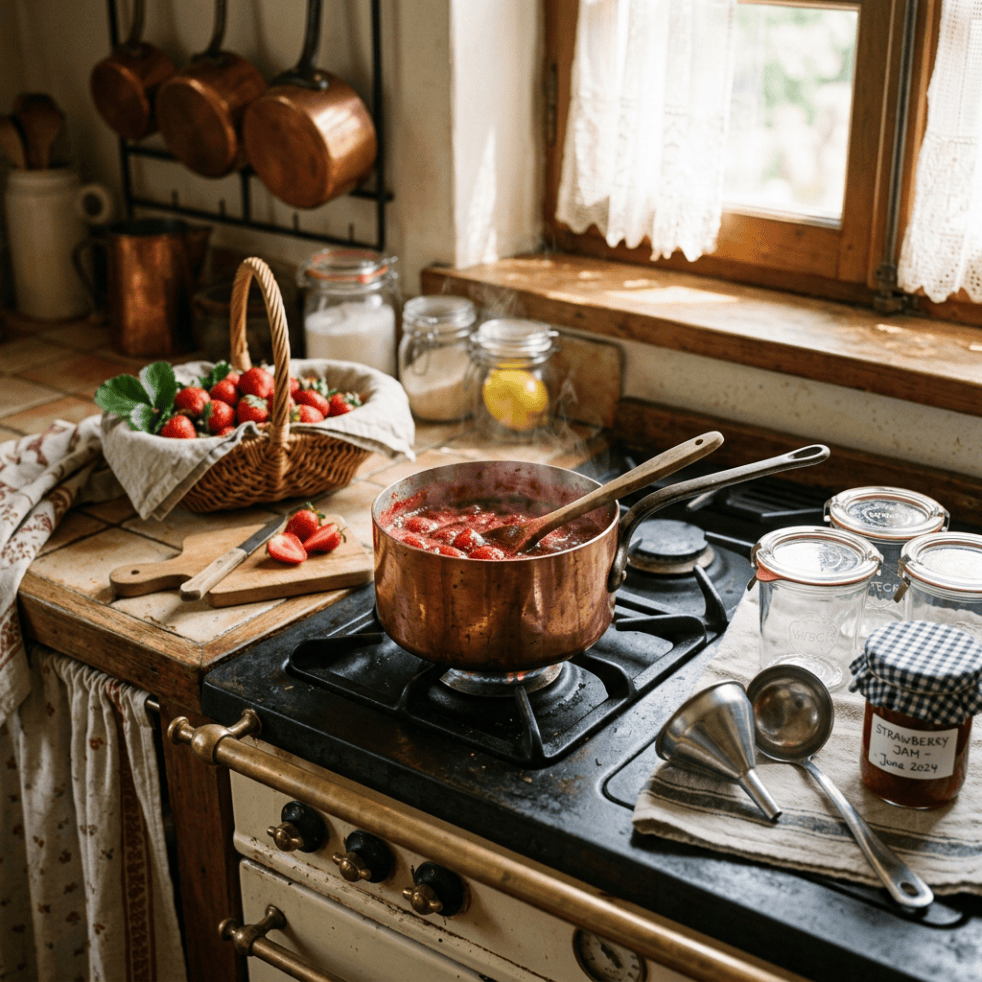
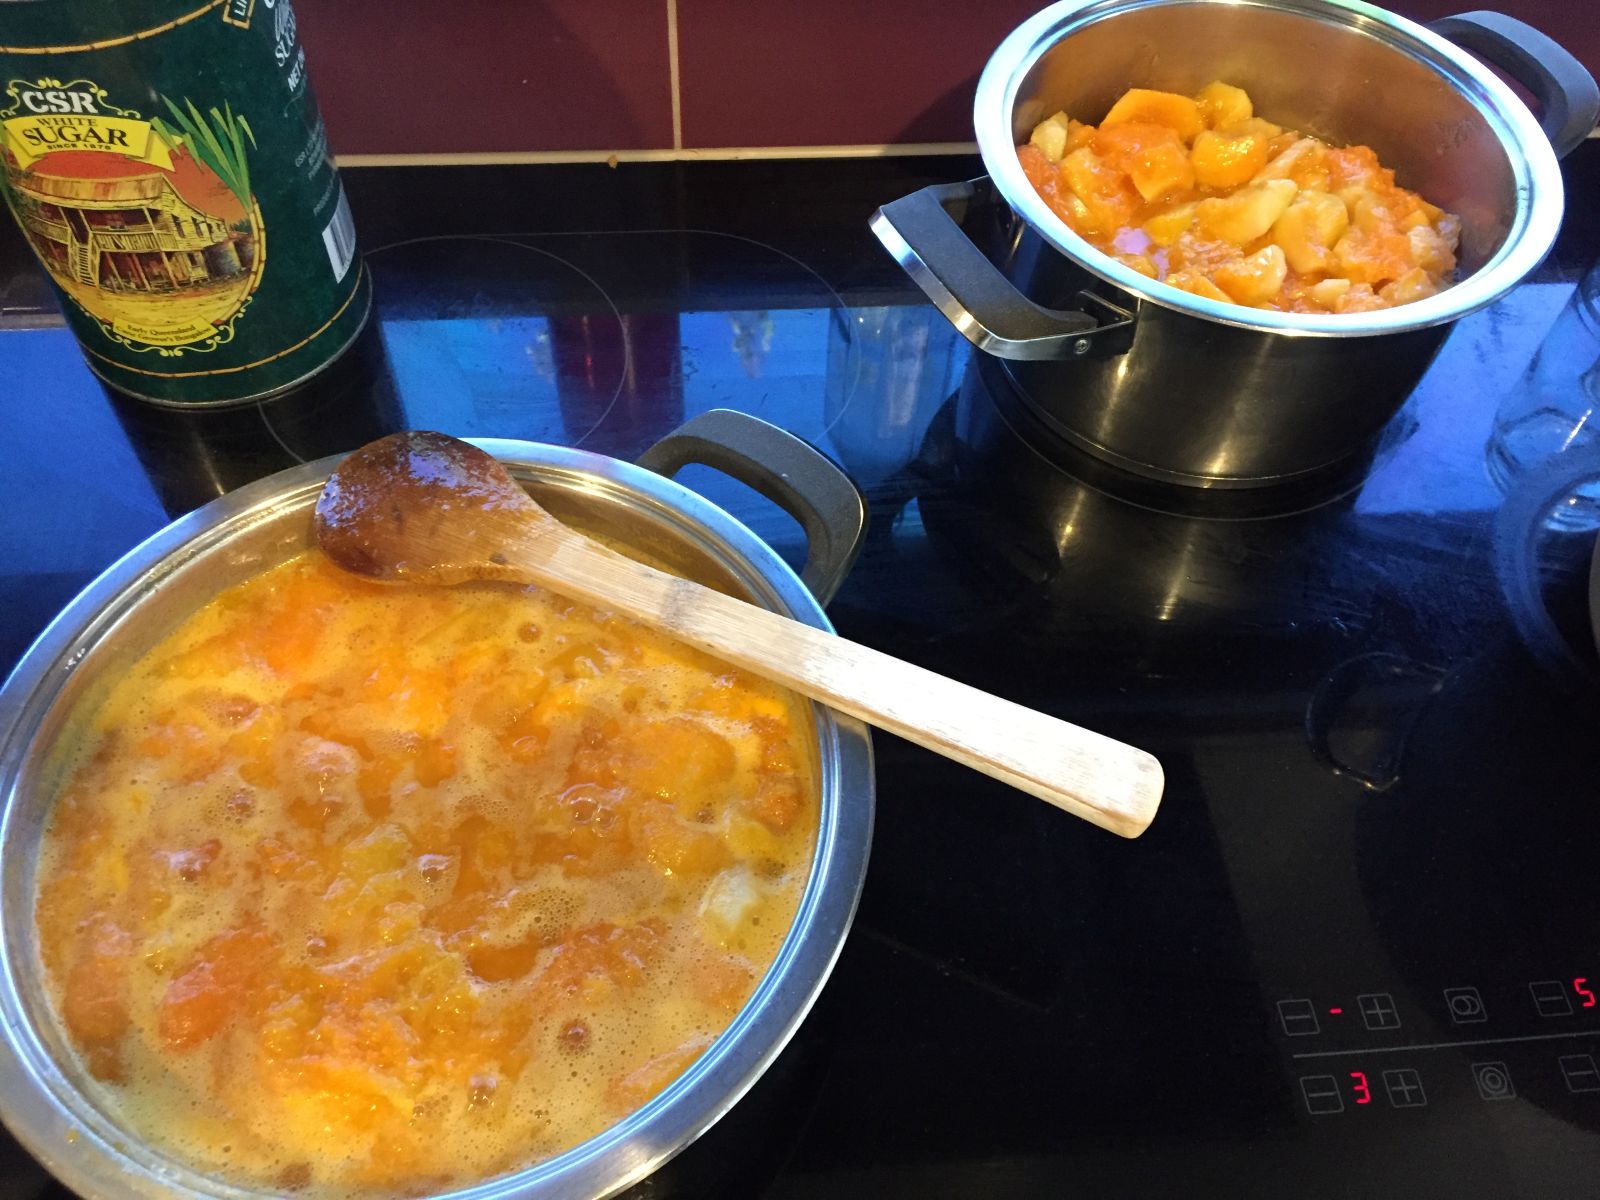
Combine all ingredients in a medium saucepan over medium heat. Bring to a simmer, then reduce heat to medium-low and cook, stirring frequently, for 20 minutes. Test the jam by spooning a little onto a chilled saucer and leaving it for 30 seconds, then gently push with your finger. If the top of the jam wrinkles and doesn’t run into the centre, it is ready. Otherwise, return to a simmer for a further 2–3 minutes and repeat the testing process until thickened.
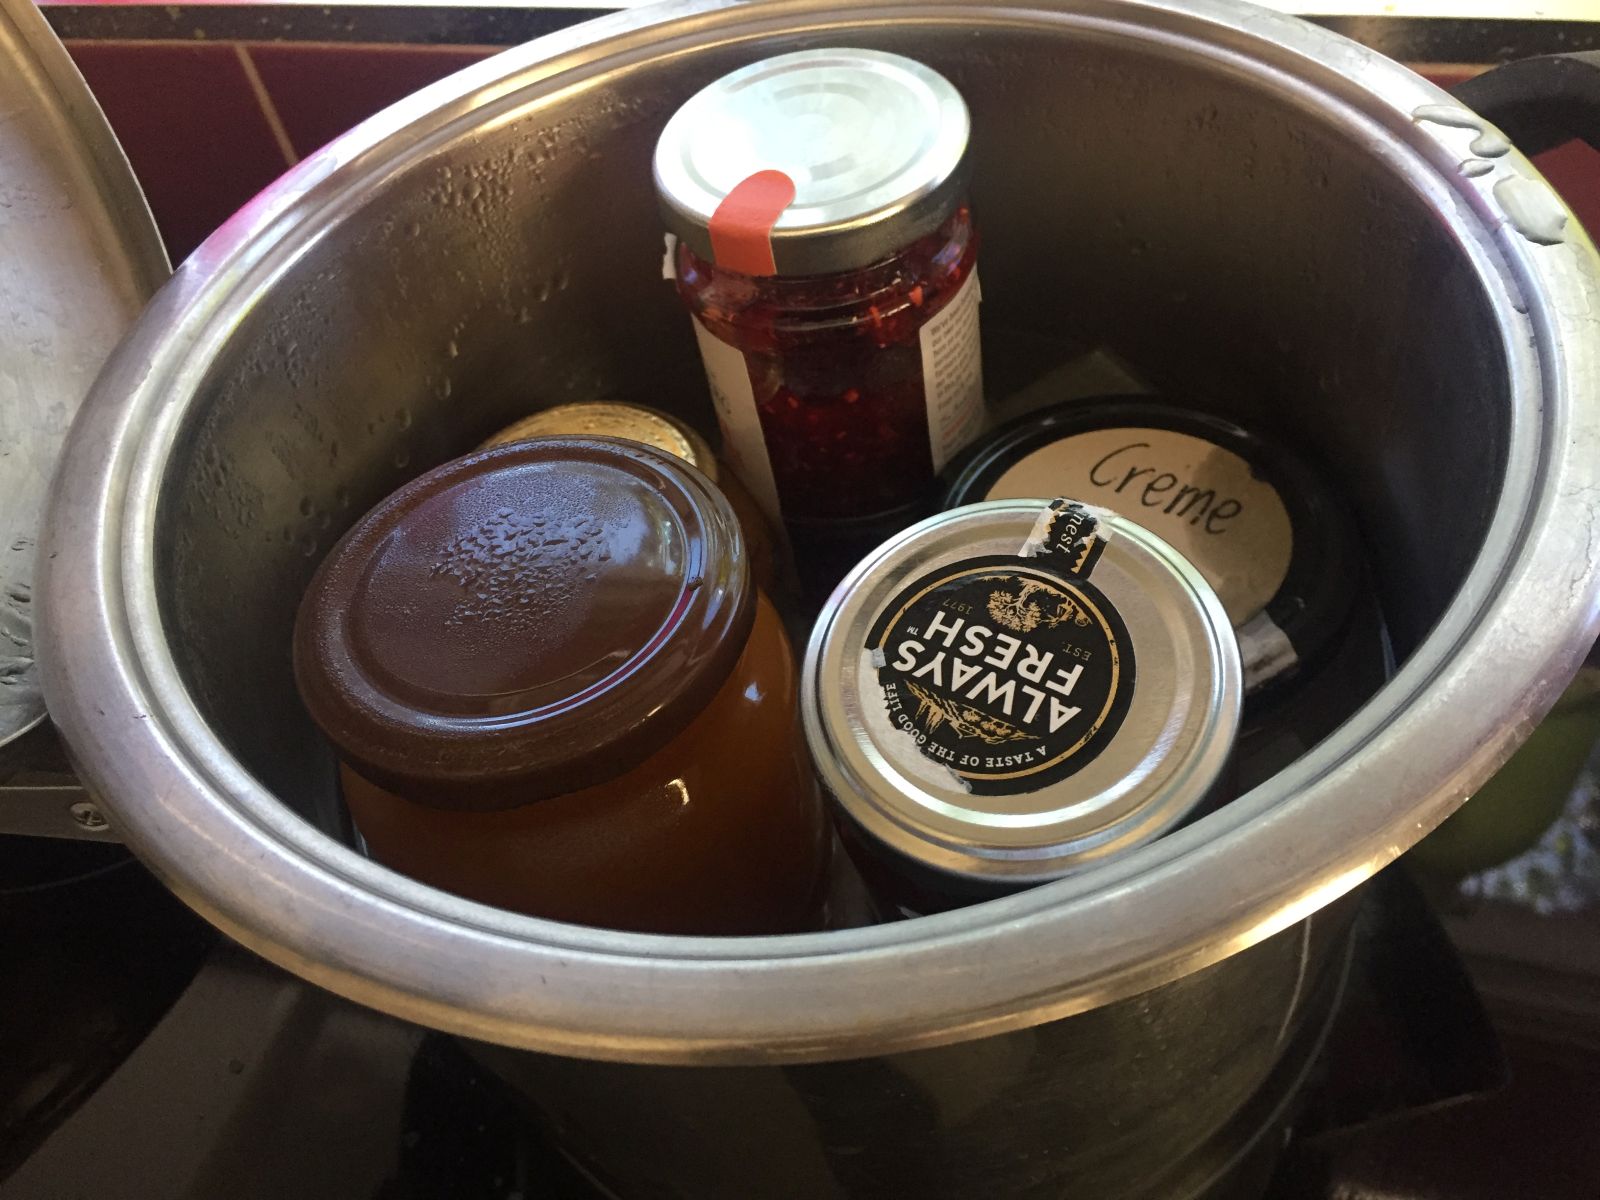
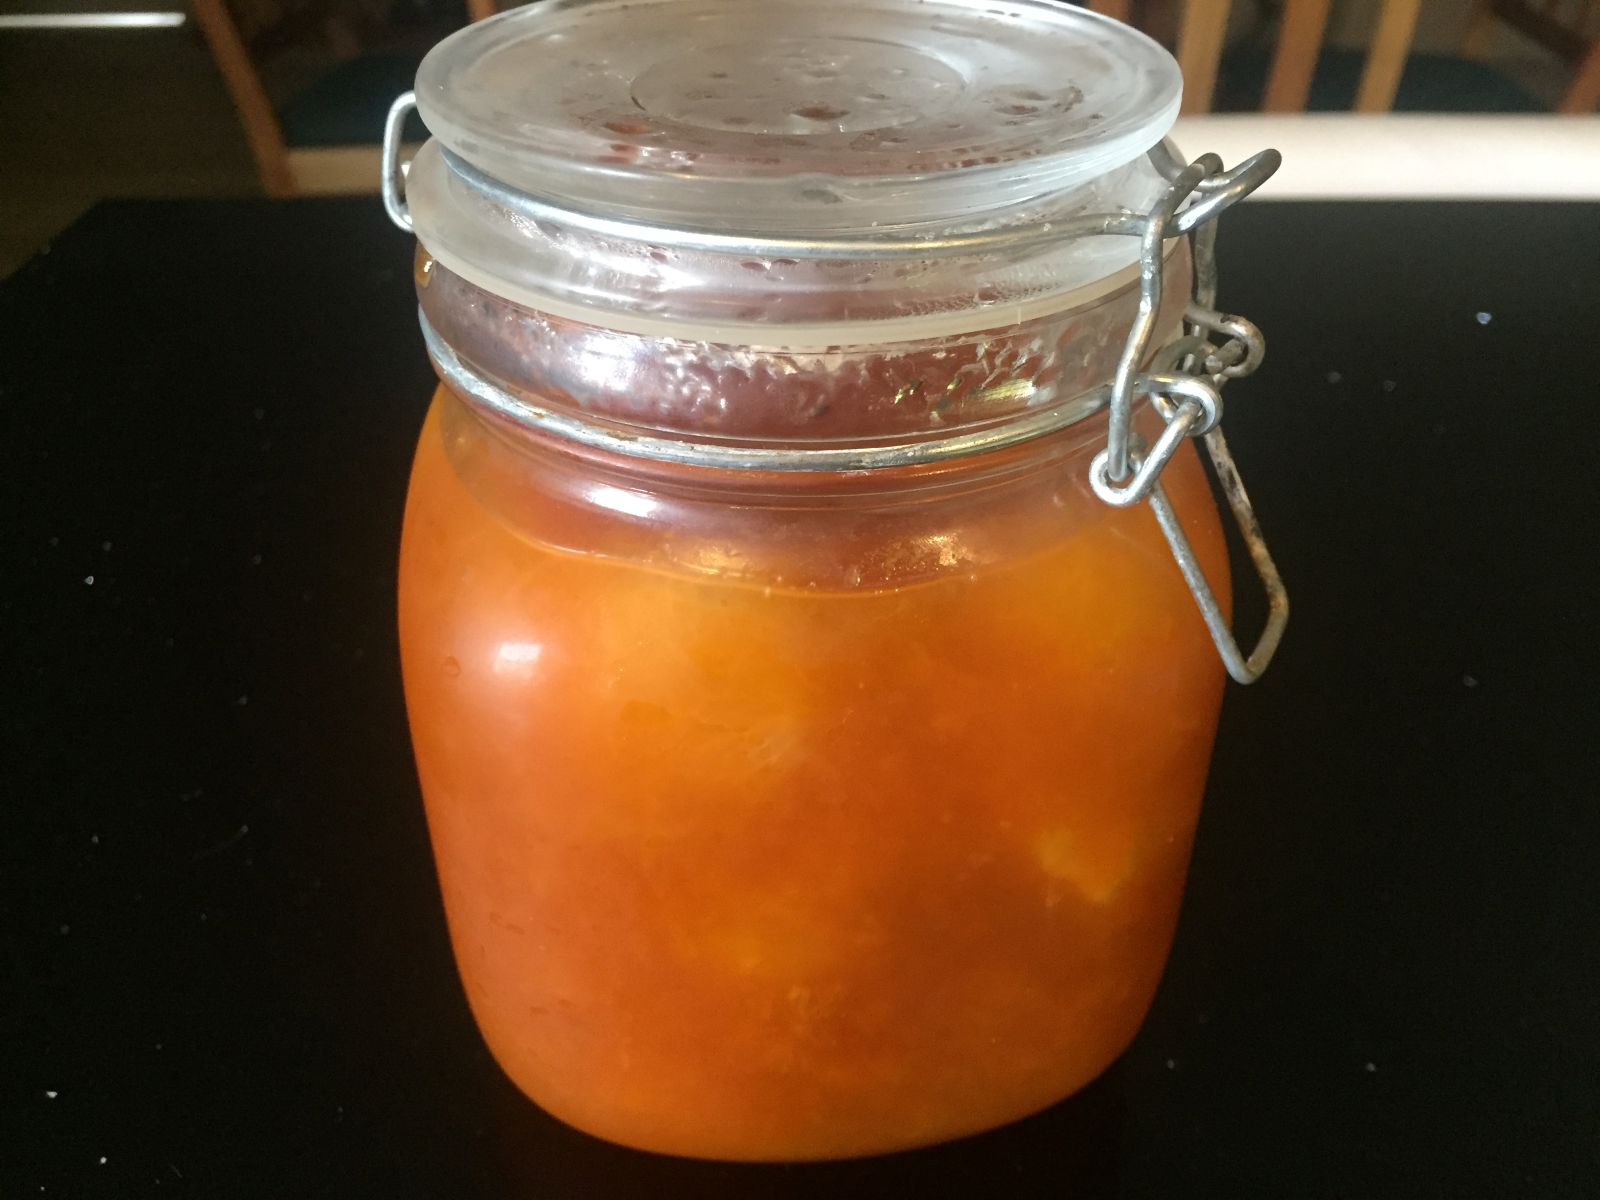
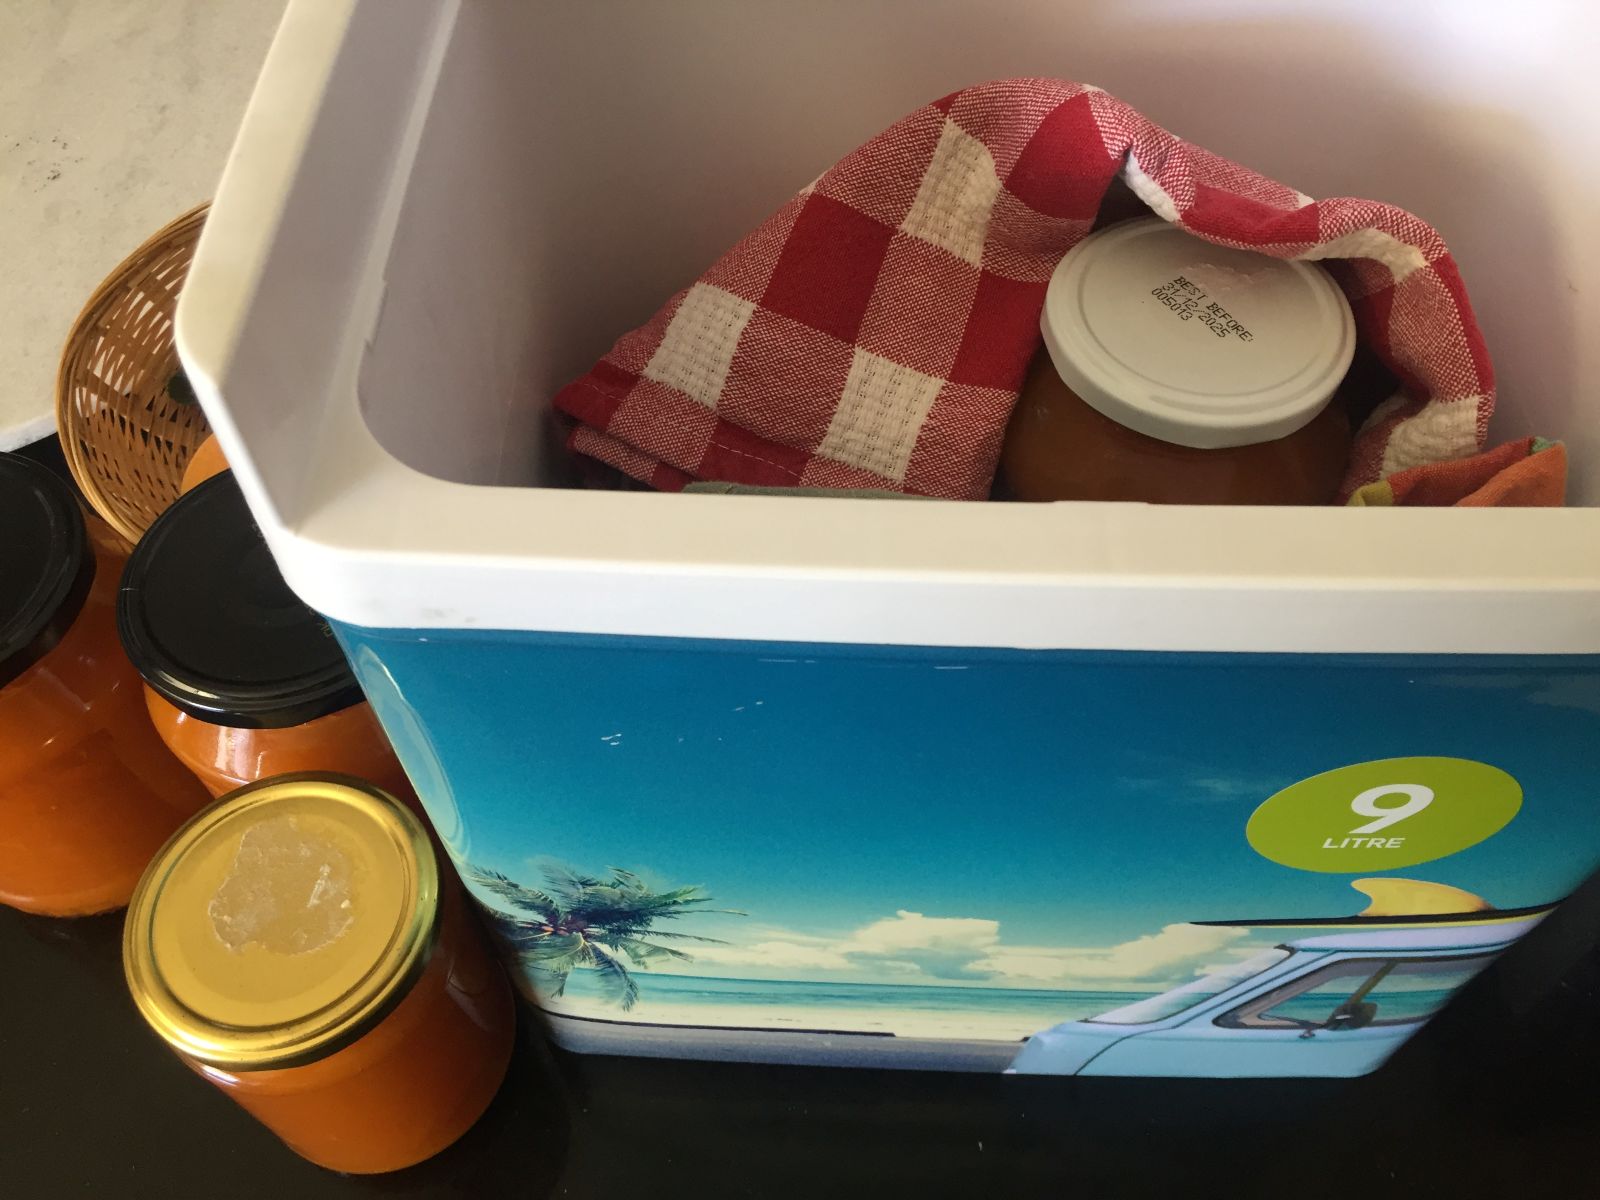
Ladle hot jam into warm, sterilised jars, filling to just below the rim, then clean the jar rim of any sticky residue with a wet towel and seal: center the flat lid on the jar and screw on the band until it is fingertip-tight (do not overtighten). Turn them upside down for a minute, then allow them to cool slowly (I used to put them in a small chilly bin between kitchen towels or use water bath canning). In 24 hours they should be well sealed and ready to be stored on the shelf (up to 1 year in a cool, dry place). Refrigerate after opening.
Additional Notes
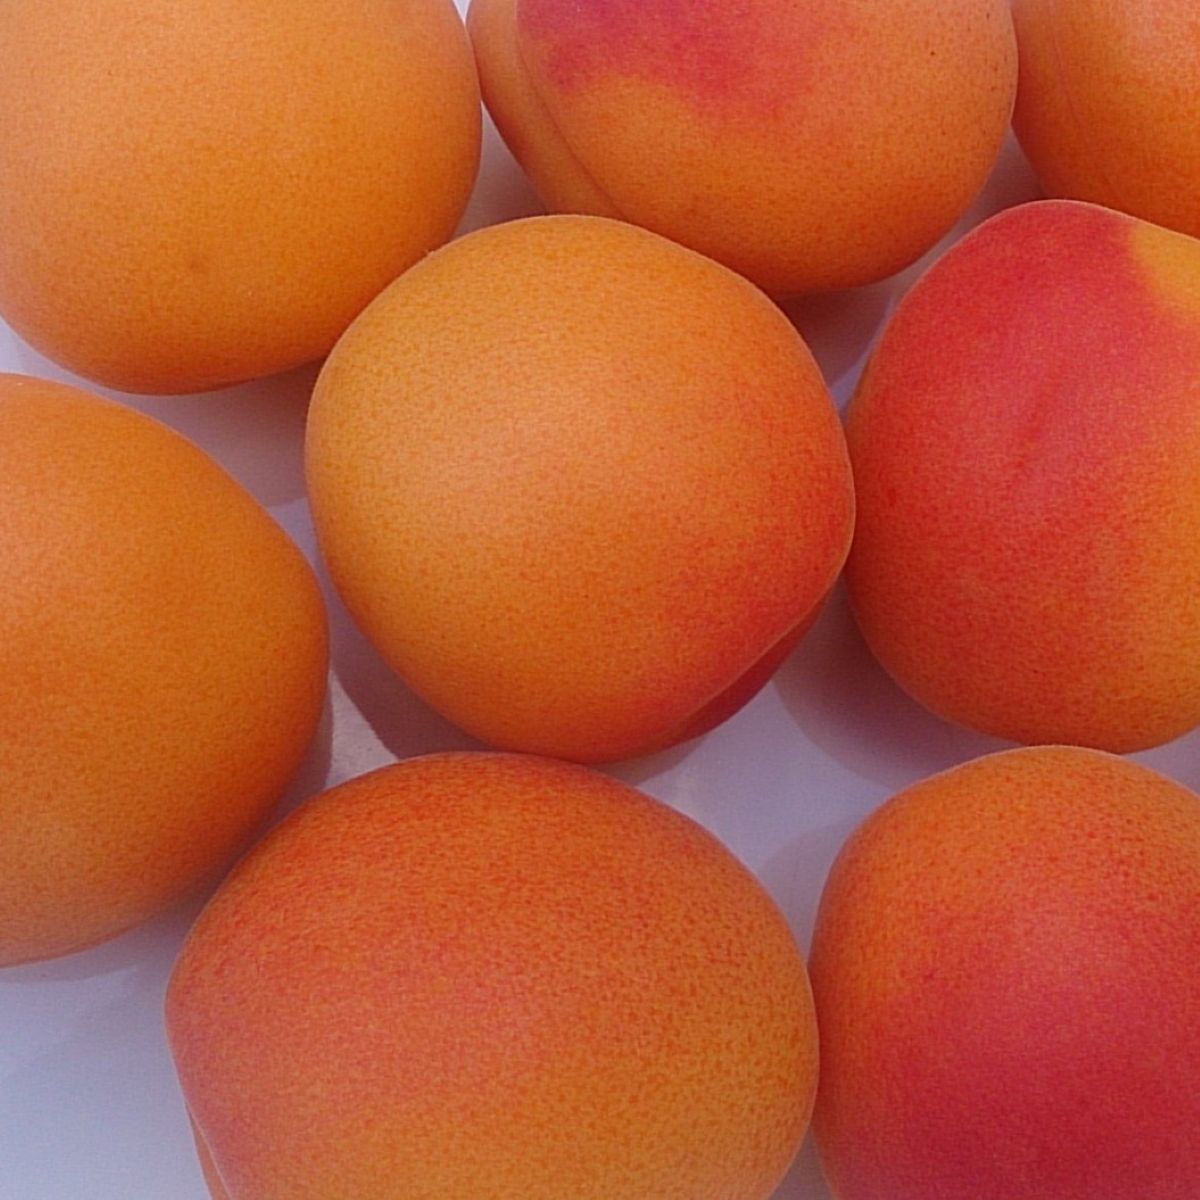
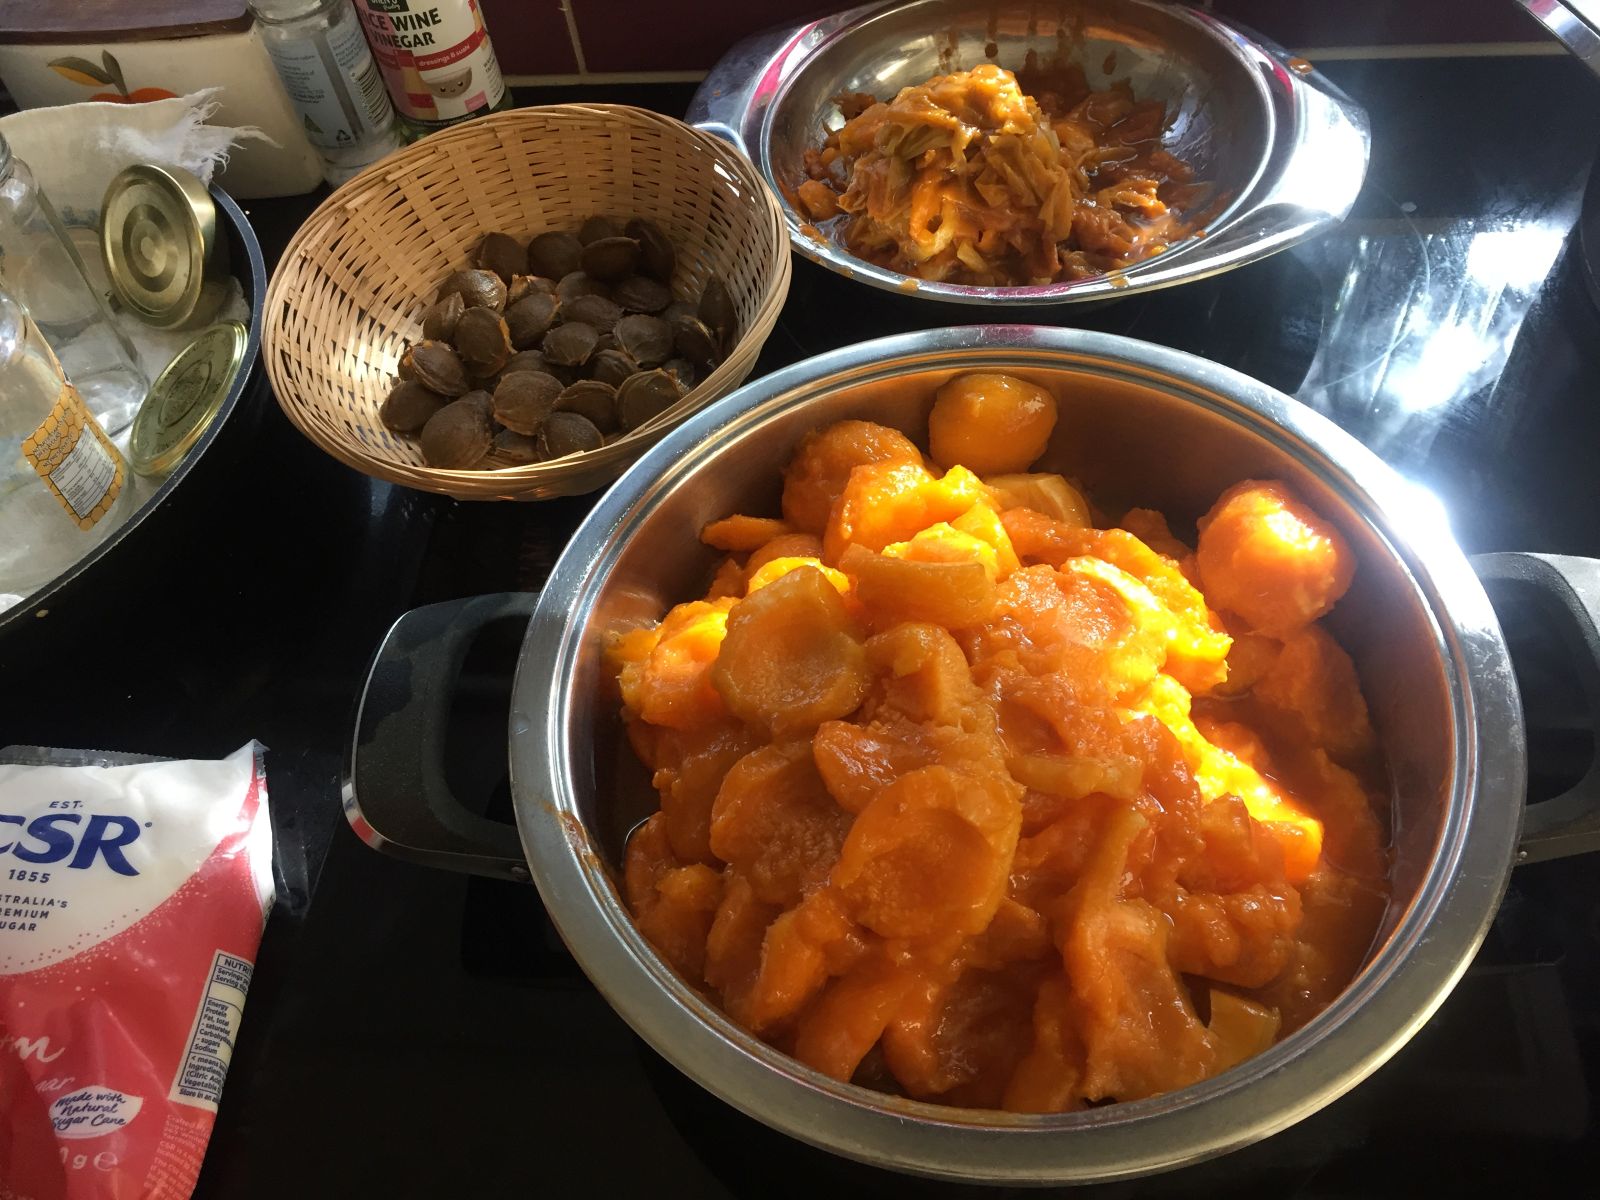
This recipe also works well with other berries and fruit, such as apricots. If using apricots, remove the skin and stones first—I briefly immerse them in boiling water to loosen the skin and make them easier to peel. You can also add ingredients for a more interesting flavour, such as orange zest, vanilla essence, cloves, or ground cinnamon. Cloves work especially well in peach jam or conserve—that’s how my mother used to make it.
Useful Tips
I sterilise the jars and their lids in a large pot of boiling water. You need to be very careful and avoid burns, so it’s best to let the water cool down to lukewarm before lifting them out and placing them on a tray to dry (although if you can find a way to safely lift them out of the pot, the hotter the jars are, the better when you start filling them up). To avoid the hot jam causing the glass to crack, I place the jars on a metal baking dish that conducts heat well, and only pour a small amount of the hot jam into the jar at first.
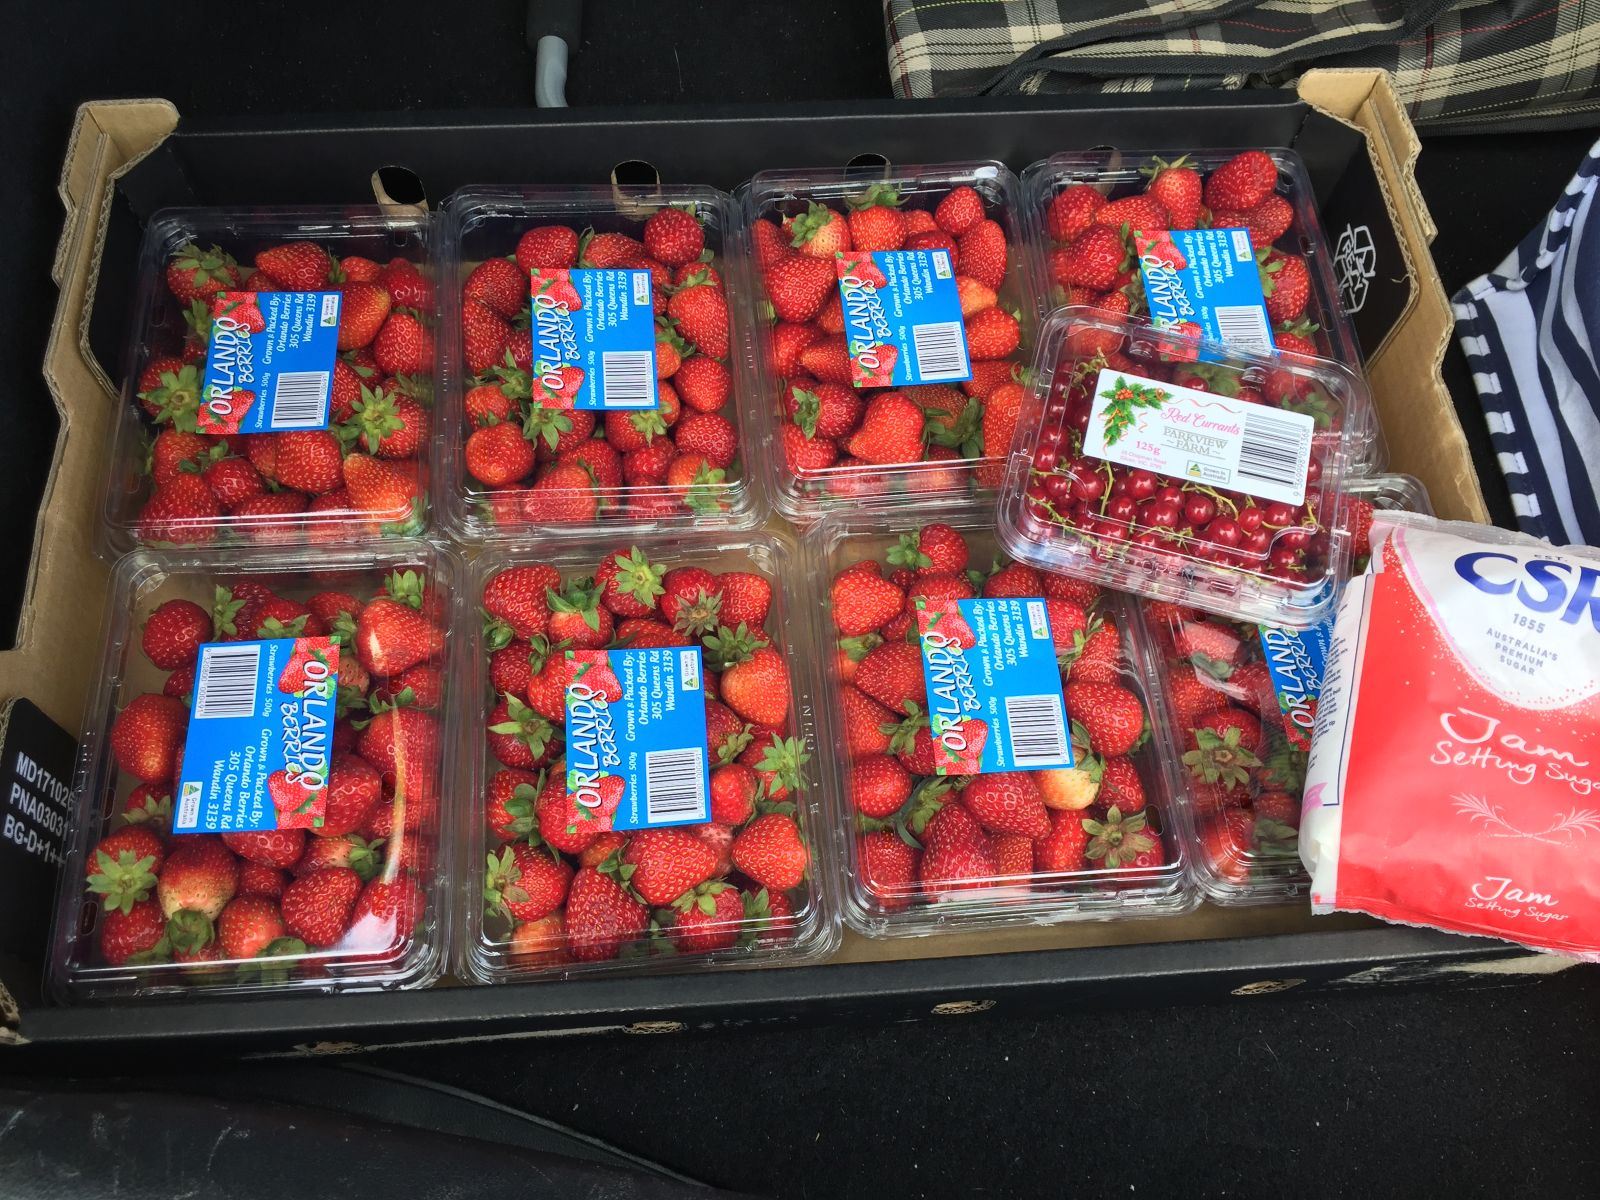
The pictures show that I also use jam setting sugar (contains roughly 98% sugar, apple pectin as a gelling agent, citric acid as an acidity regulator, and a small amount of vegetable oil). I start with just a small amount of plain sugar (50-100g) mixed in to release the juices from the fruit, and add 550-600g of the jam setting sugar after the first 15 minutes on the stove, bringing it back to a boil before canning.
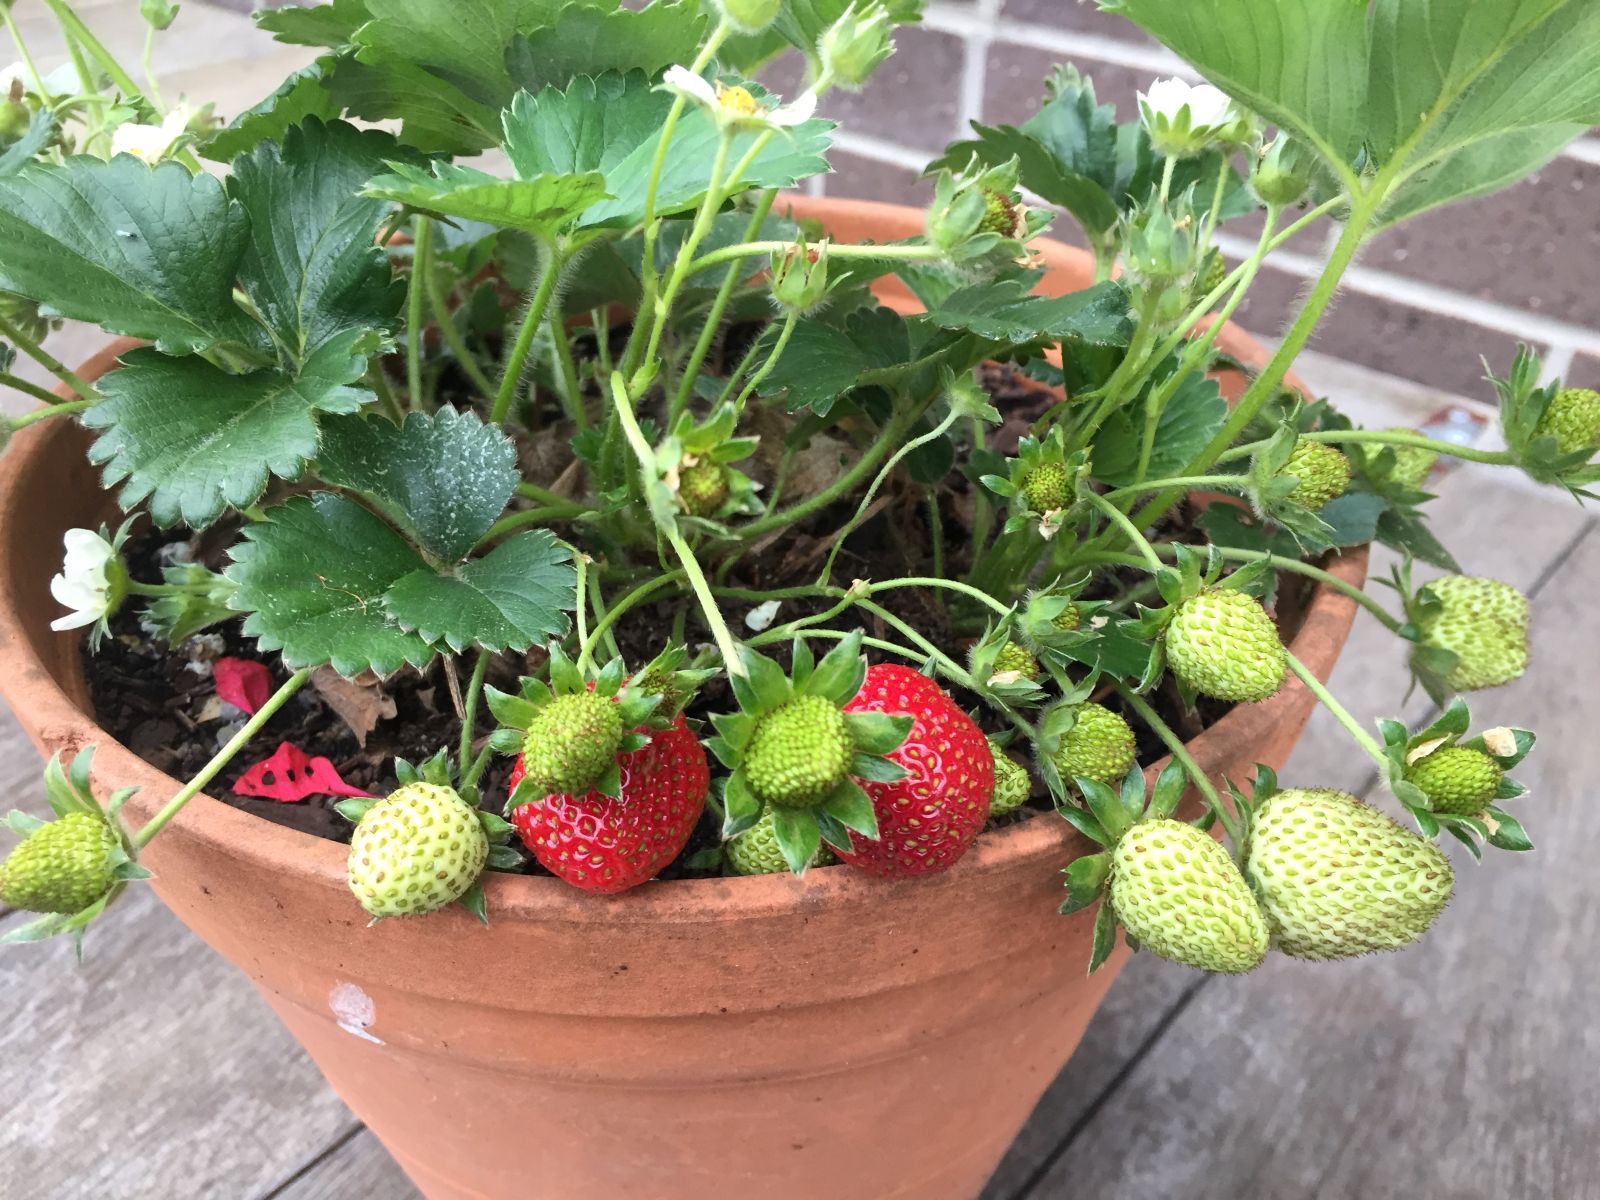
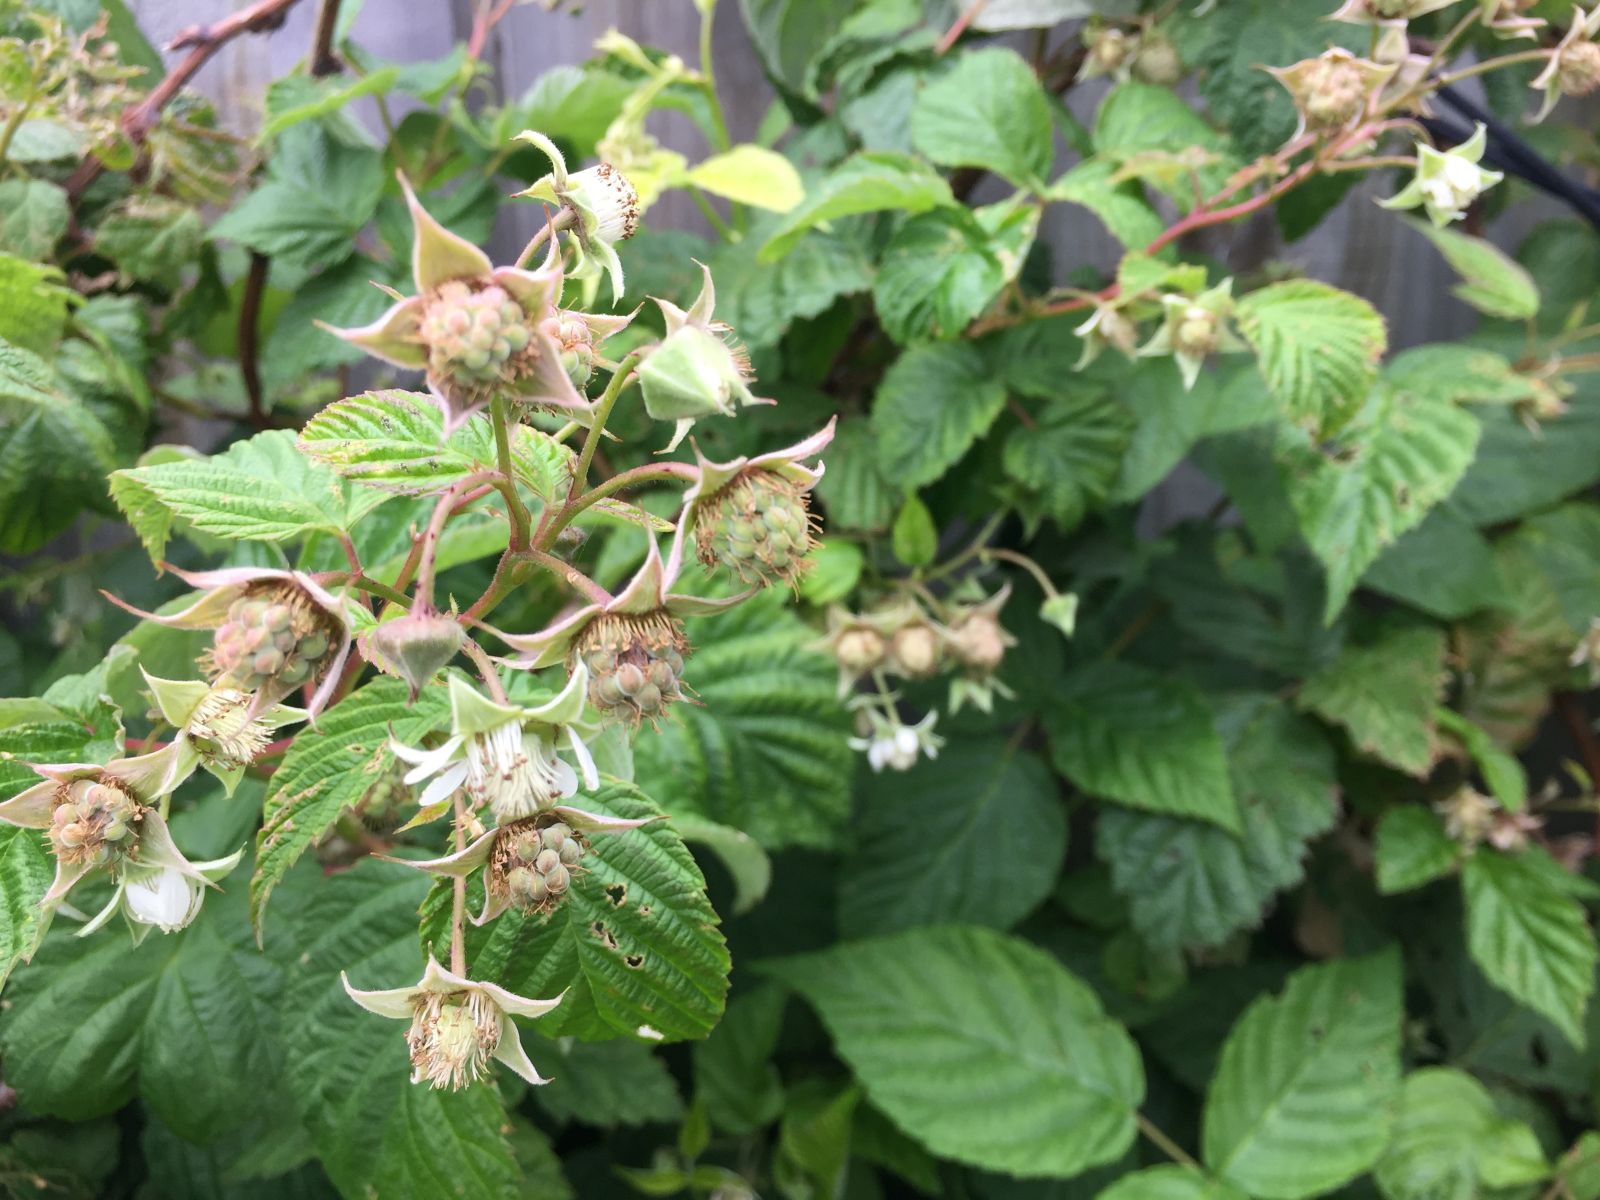
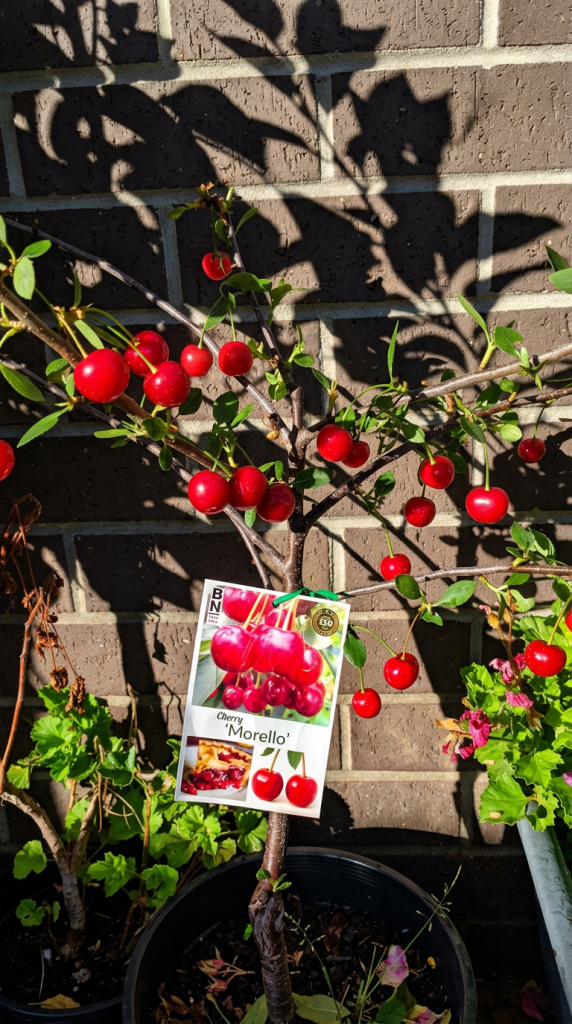
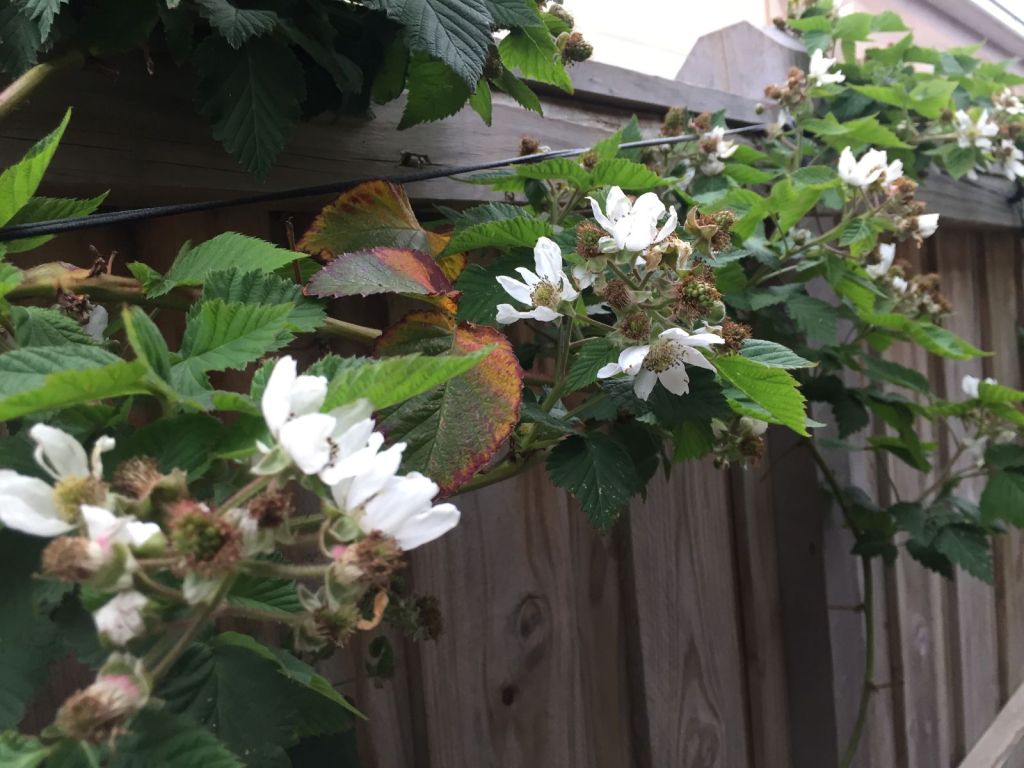
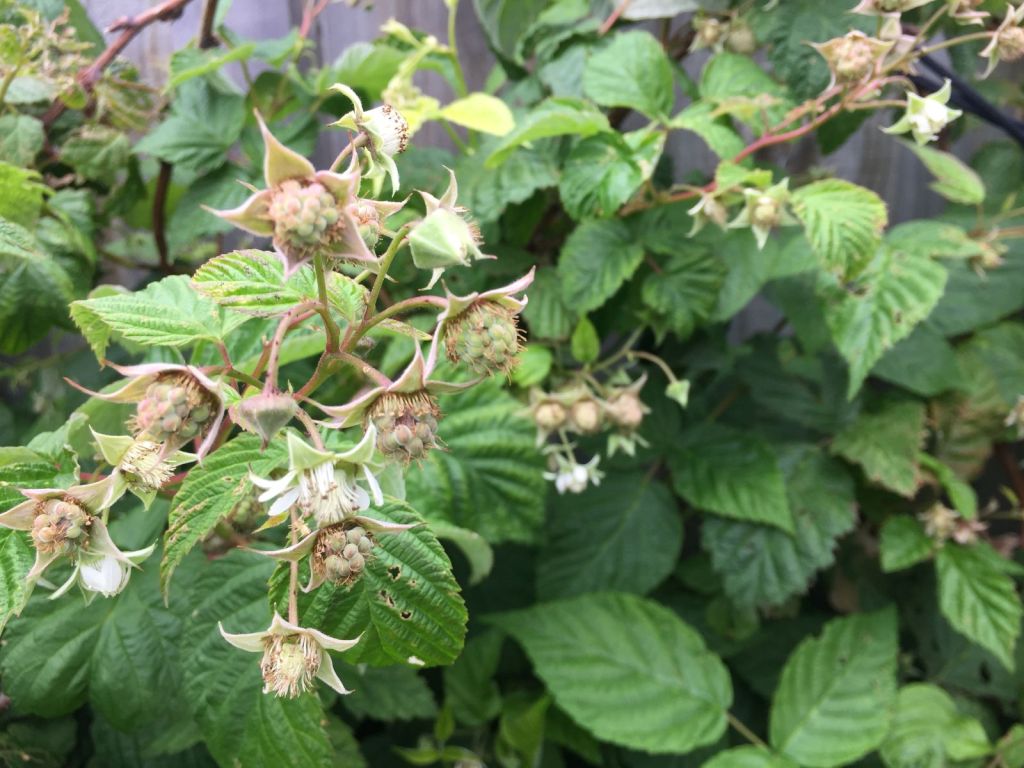
You don’t need to be the owner of a huge garden to do this (I certainly am not, as most of my berries grow in pots or in a narrow partly shaded area between the house and the fence). You can use frozen berries from the supermarket as they are relatively cheap, or catch a good discount at a fruit market when they are in season.
Before you throw something away, pause for a moment and imagine what it could become. Reuse and upcycling are wonderful ways to give everyday materials a second life—turning scraps, treasured remnants, and overlooked objects into something useful, beautiful, and entirely your own.
From fabric scraps to useful treasures
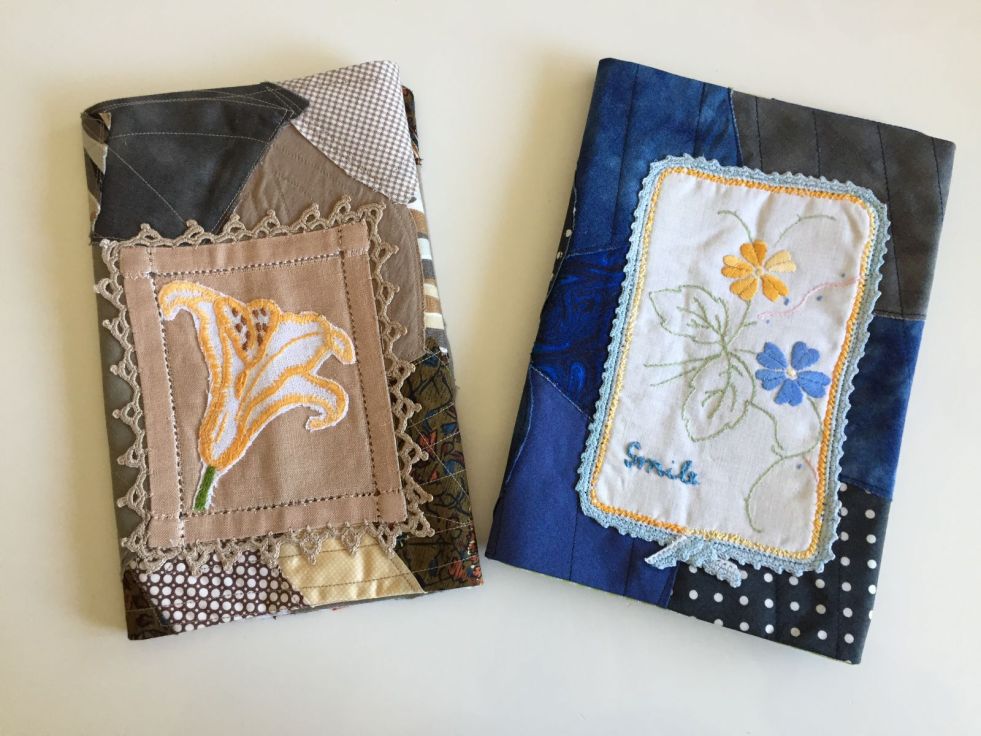
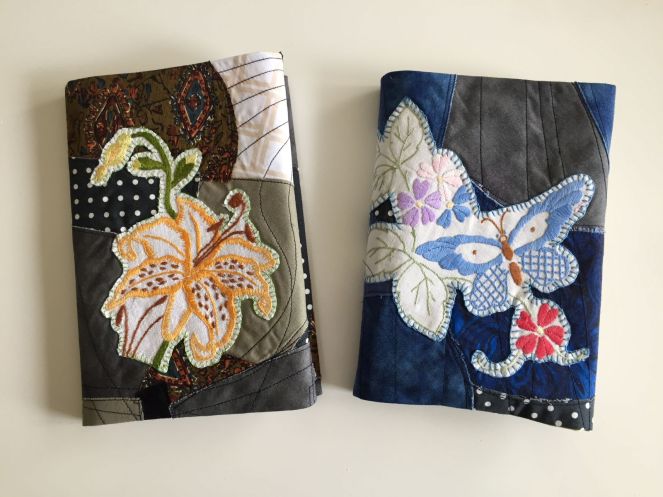
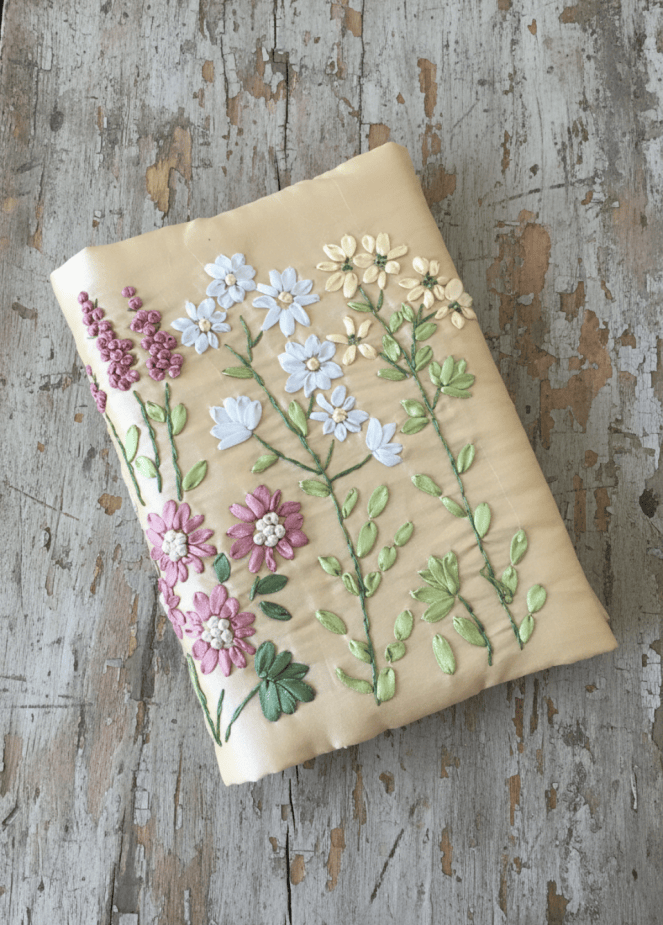
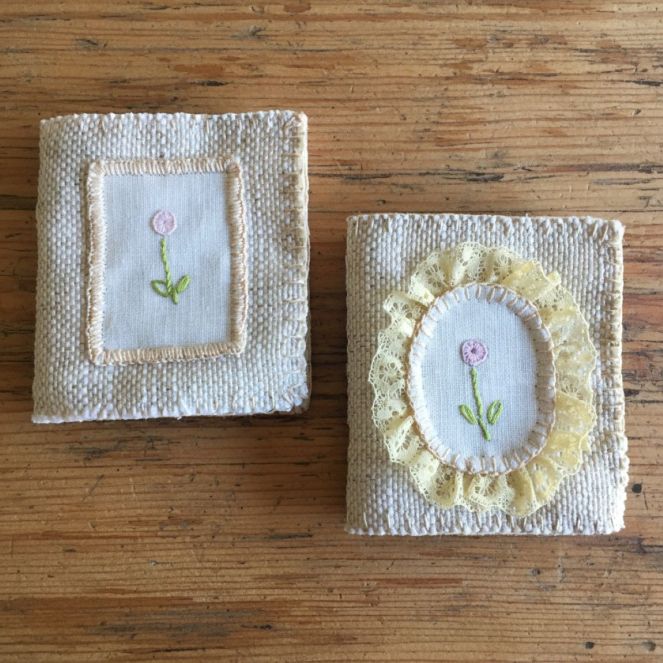
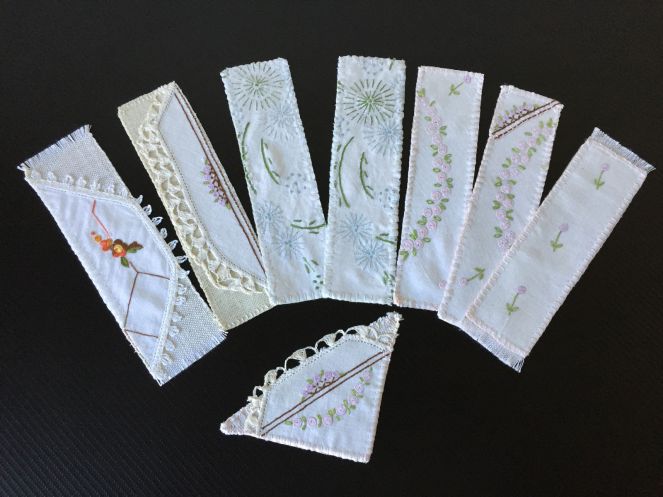
These handmade book covers, bookmarks, and needle books began with fabric scraps and salvaged pieces of vintage embroidered doilies. Instead of allowing those beautiful materials to disappear into a drawer or end up in the bin, I gave them a new purpose through patchwork, embroidery, and careful stitching.
Handmade fabric book covers made from reused materials.
Small details with a practical purpose
A fabric book cover can protect a favourite book while adding a little personality to everyday reading. Bookmarks make thoughtful, useful gifts, and a needle book keeps needles safely together while making a sewing basket more colourful. Each item is practical, but each one also carries the character of the materials from which it was made.
I particularly enjoy working with pieces that already have a history. An embroidered flower, an unusual scrap of fabric, or a fragment of an old doily can become the starting point for a completely new design. The marks of the original textile are not something to hide; they are part of its charm.
Why reuse matters
Reuse is not only about avoiding waste. It is also about slowing down, noticing the possibilities in what we already have, and making thoughtfully rather than automatically buying something new. A small remnant can be enough to create a useful object, and the finished piece can feel more personal because it has been made with care.
I made these book accessories in July 2026, using fabric scraps and salvaged vintage embroidery. Some have already found new homes through my Etsy shop, while others remain available as reminders that beautiful, useful things can begin with materials that might otherwise have been discarded.
Whether you are sewing, crafting, repairing, or simply finding a new use for something old, I hope these projects inspire you to look at everyday materials differently. Before throwing something away, ask yourself: what else could this become?
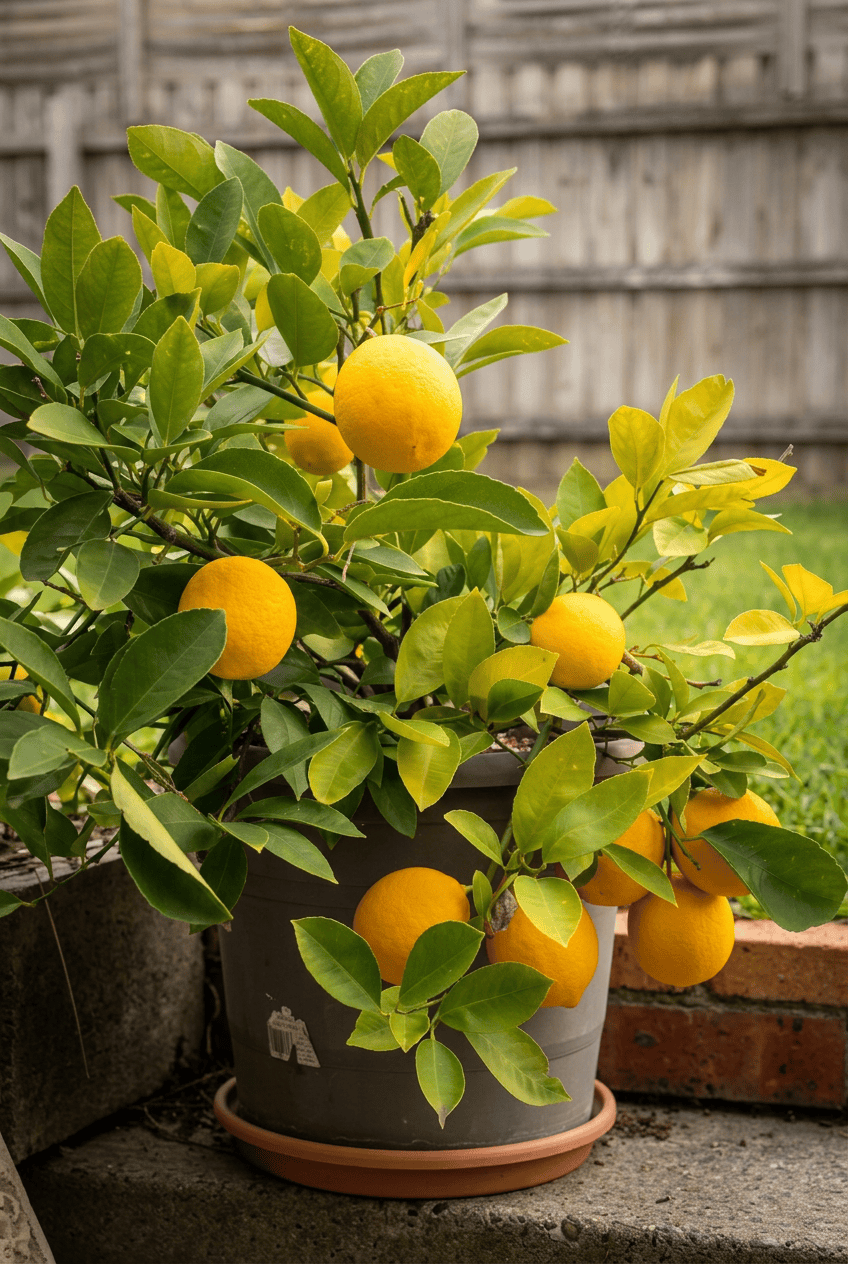
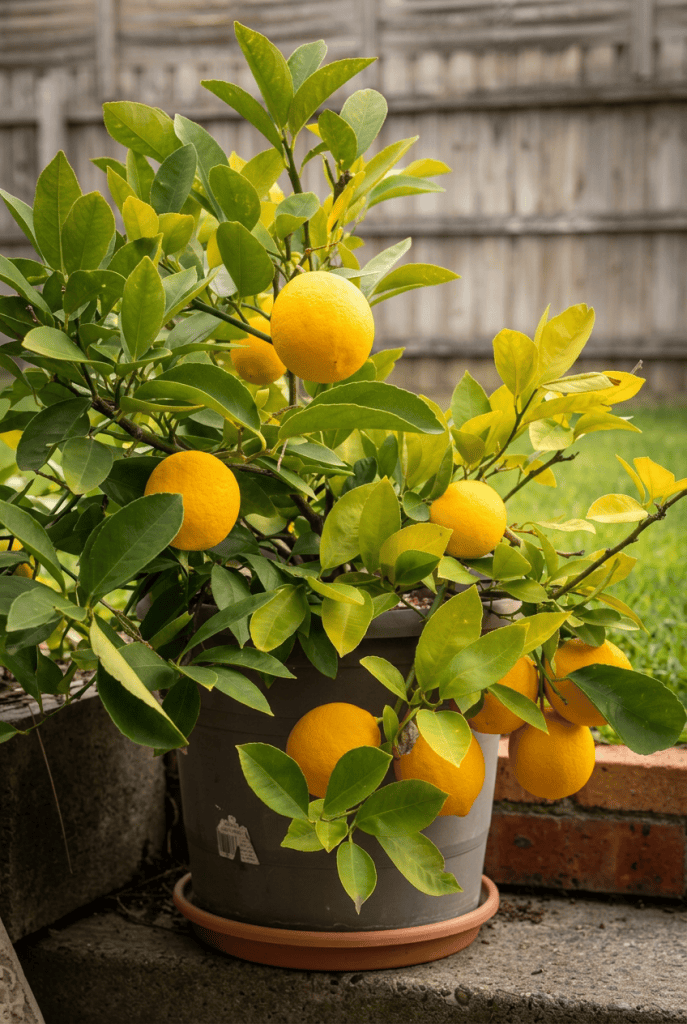
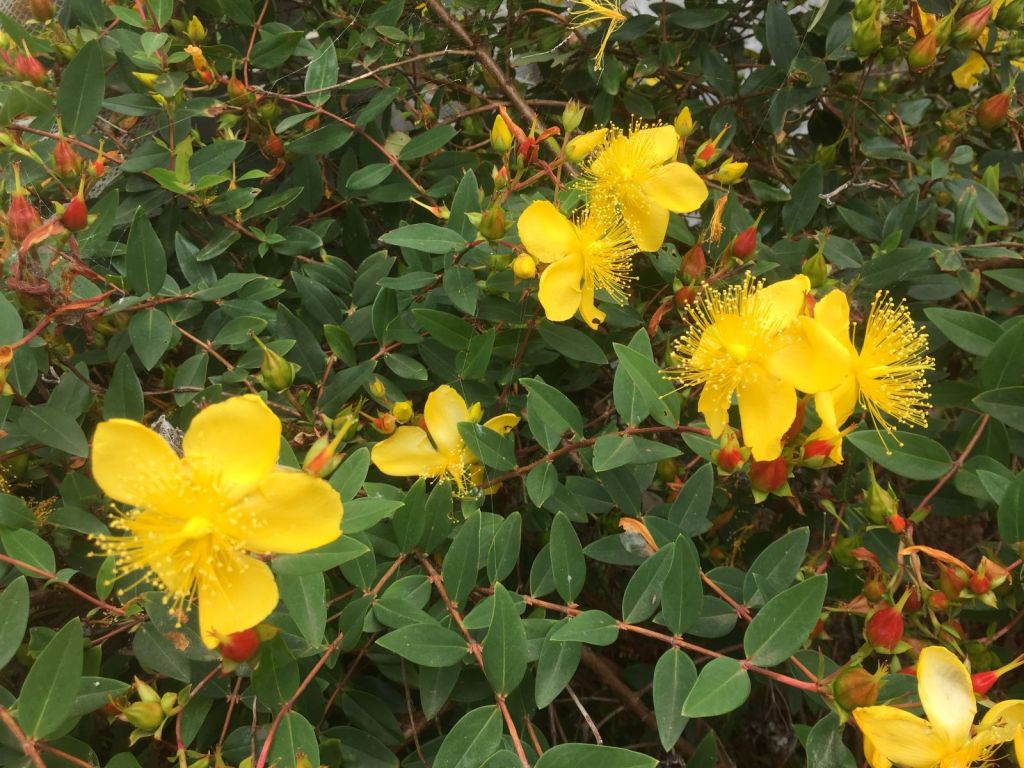
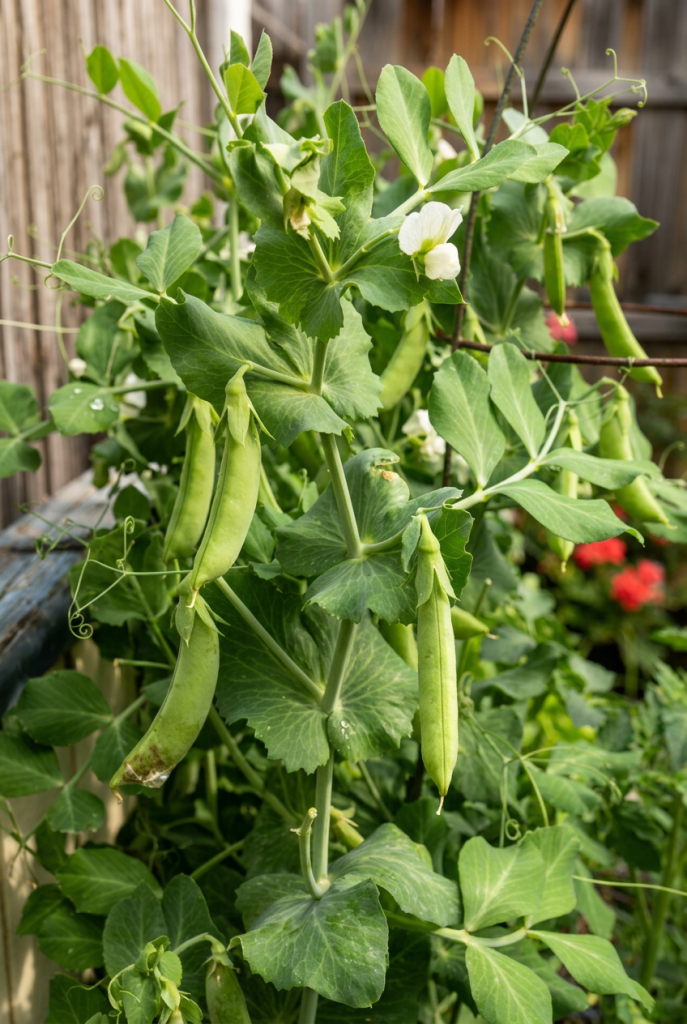
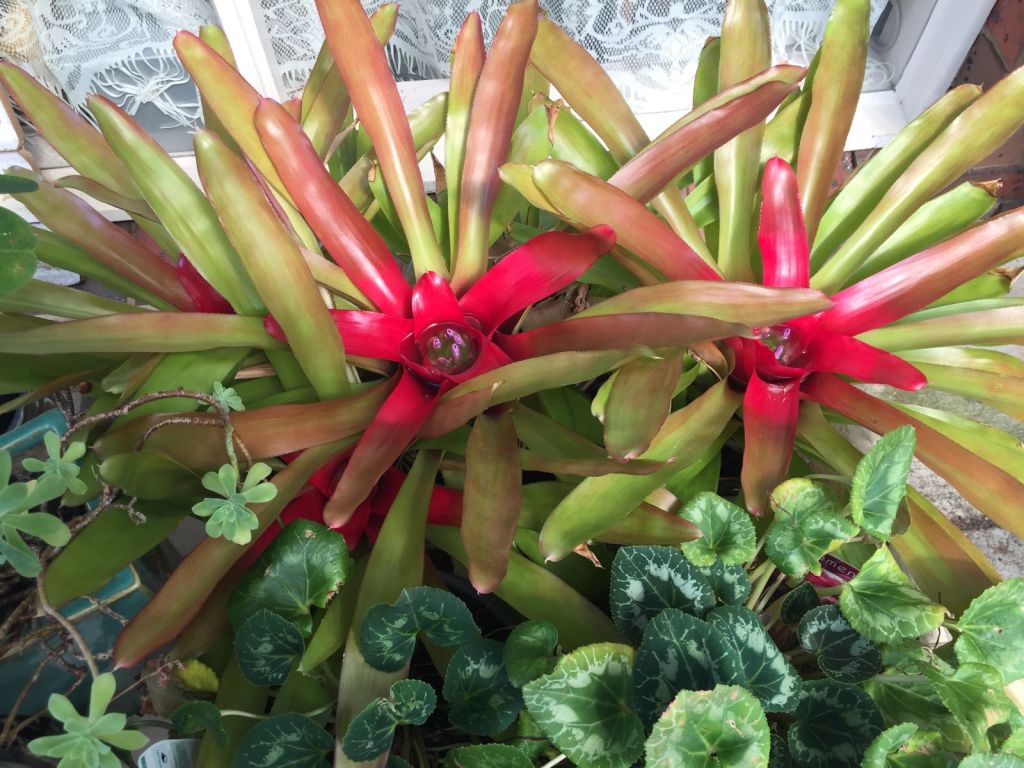
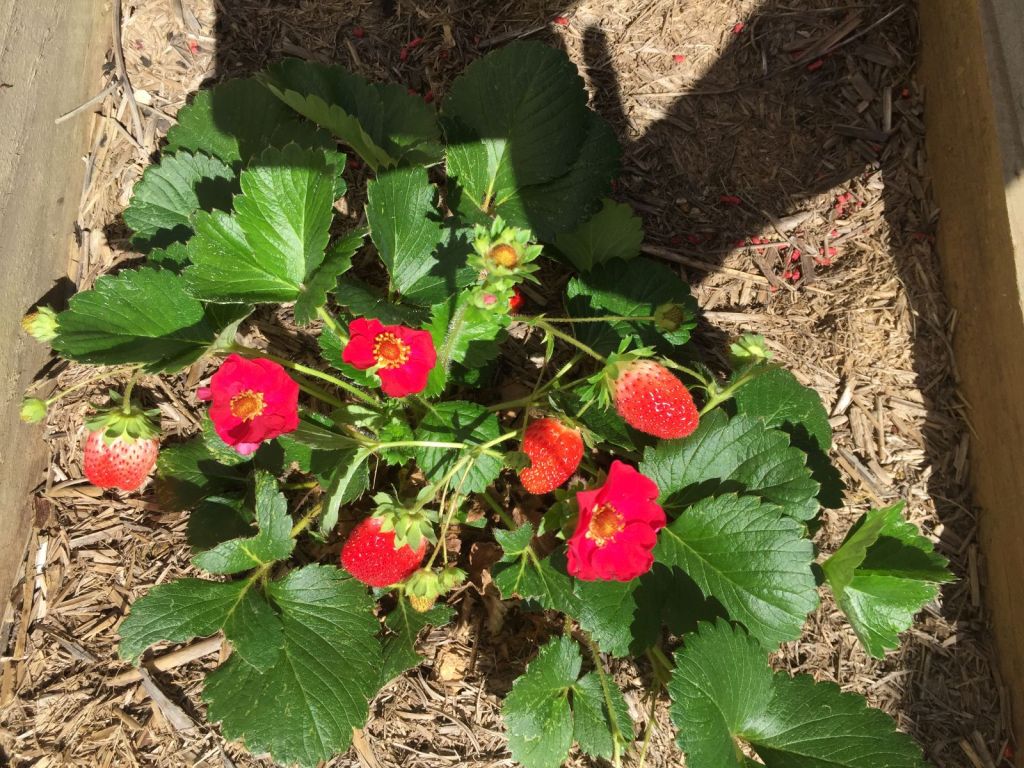
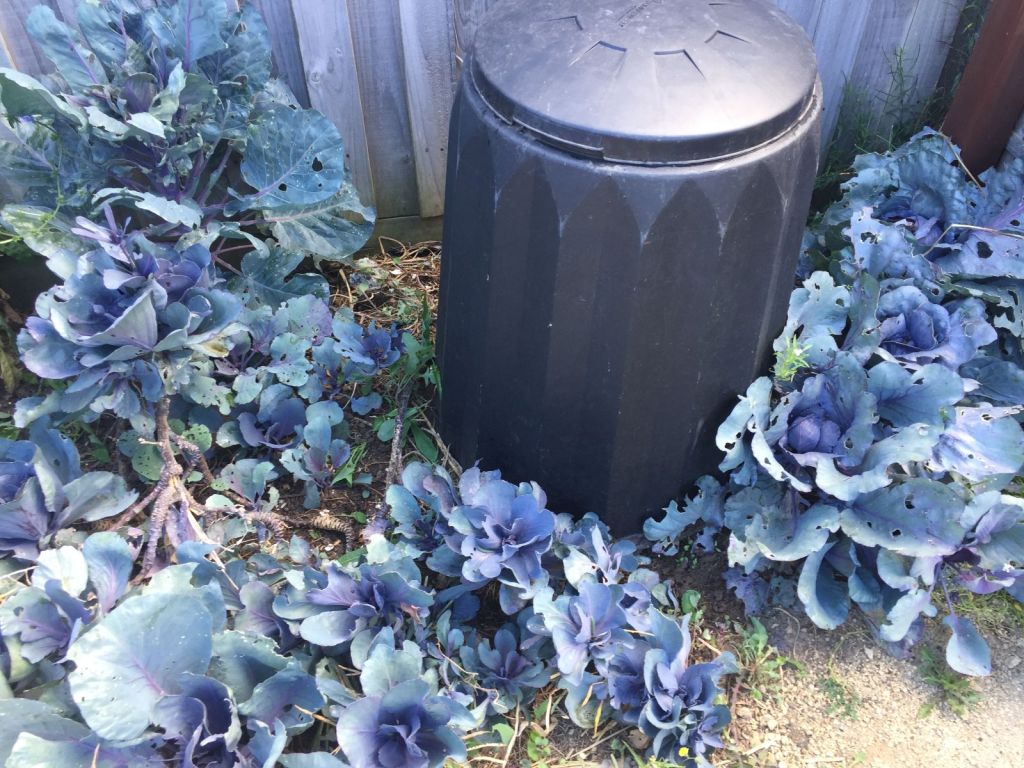
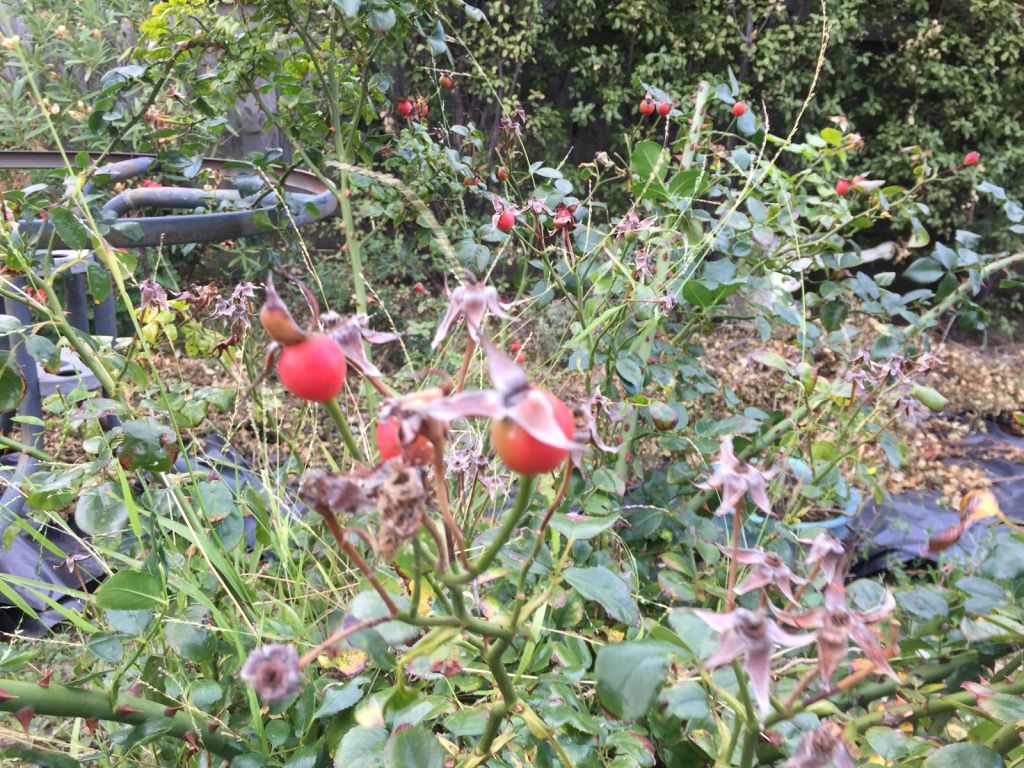
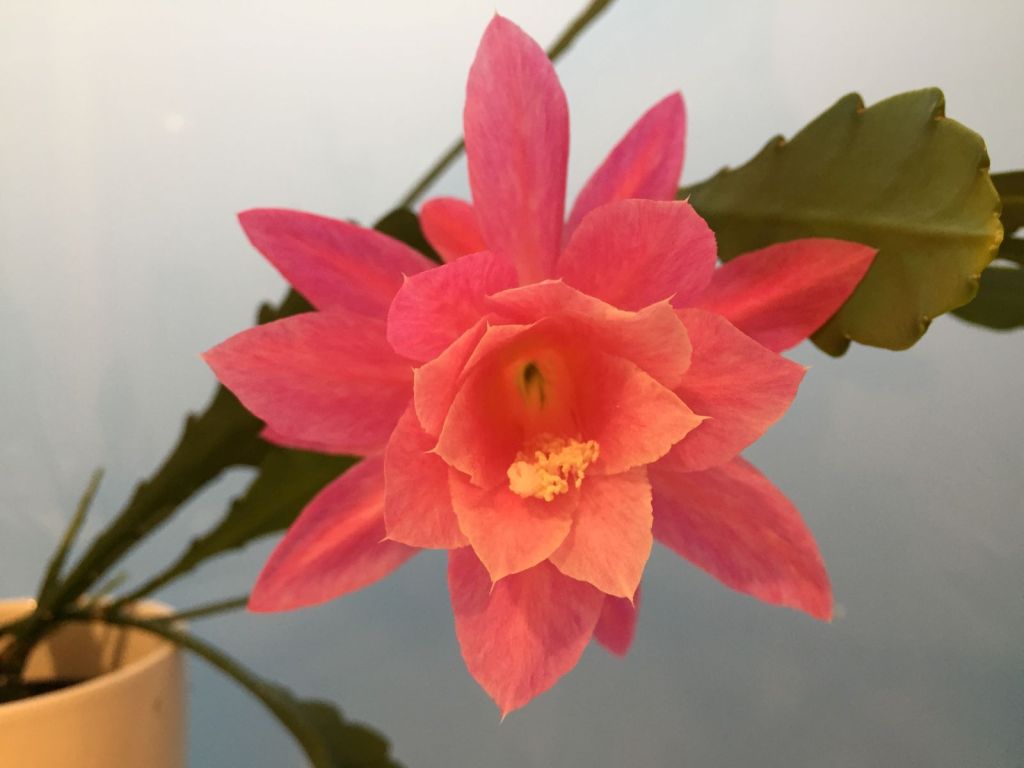
There is something quietly magical about watching a garden wake up and grow, whether it is a full backyard plot, a few raised beds, or a collection of pots on a balcony. Over time, my own little growing spaces have become a place of calm, curiosity, and simple joy. I love stepping outside to see what has changed since yesterday — a new leaf, a tiny bud, or the first blush of color on a ripening strawberry.
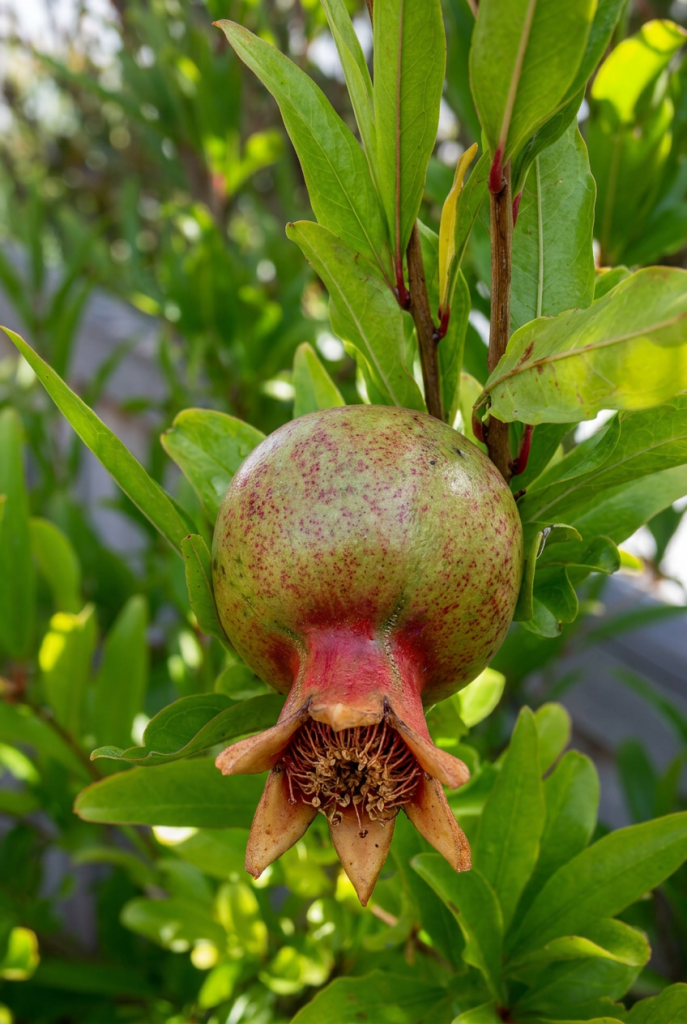
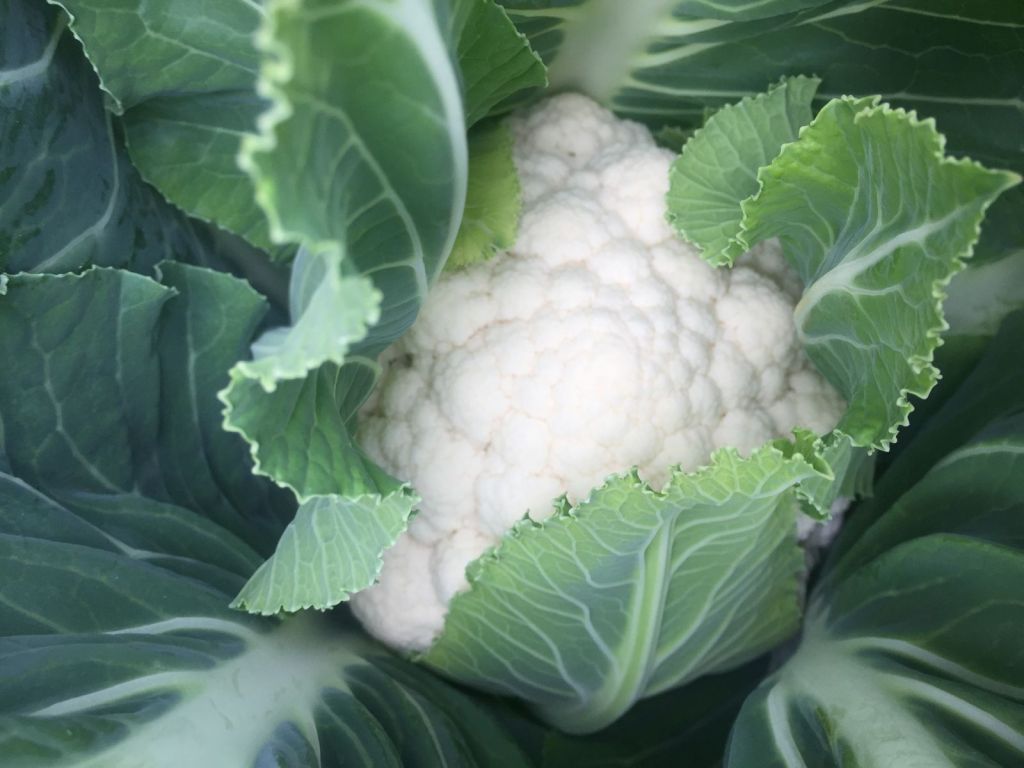
My garden is a mix of herbs, flowers, fruit, and vegetables, all sharing the same space in their own way. It is not about perfection or huge harvests; it is about the pleasure of noticing each stage of growth and enjoying whatever the season offers.
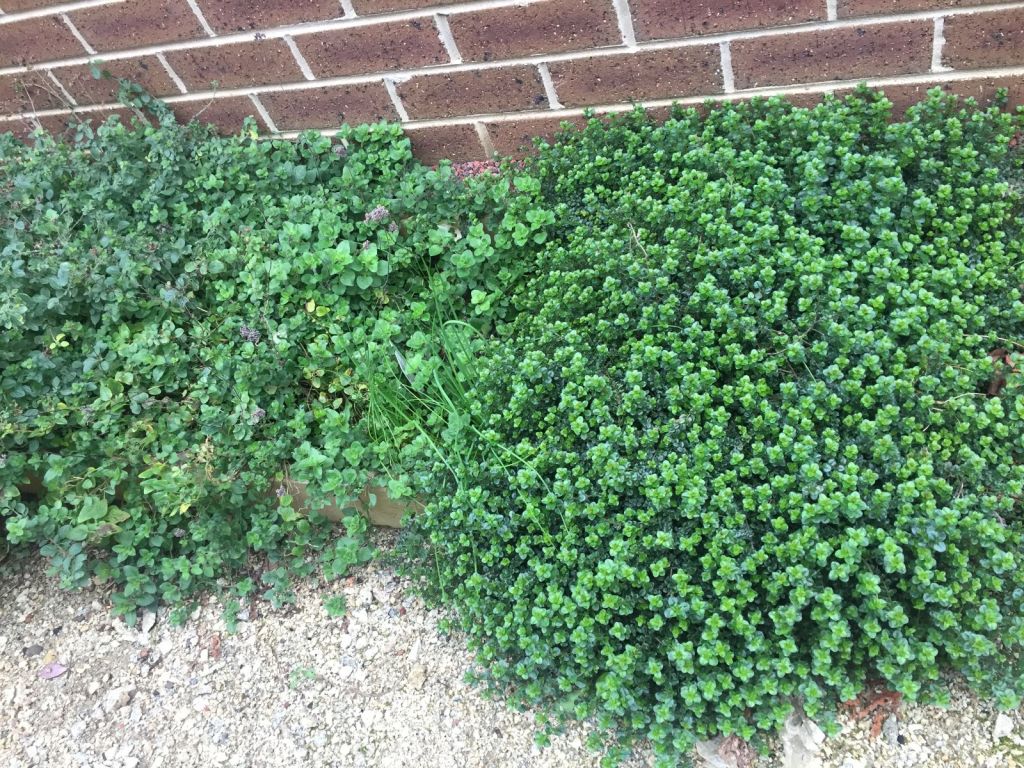
Herbs: Everyday Little Luxuries
Herbs are often the first thing I visit in the garden. Even the smallest space can hold a handful of fragrant plants, and they bring a surprising amount of life and comfort. Brushing past them releases their scent, and a quick snip here and there adds freshness to meals, cups of tea, or simple home cooking. There is a special satisfaction in knowing that a pinch of green on the cutting board started as a tiny sprout in a pot or bed just outside the door.
Over time, the herbs become familiar companions. I notice when they put on a new flush of growth, when they start to flower, and when they are ready for a good trim. Even if the rest of the garden is quiet, a small patch of herbs can make the whole space feel alive and generous.
Flowers: Color, Companions, and Simple Beauty
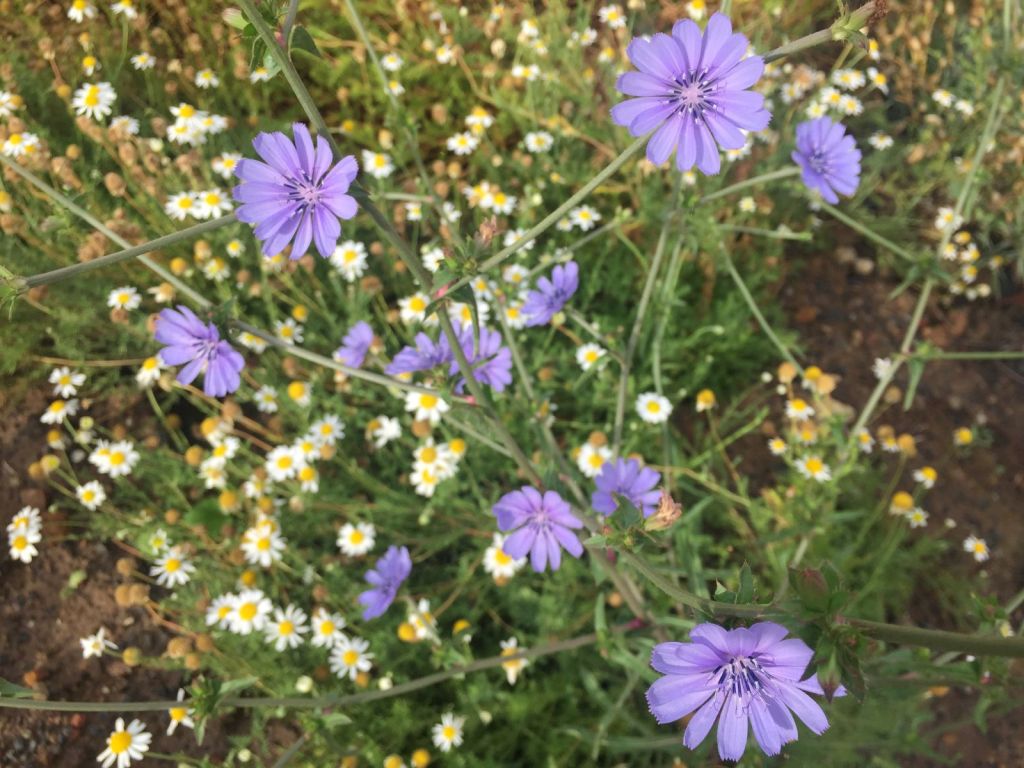
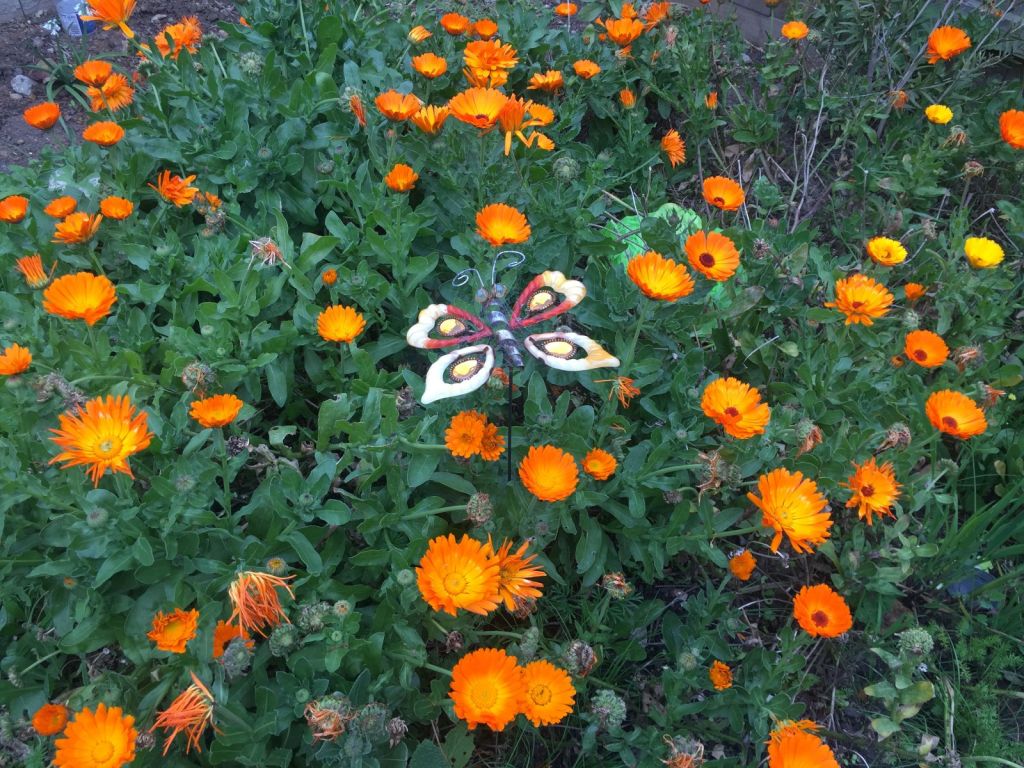
Flowers weave their way between the herbs and vegetables, softening straight lines and adding pockets of color. They might edge a path, fill a container, or pop up in unexpected corners. I love how they shift with the seasons — early blooms giving way to taller stems and bigger blossoms as the weather warms.
Sometimes I cut a few stems to bring indoors, placing them in a small jar on the table or by the kitchen sink. Other times I leave them where they are, happy just to catch a glimpse of color from the window. Whether they are bold and bright or soft and delicate, flowers turn the garden into a place that feels joyful and welcoming.
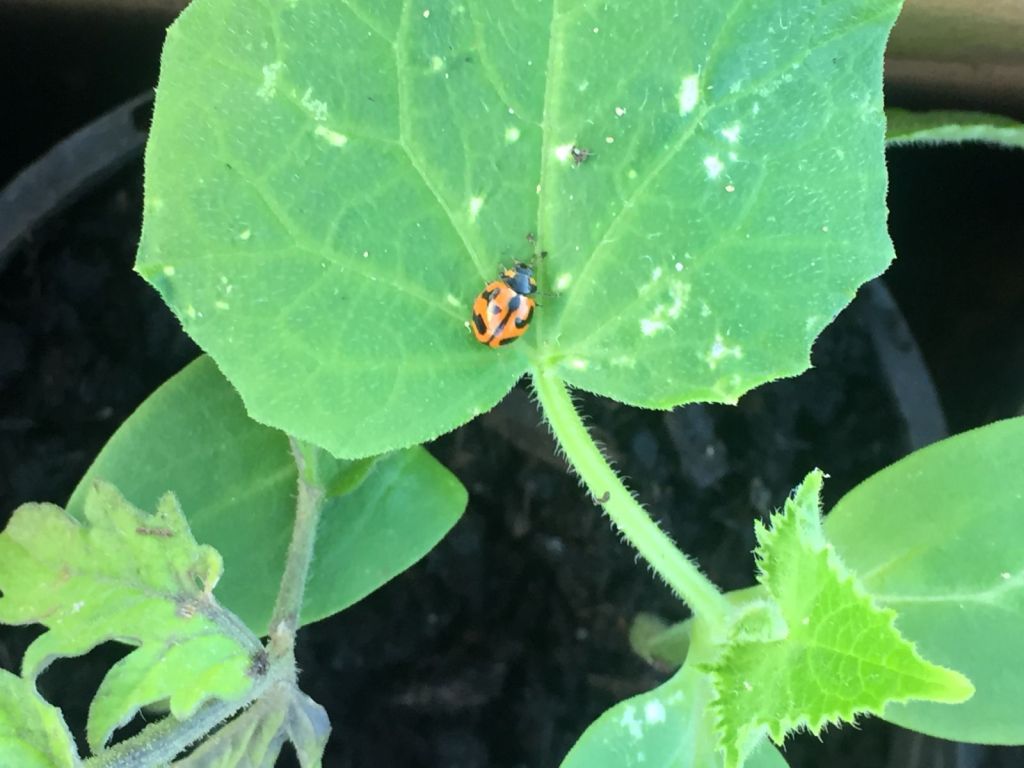
They also act as quiet companions to everything else growing nearby. Nestled among the vegetables and fruit, they attract attention from both people passing by and the many small visitors that help keep the garden buzzing with life.
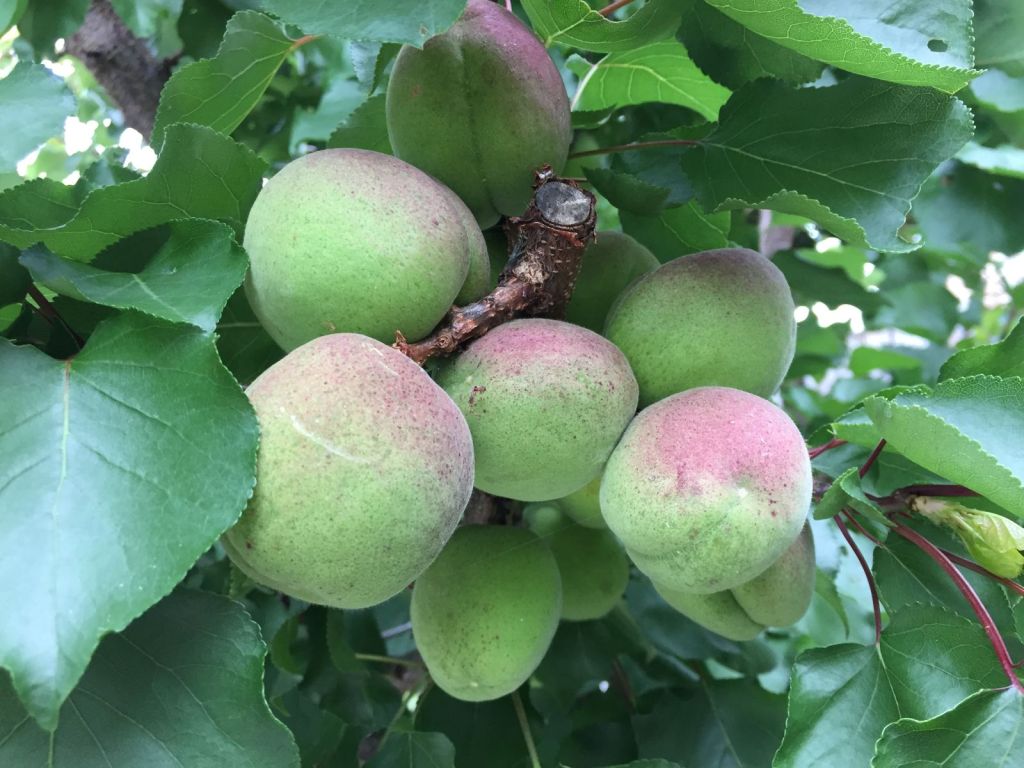
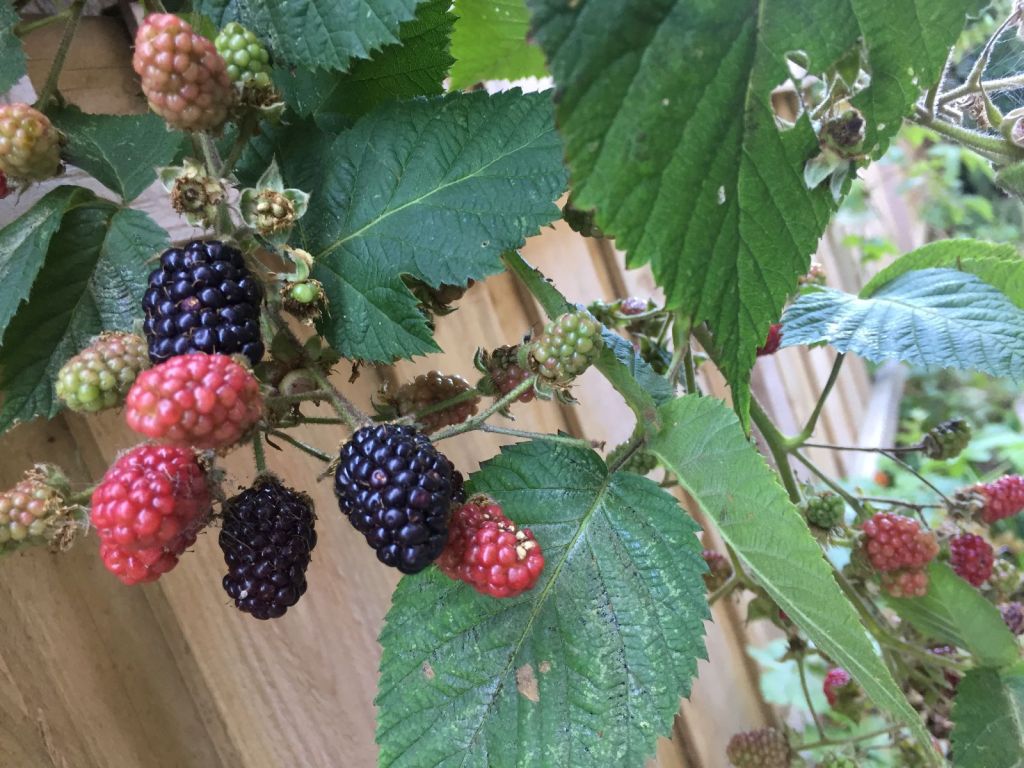
Fruit and Vegetables: From Garden to Kitchen
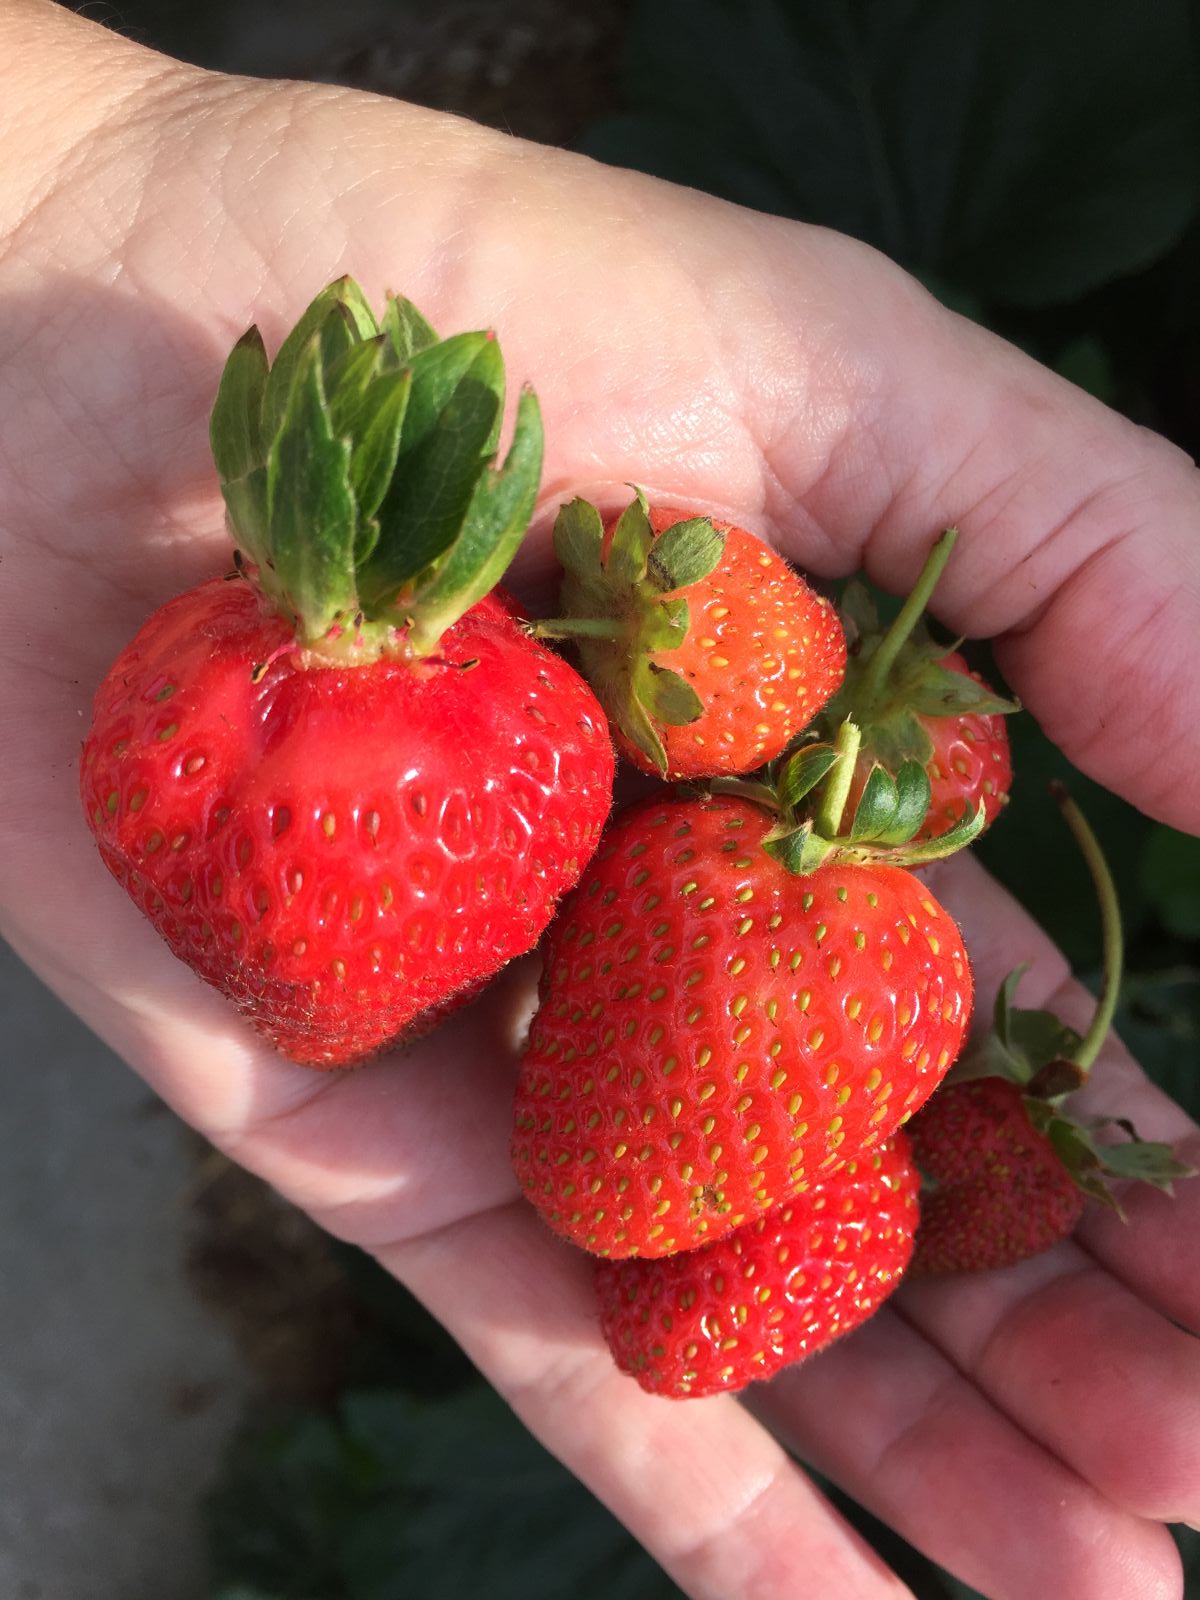
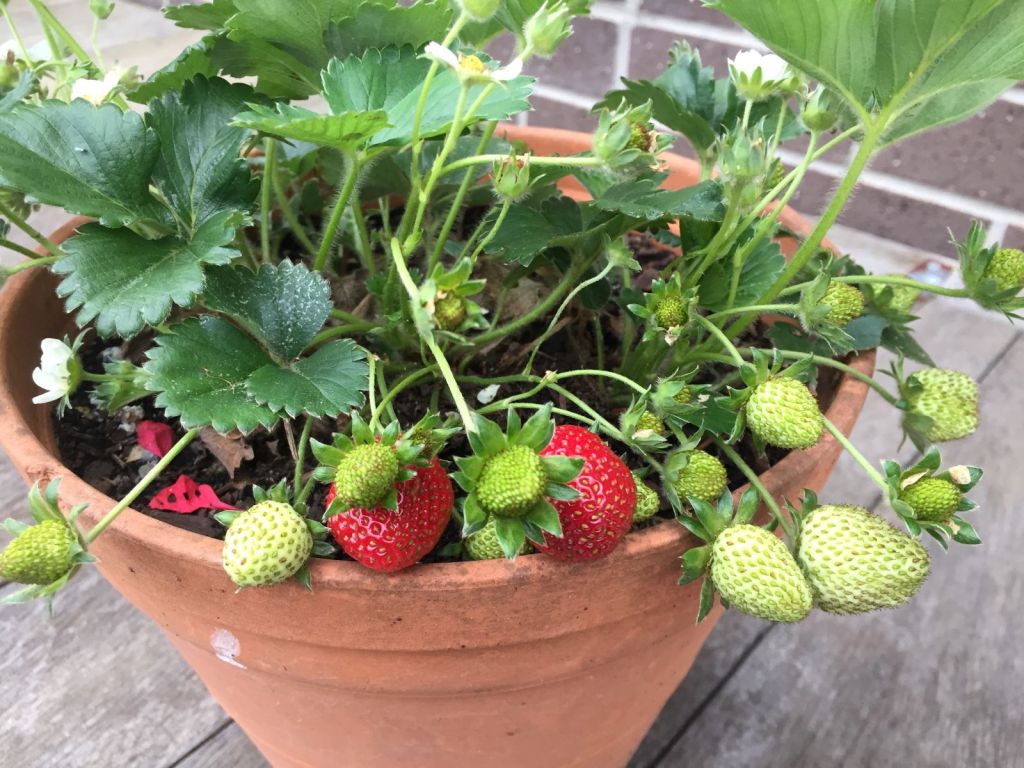
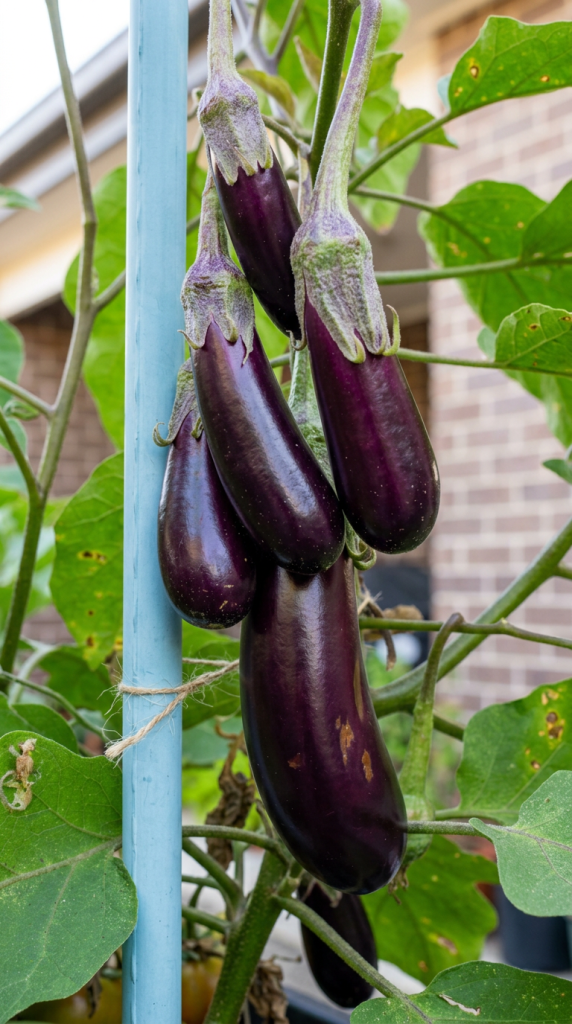
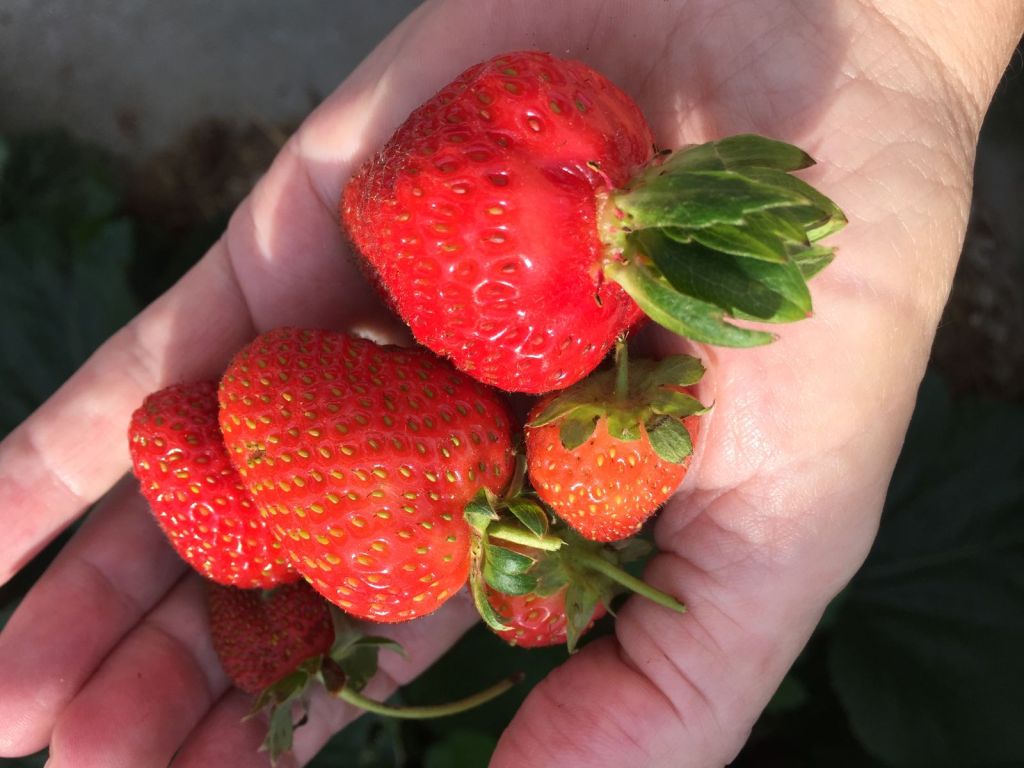
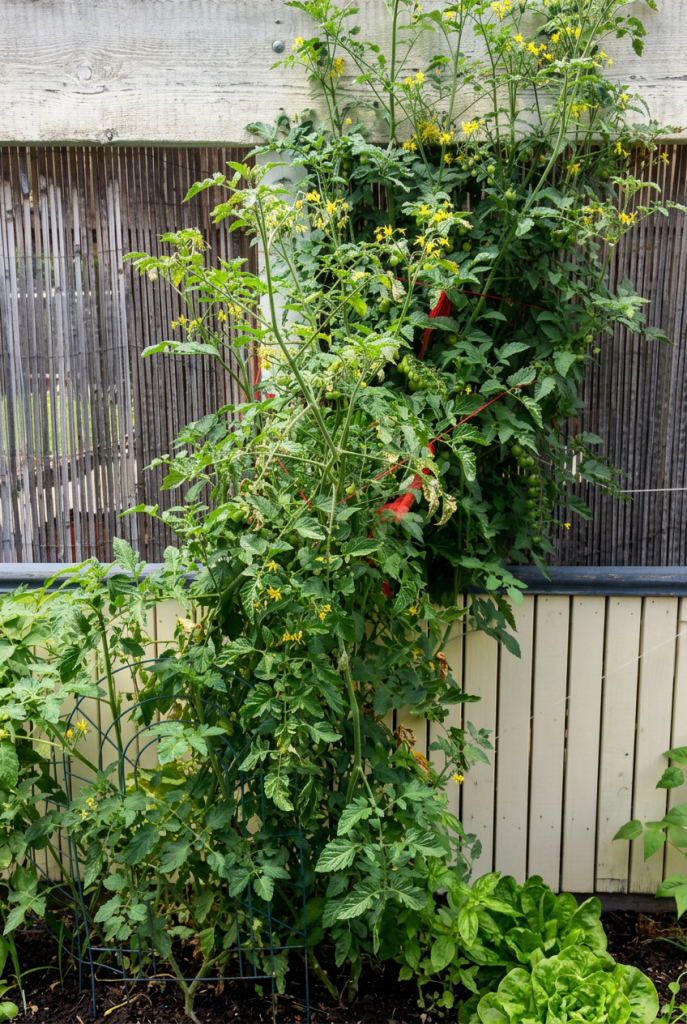
There is a particular thrill in seeing the first signs of fruit and vegetables taking shape. Tiny green tomatoes swelling on the vine, baby cucumbers hiding under big leaves, and the first flush of red on strawberries all feel like small promises kept. Even a modest harvest turns an ordinary day into something a little special.
Tomatoes, cucumbers, and strawberries have a way of capturing attention, partly because they are so familiar and partly because they taste best when they have had time to soak up sun and warmth right where they grow. Whether they end up sliced into a simple salad, scattered over toast, or eaten straight in the garden, they carry the flavor of the season with them.
Vegetables and fruit from the garden do not need to be perfect or plentiful to feel rewarding. A handful of cherry tomatoes, a couple of cucumbers, or a small bowl of strawberries can be enough to brighten a meal. Each harvest is a reminder of the quiet work happening below the soil and in the leaves over many days and weeks.
Small Spaces, Big Discoveries
One of the things I appreciate most about gardening is how much can happen in a small space. A balcony, patio, or tiny corner of a yard can hold pots of herbs, a few flowers, and even some compact fruit or vegetable plants. Over time, these small arrangements turn into a place full of discoveries: a new bud, a visiting bee, or the first time a plant produces something you can pick.
Every season brings its own rhythm. Early in the year, I look for signs of new growth and fresh green leaves. As the weather warms, the garden fills out with blossoms and the beginnings of fruit. Later on, the focus shifts to harvests, seed heads, and the gentle winding down of the year. Moving through these stages brings a sense of connection to the passing months that is both grounding and comforting.
Along the way, there are always small surprises: a volunteer seedling popping up in an unexpected spot, a flower that lasts longer than expected, or a plant that responds especially well to a bit of extra attention. These little discoveries keep the garden feeling fresh and full of possibility.
Bringing the Garden Indoors
The pleasure of gardening does not end at the garden gate. Bringing herbs, flowers, fruit, and vegetables into the home extends that feeling into everyday life. A sprig of something fresh on a plate, a small vase of blooms on a shelf, or a bowl of just-picked produce on the counter turns the kitchen into a natural extension of the garden.
Even on days when I do not have much time, a quick step outside to gather a few leaves or a single flower helps me slow down and appreciate the moment. Those tiny rituals — rinsing herbs at the sink, arranging a few stems in a jar, tasting the first ripe tomato of the season — add a gentle kind of happiness to ordinary routines.
In this way, the garden stays close, even when I am indoors. It is present in the flavors on the plate, the colors on the table, and the quiet sense of satisfaction that comes from using what I have grown.
Finding Joy in Your Own Growing Space
You do not need a large garden to enjoy the rhythm of growing things. A few pots of herbs on a windowsill, a planter box of flowers, or a couple of containers with strawberries, tomatoes, or cucumbers can bring the same sense of wonder and contentment. What matters most is the chance to notice the changes, to harvest even the smallest handful, and to enjoy the beauty along the way.
Wherever you are, I hope you can find a little corner for something green — a garden, patio, balcony, or any small space that catches the light. May it offer you moments of calm, a few delicious treats, and the quiet joy of watching things grow.
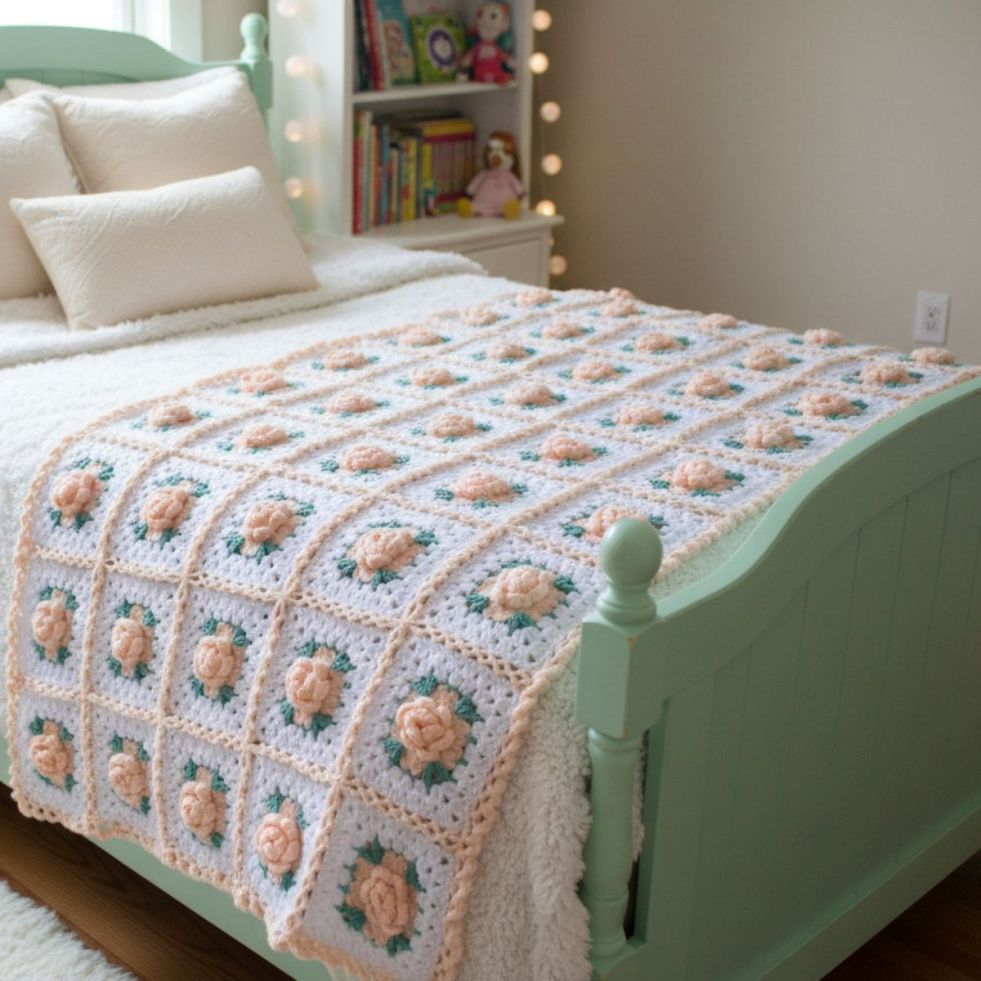
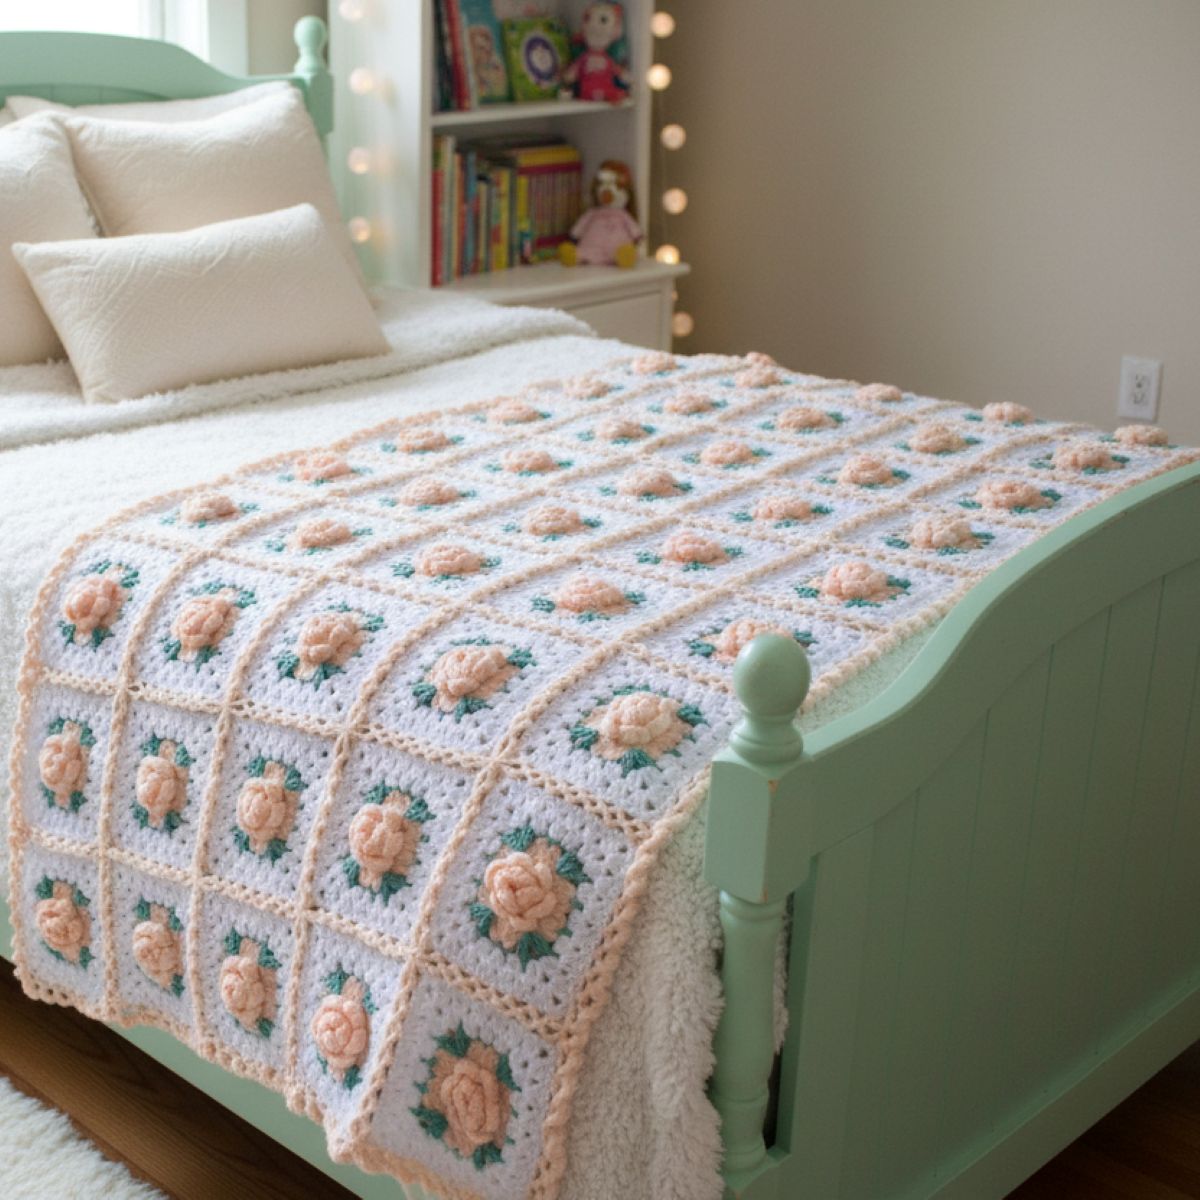
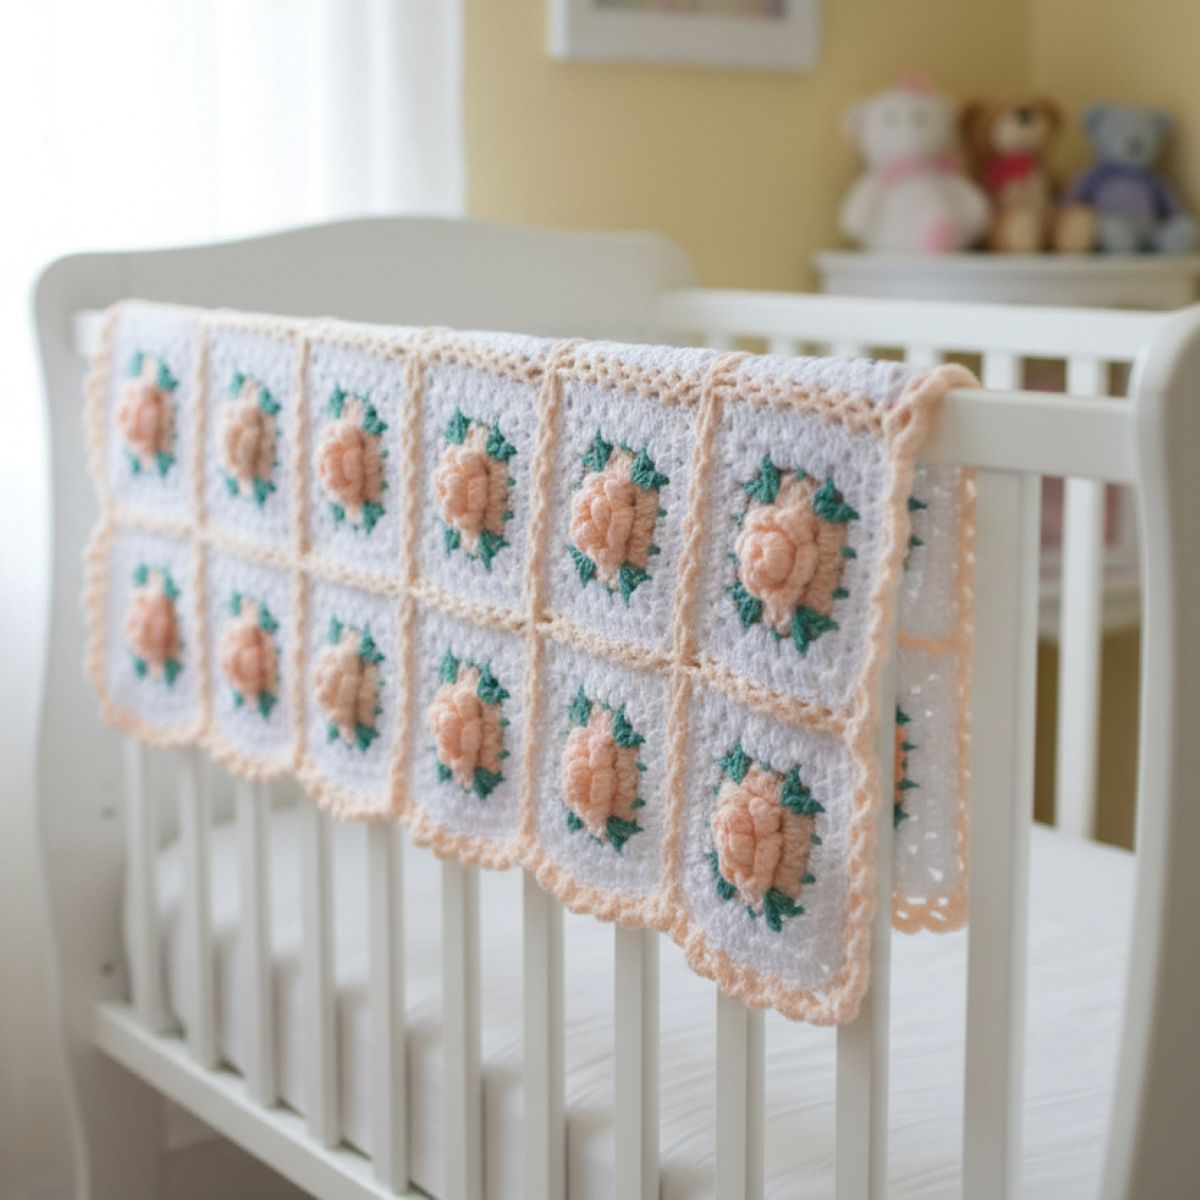
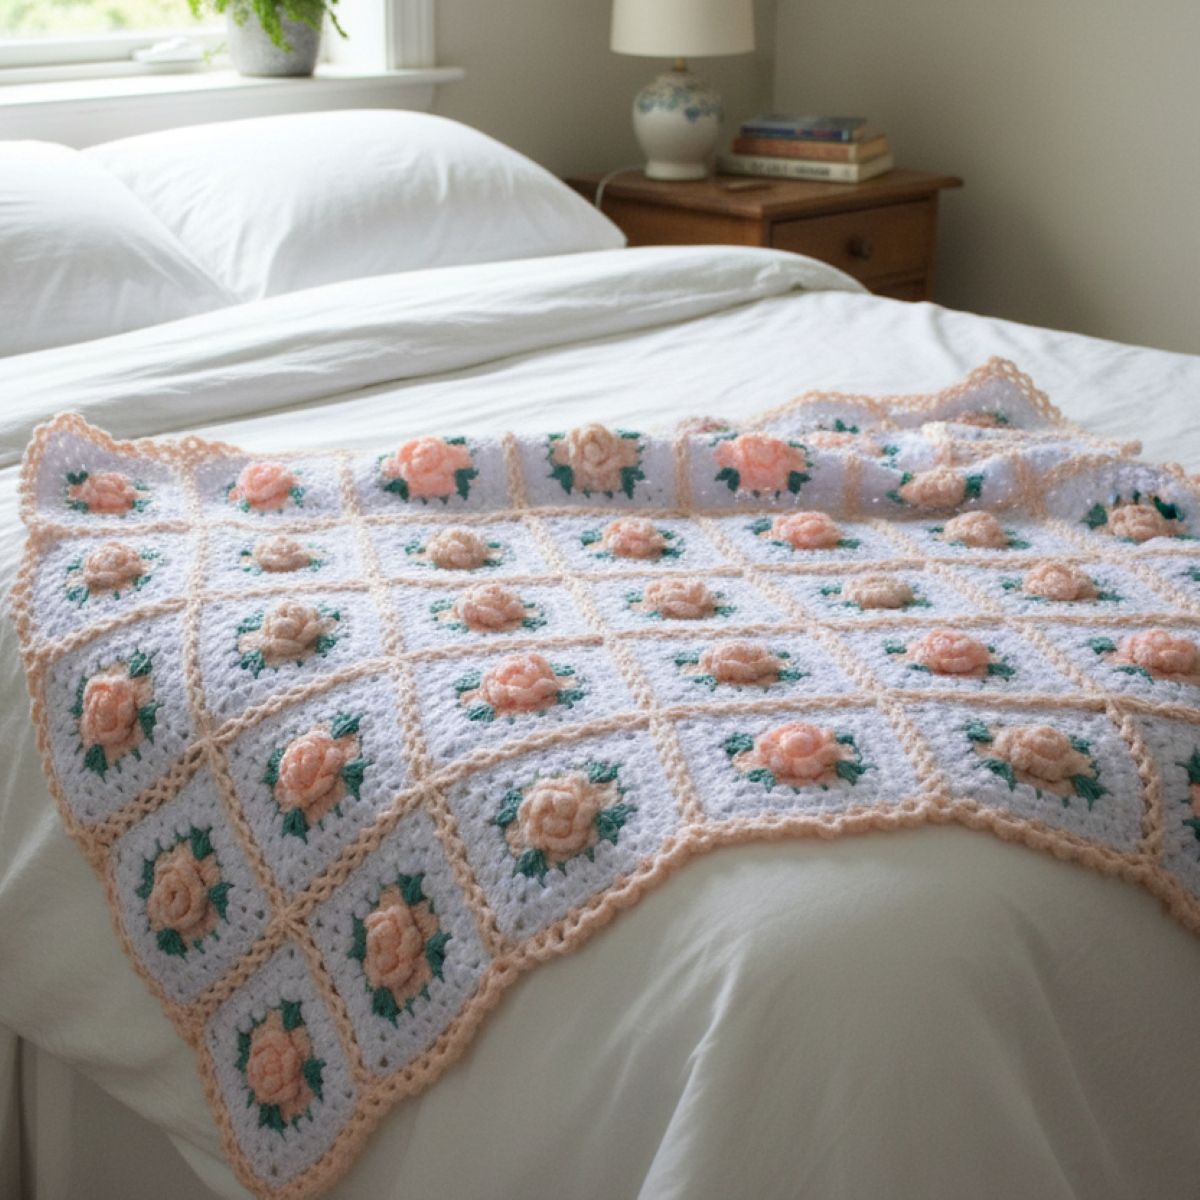
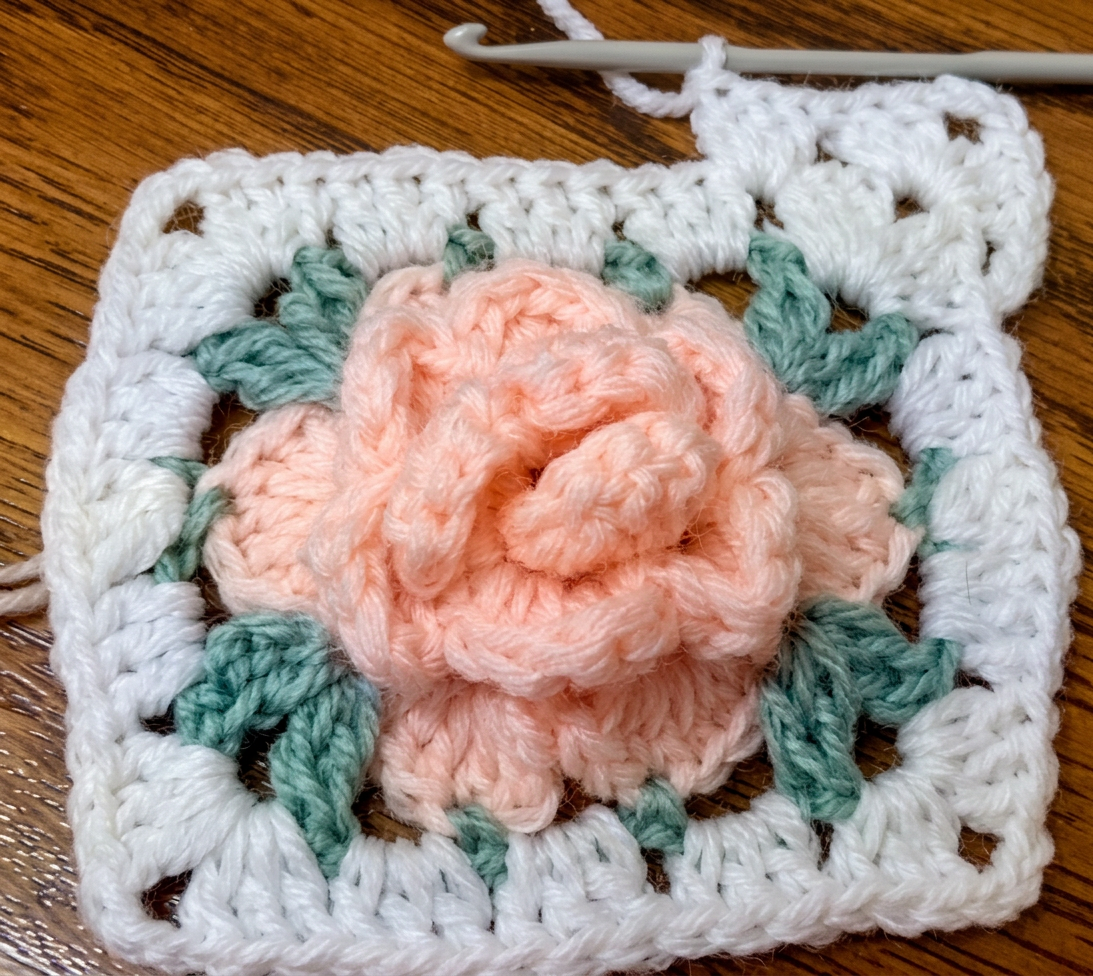
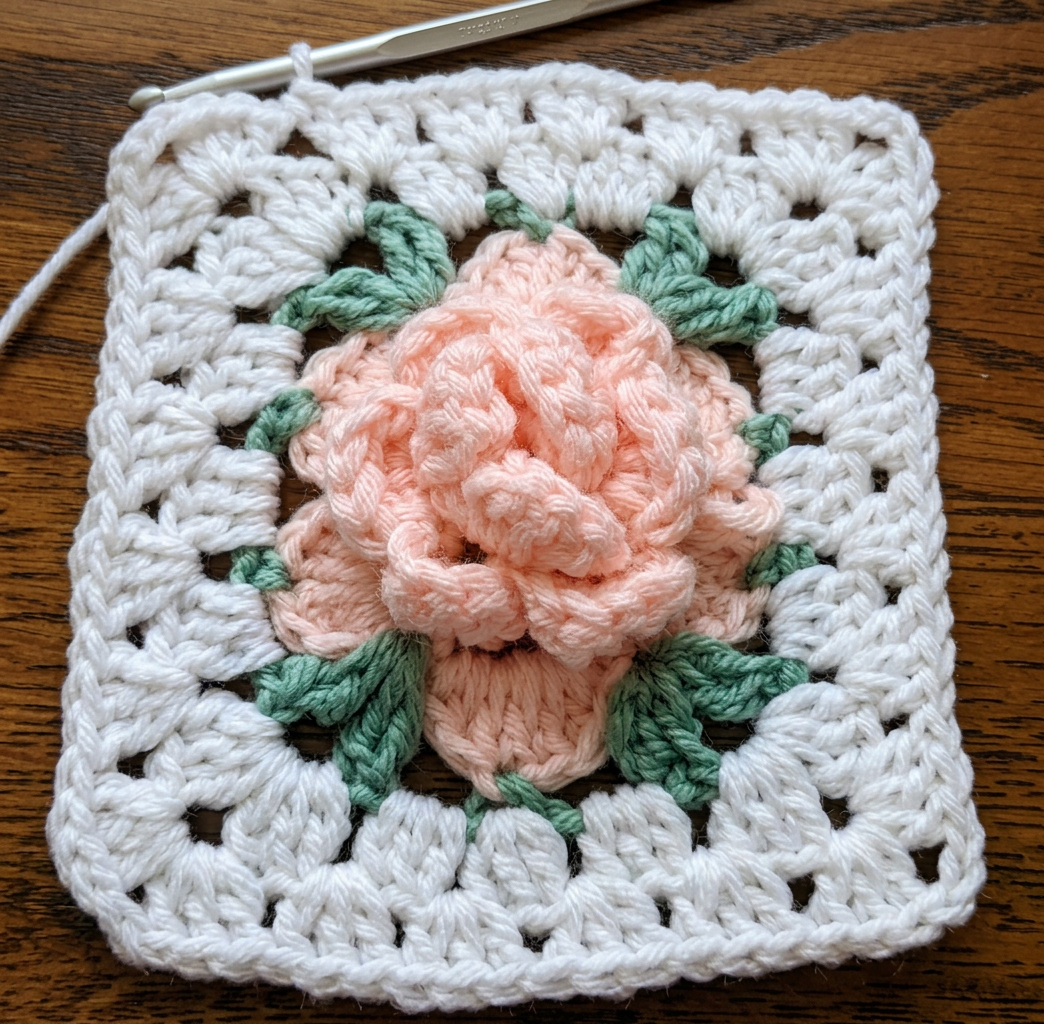
This pattern channels the French Provincial style. Transform simple stitches into lush 3D rose granny squares and join them into a shabby‑chic bed cover or cosy afghan.
Skill Level:
Suited to confident, non‑beginner crocheters.
Materials:
A full size afghan (50 x 65”) will take about 12-14 100g balls or skeins of medium weight yarn (worsted weight/DK or 8 ply), of which only two is needed for the green parts you see in the photo, the rest should be 6-7 balls each of the other two colours (white and pink in the photo). It’s a good idea to buy a bit more if you can. Any leftovers you can use for a cushion cover.
Hook size should be chosen to suit the yarn (check the labels of the yarn).
Estimated Yarn Requirements for Other Sizes Using Worsted Weight Yarn:
Lapghan (36″ x 48″) → 1,500–2,500 yards (5–8 skeins, 200–300 yards each) Throw (50″ x 60″) → 2,500–3,500 yards (8–12 skeins) Twin (66″ x 90″) → 3,500–5,000 yards (12–16 skeins) Full/Double (80″ x 90″) → 4,500–6,500 yards (15–22 skeins) Queen (90″ x 100″) → 5,500–8,000 yards (18–26 skeins) King (108″ x 100″) → 6,500–10,000 yards (22–32 skeins)
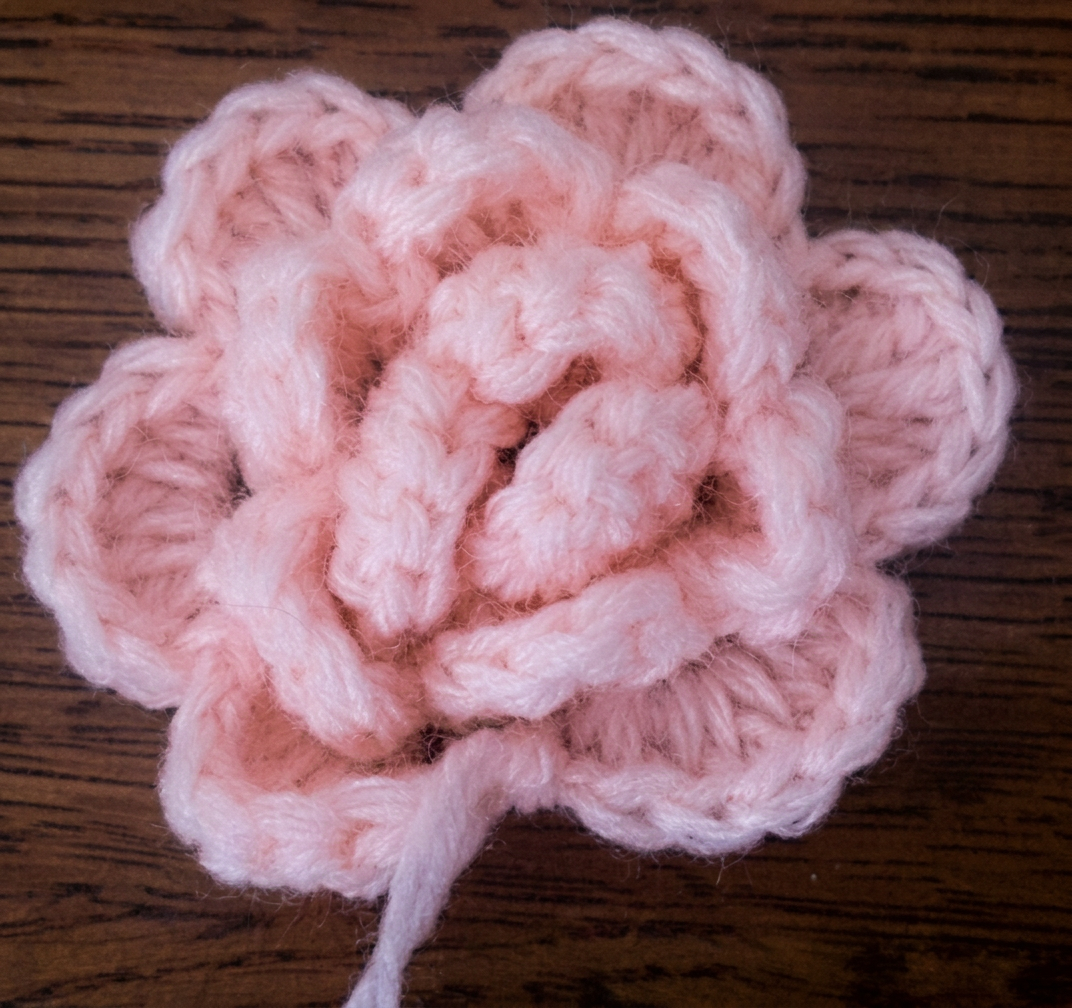
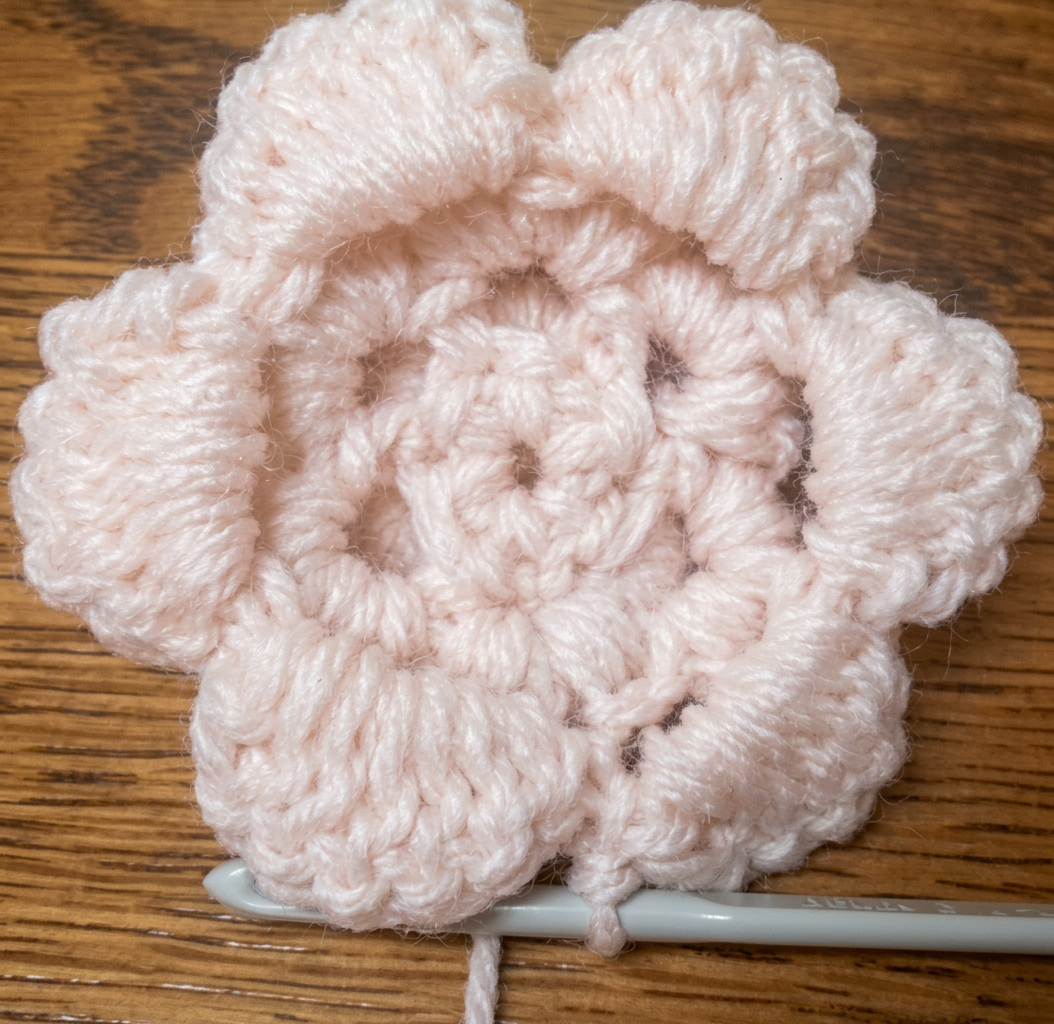
The main feature is the Irish style 3D rose which in this pattern has 3 layers of petals: starting with 3 inner petals, then adding two more rounds with 6 petals each.
With a colour you want for the roses CH 4 and join with a SL ST to form a ring (or use a magic loop if you prefer).
CH 2 to stand as your first SC, then work 8 SC into the ring, SL ST to join the last one to the first SC (which was your 2 CH at the beginning).
*CH 3, skip 2 SCs of the second row, 1 SC into the next SC*, repeat * to* 3 times (3 loops in total).
*CH 2 and work 4 DC into the 3CH spaces, CH 2 and SL ST into the same space. SL ST into the next loop*. Repeat * to * twice to finish the first 3 petals of the rose.
CH 1, SL ST in base (in the back) of the SC of the second row (not the 3rd), then work six 4 CH loops behind the 3 petals you made in the previous row, stitching them back evenly into the SCs of the second row with a slip stitch until you reach the end (if the 4 CH loops end up in front of the petals, pull on the CH 4 loops so that they are behind the petals, before working the next round).
*CH 2 and work 5 DC into each of the 4 CH spaces, CH 2 and SL ST into the same space. SL ST into the next loop*. Repeat * to * 5 times to finish the second row of petals of the rose (6 petals in total).
CH 1, SL ST in base (in the back) of the SC of the 5th row, then work 6 X 5 CH loops behind the 6 petals you made in the 6th row, joining them all to the base with a SL ST. *CH 2 and work 6 DC into each of the 5 CH spaces, CH 2 and SL ST into the same space.
SL ST into the next 5 CH loop*. Repeat * to * 5 times to finish the third and final row of 6 petals of the rose. Cut the thread.
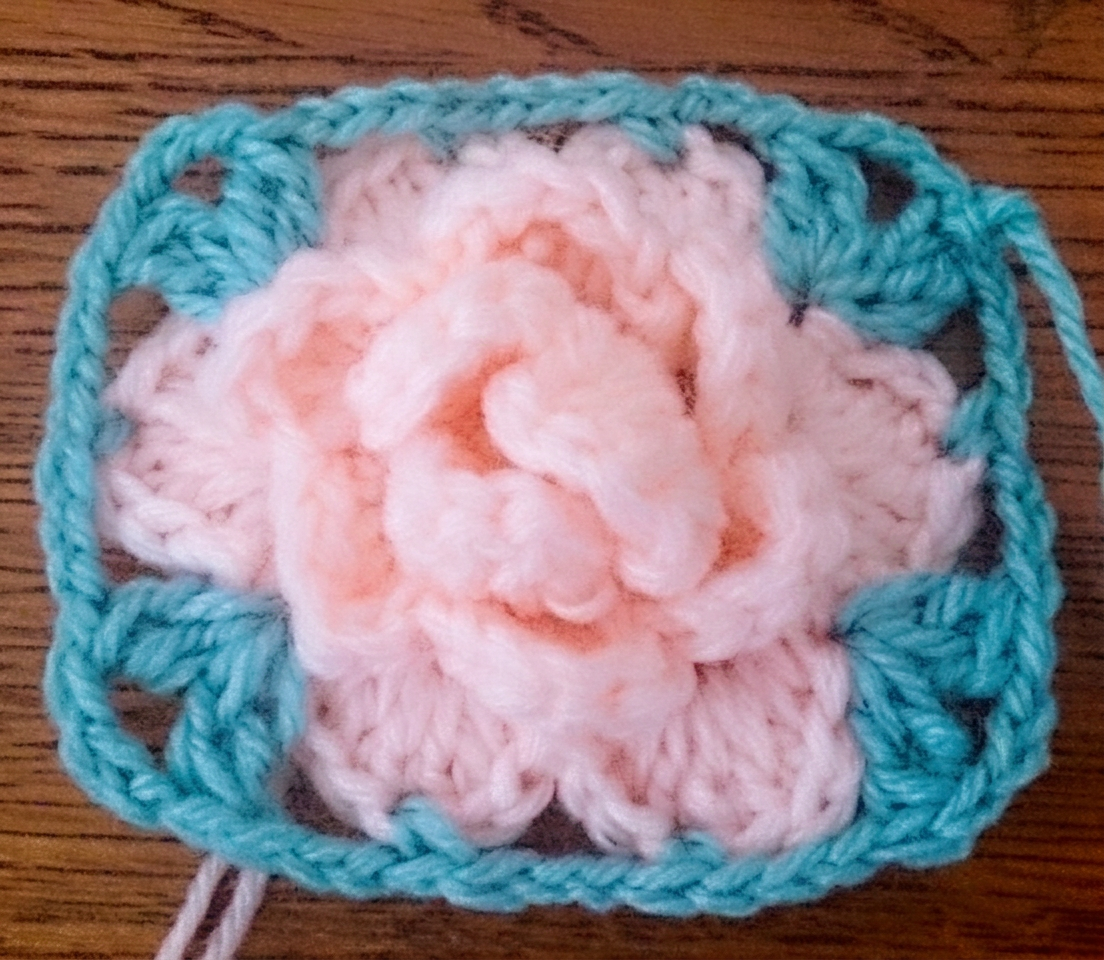
With green (or the colour you chose for the leaves) SL ST into any of the gaps between the last row of rose petals. CH 3, then work 1 DC into the same space, CH 3, then work 2 DC into the same space. CH 3 and work 1 SC into the top of the first rose petal, CH 3 again and work 1 SC into the second petal. CH 3 and work 2 DC, 3 CH, 2 DC into the gap between the 2nd and 3rd petal. CH 3 and work 1 SC into the 3rd petal, CH 3 then 2 DC, 3 CH, 2 DC into the gap between the 3rd and 4th petal. CH 3 and work 1 SC into the top of the 4th rose petal, CH 3 again and work 1 SC into the 5th petal. CH 3 and work 2 DC, 3 CH, 2 DC into the gap between the 5th and 6th petal. CH 3 and work 1 SC into the 6th petal, CH 3 and Finish the row with a SL ST to the 3rd CH you started with. Cut the thread. You now have a small square.
Using the base colour (white in the photos), SL ST into any of the 3 CH spaces on the corner of your square (between the groups of 2 DC), CH 3 to stand as your first DC, then work 2 DC, 3 CH, 3 DC into the same space. *Skip to the next 3 CH space, work a cluster of 3 DC, another 3 DC into the SC, and 3 more DC into the next 3 CH space, so 9 DC in total between the corners. Skip to the 3 CH space on the next corner, work a cluster of 3 DC, 3 CH, 3 DC into it*, then repeat from * to * on all four sides of the square (total number of DCs on each side of the square will be 15, separated with a 3 CH space on each corner).
CH 3, skip to the 3 CH space on the corner of the square, work a 3 DC, 3 CH, 3 DC cluster into it, then proceed with working 3 DC (granny) clusters into the gaps between the three 3 DC clusters of the previous row. Join with a SL ST at the end of the row but only work two DC instead of the last 3, as you already made the first one with the 3 CH at the beginning.
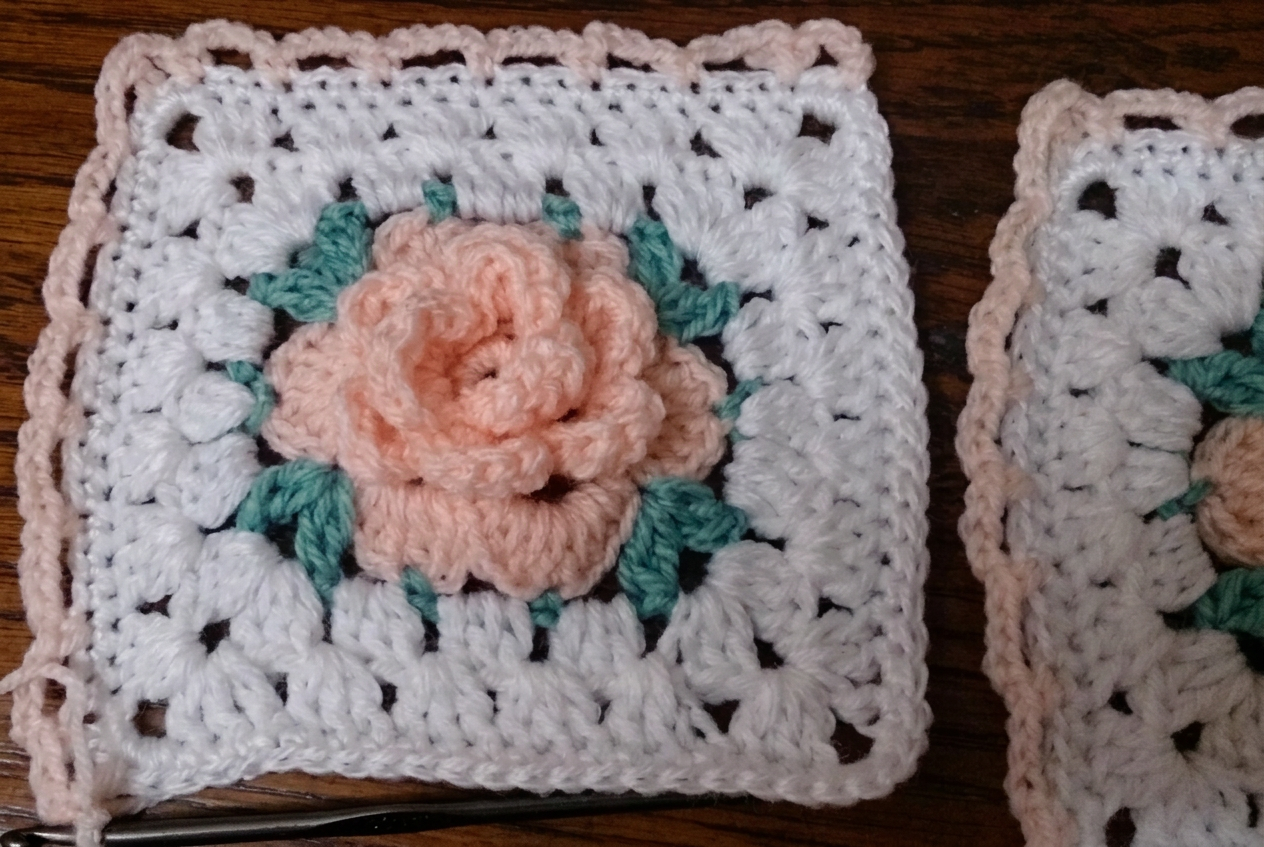
CH 2, then work 1 SC into each of the previous row’s DCs, 5 SC into the 3 CH spaces at each corner. Join with a SL ST at the end of the row. You will have 18 SC on each side of the square + 5 SC in the corner 3 CH spaces, so a total of 92 SC. Cut the thread.
Join as you Go
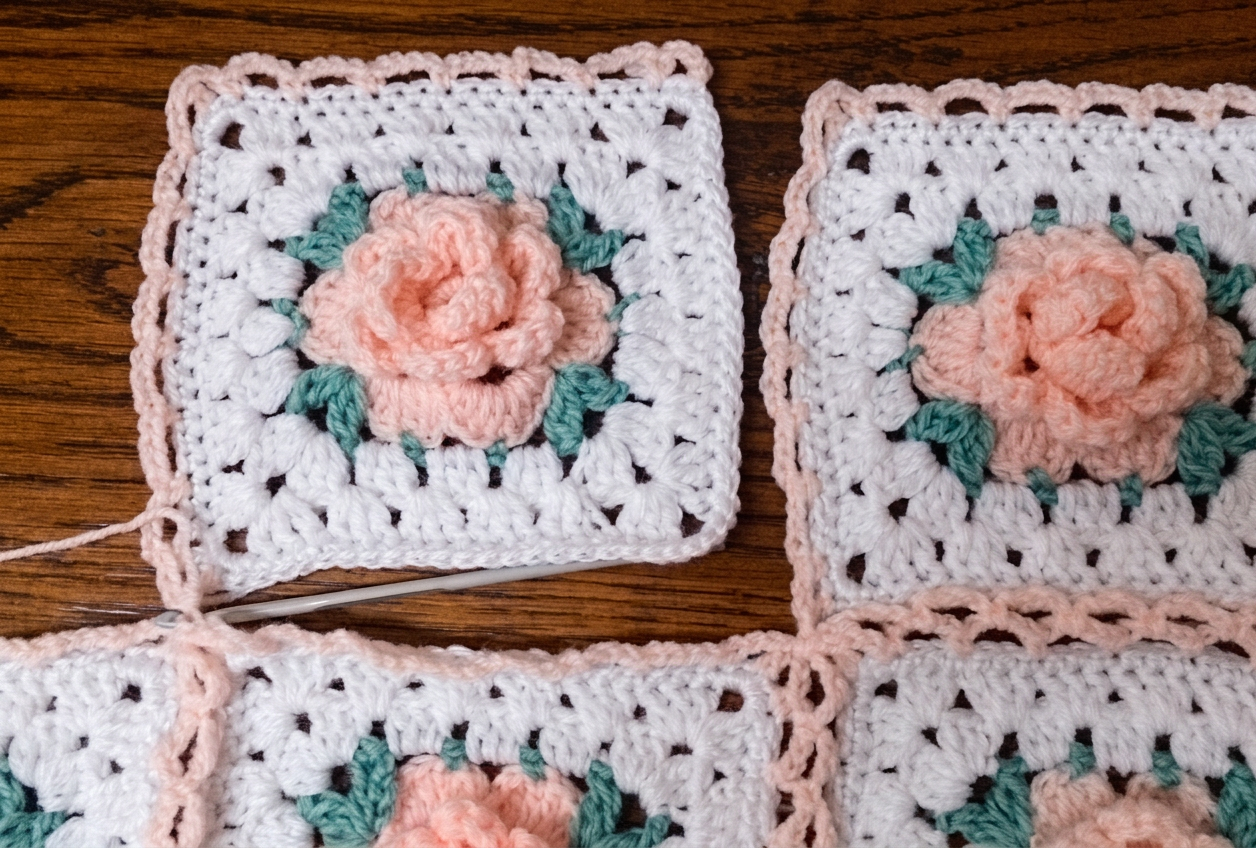
With a colour you want to use for joining the squares (I used one of the pink ones) SL ST into the middle (3rd) SC on any corner and CH 4, skip 2 SCs of the previous row, work 1 SC into the next SC and repeat this on each side of the first square, then join with a SL ST at the end of the row. You should have eight 4 CH loops on every one of the 4 sides of the square. Only do this with the first square and the rest of them will have to be joined to form your afghan or other project as shown in the photos.
Complete only two sides of the next square with the 4 CH loops, then start joining it to the first one chaining only 2 and using a SL ST to attach to the corresponding loop of the first square, CH 2 again and SC back to the second square.
When all your squares are joined, using still the same colour, work 5 CH loops into the perimeter joining them with a SC to the top of each loop on the outer sides of the squares along the perimeter of the afghan, then in the next row finish the blanket with working 1 SC, 4 DC, 1 SC into each of the 5 CH loops as the edging. You can of course use any other edging, such as a simple row of DC or a fancy lacy edging if you want. You can also make this pattern into a cushion, but you might want to join the squares with a different method or just sew them together to eliminate the gaps between the squares.